Cheese Ball Recipe

by Sandra Merville Hart

I remember when you often were served cheese balls at parties. It happens less often these days and it seems that appetizer foods run in cycles just like clothing fashions. 😊

I was asked to bring an appetizer to an author gathering and went over several possibilities before settling on a cheese ball. This is my sister’s recipe. My family still loves it when we go to her house for a party and see this appetizer on the counter.

Ingredients

2 8-ounce packages of cream cheese (rectangular blocks)

5-6 two-ounce packages of Buddig beef, divided

¼ cup finely chopped onion

2 dashes Worcestershire sauce

1 clove of garlic, minced (optional)

Club crackers (or your favorite crackers)

Take the cream cheese out of the fridge and let it set on the counter 20 to 30 minutes before beginning preparations so that it softens.

Chopped 3 packages of the beef and put it in a medium-sized mixing bowl.

In a separate larger bowl, place the cream cheese. Knead it a few seconds with your hands to soften it.

Add the beef, onion, and garlic (I didn’t add the optional garlic) to the cream cheese and mix together. I find it easier to mix the whole thing with my hands but perhaps that’s because my grandmother mixed everything with hers.

Form it into a ball and set it back in the bowl.

Chop up 2 packages of the remaining beef and place in the bowl previously used. Roll the cheese ball in the meat to cover. I had to use my hands to get the last bit in place.

If it’s not covered enough for your taste, chop up the final package of beef and add it to outside layer of the cheese ball.

Cover with plastic wrap, place in an air-tight container, and chill in the refrigerator for at least two hours or until ready to serve. I was traveling and made it four days in advance.

It lasted over a week and continued to taste delicious. It’s nice and meaty with the beef mixed on the inside as well as coated on the outside, making it a more filling snack.

My friends were excited to eat this appetizer and went back for more, complimenting me on its flavor. Leftovers made a quick and easy side for lunch.

Serve on a decorative dish with your favorite crackers. I chose club crackers for my guests because lots of folks tend to like them. Choose your favorite as a variation.

This is always a hit. Thanks B. for sharing your recipe with us!
Pakistan Casserole

by Sandra Merville Hart

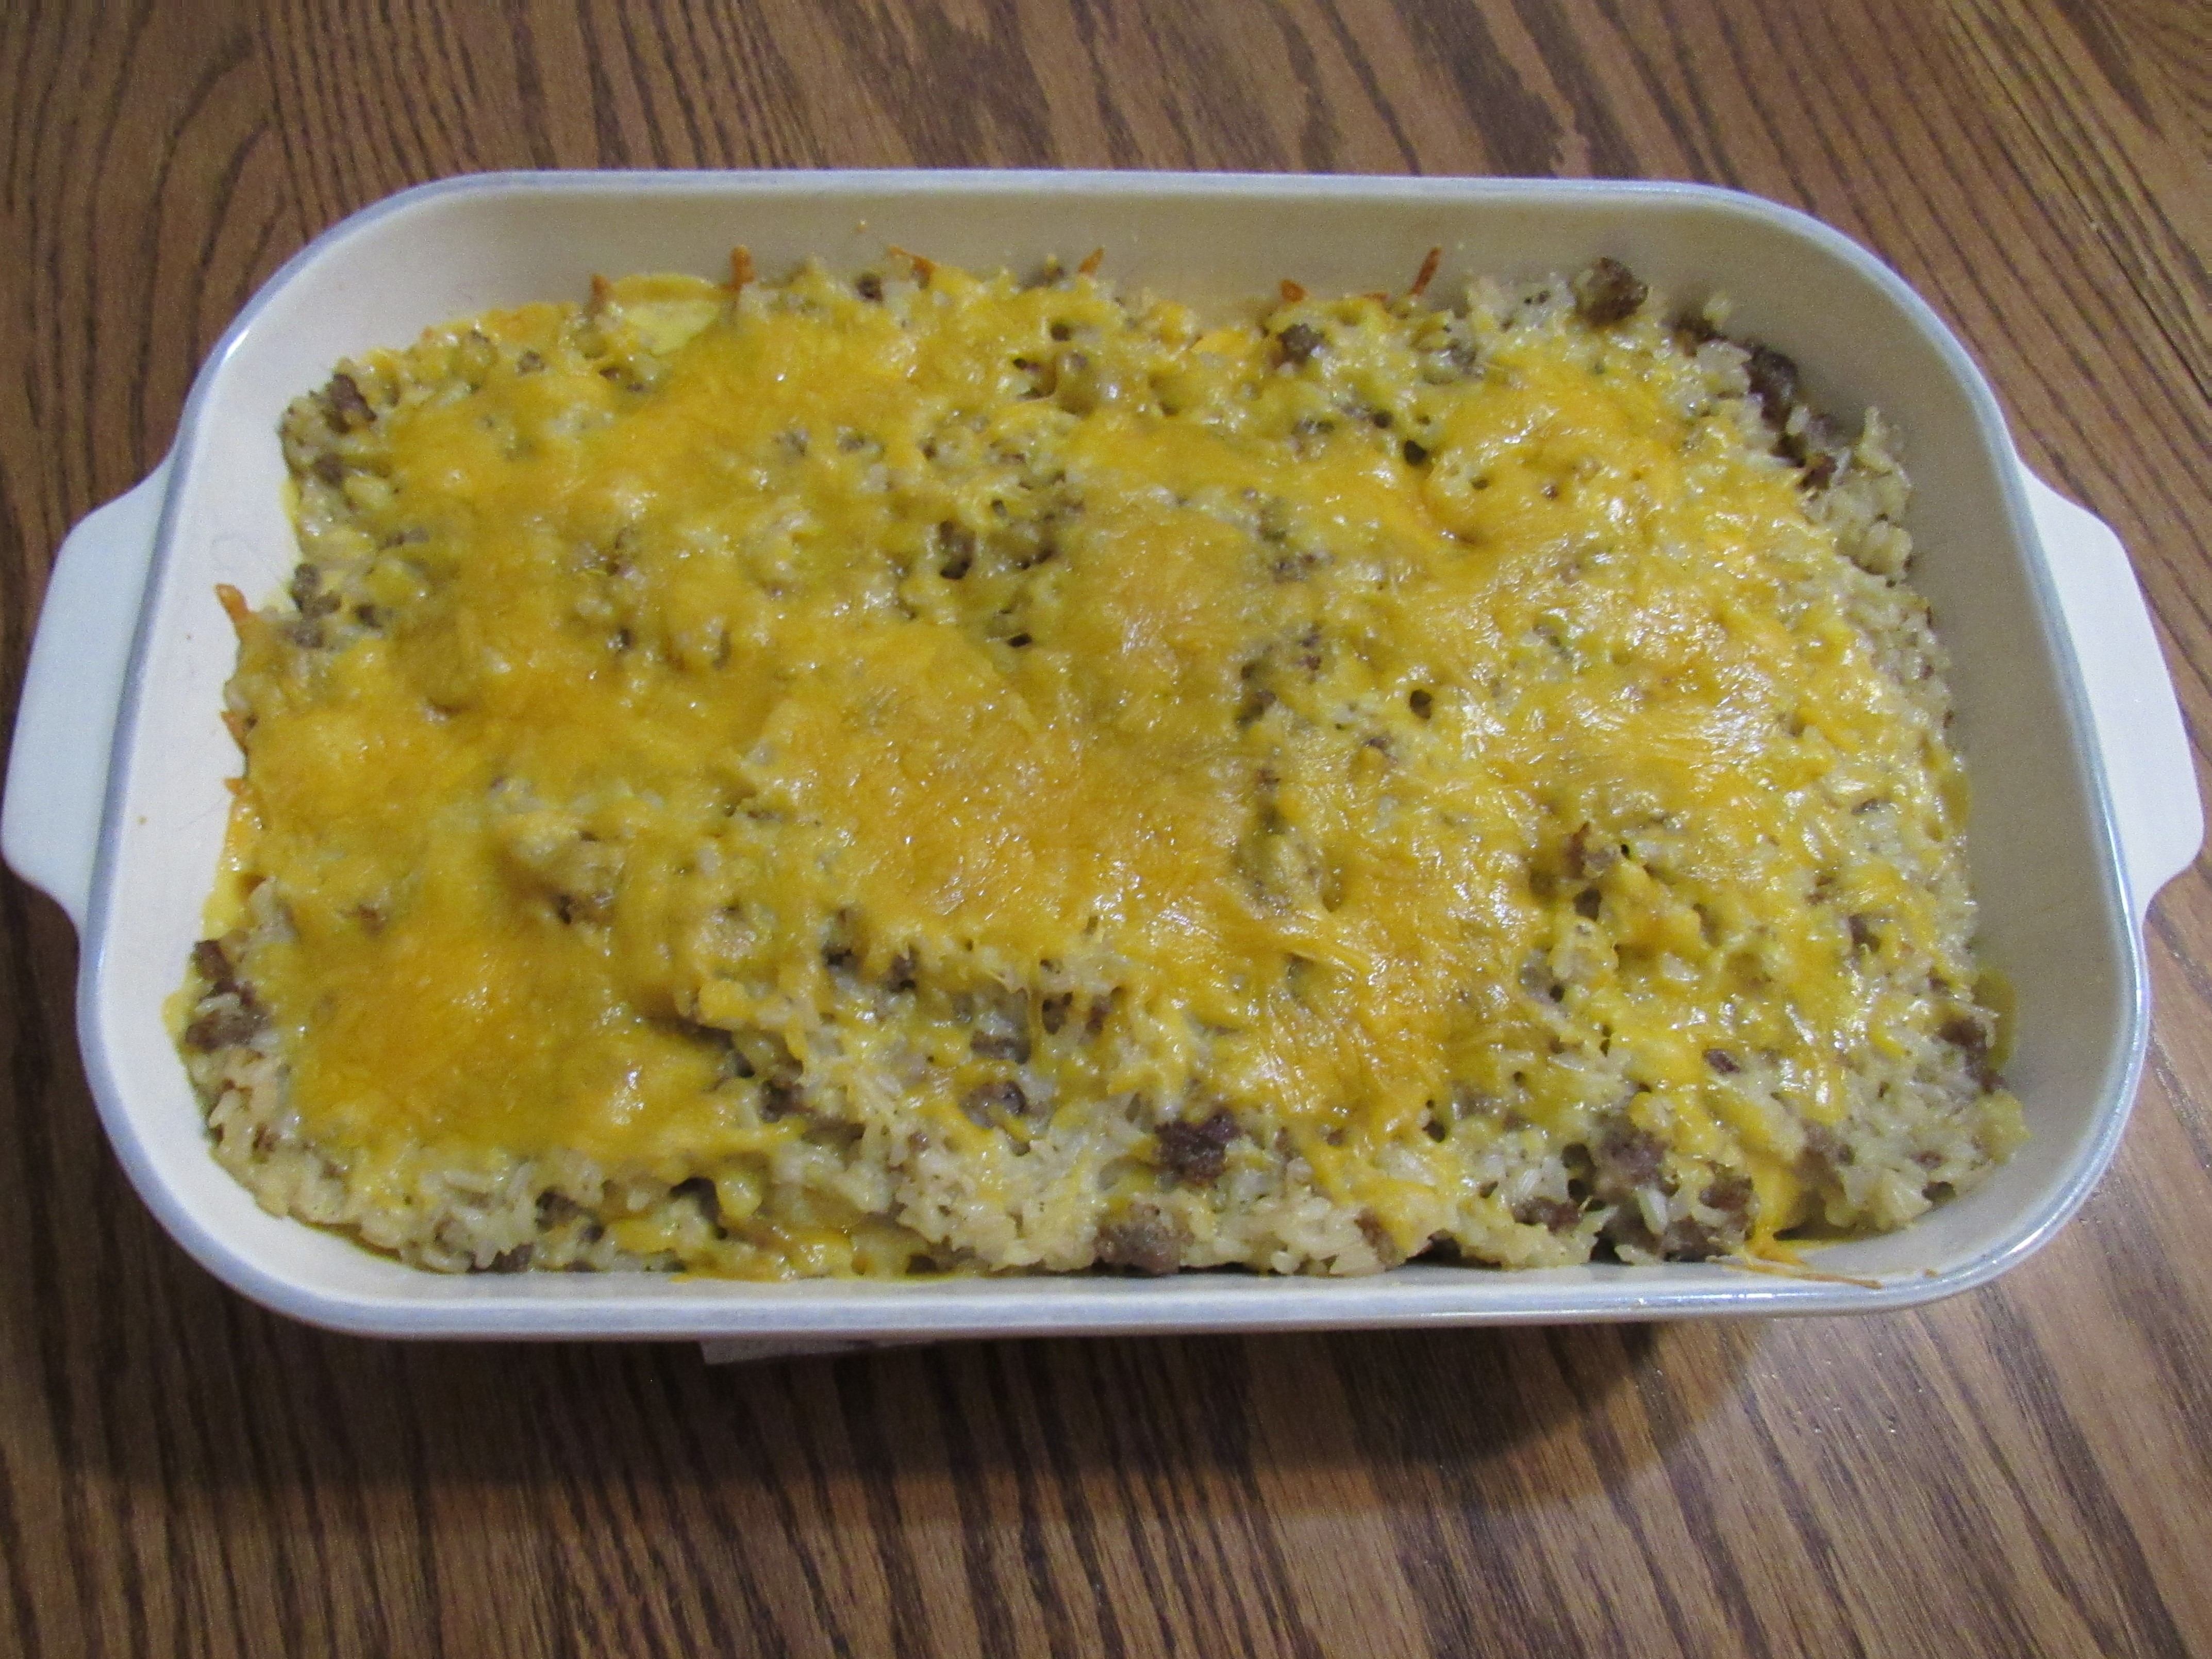
Another one of the dishes my husband makes that has become a comfort food to me is Pakistan Casserole. He got the recipe from a co-worker before we were married. It quickly became a go-to recipe for him because it’s easy to prepare.

I use long grain brown rice which takes about 45 minutes to cook. In my opinion, this enhances the flavor of the casserole. If you use minute rice, it will be much quicker. It’s your preference—and, let’s be honest, it probably depends on the amount of time you have to get the meal on the table. 😊

Preheat the oven to 400 degrees.

Ingredients

1 lb. pork sausage (ground beef or ground turkey are nice substitutes)

3 cups cooked rice

1 can Cream of Chicken Soup

6 slices American cheese

¼ cup of shredded cheese

Prepare the rice per the package’s instructions.

Brown the sausage in a skillet, crumbling it as it cooks. Drain.

In a separate bowl, combine the cooked rice, sausage, and soup.

Select a large casserole dish (mine is 13×9) and spray it with cooking spray.

Spoon in about 2/3 of the mixture. Cover it with a layer of American cheese. Then put the remaining mixture on top.

Sprinkle about ¼ cup of shredded cheese (more if you prefer) over the top. Bake for 20 minutes or until the cheese melts.  

The flavor of the sausage is toned down a bit by the other ingredients, making this a kid-friendly meal. It’s also filling. The adults in our family also enjoy this dish.

If you make this dish using minute rice, it can be out of the oven in about a half hour.

For variation, try substituting the sausage for ground beef or ground turkey. This will also make the dish less spicy for those who prefer milder flavors.

Hamburger Mac Recipe

by Sandra Merville Hart

One of the dishes my husband makes has become a comfort food to me. Maybe it’s because of the macaroni and cheese. Maybe it’s because it’s a filling supper with a side vegetable or salad. Or maybe it’s because my husband takes over the preparation for supper!

It could become a comfort meal for your family too so I’m sharing my husband’s recipe that he created long before we met as a quick and easy meal.

Ingredients

1 lb. Ground beef

1 box of macaroni and cheese

1 cup of shredded cheese, divided

Prepare the macaroni and cheese per the box’s instructions.

Brown the ground beef in a skillet. Turn off the heat. Drain it and then return the cooked ground beef to the skillet.

Sprinkle about ¼ cup of shredded cheese over the cooked meat and stir.

Add about 1/3 of the prepared macaroni and cheese and combine. Then add the rest in increments, stirring to combine the mixture.

Sprinkle ½ cup of shredded cheese over the top. Turn the burner on low, cover, and heat the mixture until the cheese melts—about 3 to 5 minutes.

Pour the mixture into a bowl. My husband adds more shredded cheese at this point to the top, up to ¼ cup.

This is a kid-friendly meal. Little ones who like macaroni and cheese but shy away from eating a hamburger often enjoy this meal. It’s more filling that macaroni and cheese alone and they get some protein.

Most of the adults in our family also enjoy this dish.

It’s easy to prepare—and can be ready in under 30 minutes on those nights when the children have dance or soccer practice or swim lessons. 😊

Cinnamon Cake Recipe

by Sandra Merville Hart

Something I enjoy doing as an author of historical novels is searching through old recipe books for the time period that I’m writing. I include those dishes in my novels. “Spies of the Civil War” is my series that released in 2022. Cinnamon cake is one of the staples baked by our talented baker hero in Byway to Danger, Book 3. Our heroine works as his assistant. 😊

A basic recipe for cinnamon cake in an 1877 cookbook, Buckeye Cookery and Practical Housekeeping is courtesy of Miss M.E. Wilcox, Selma, Alabama.

Mis Wilcox didn’t provide any measurements for ingredients, which is common for cooks in the 1800s. I’m sharing what I used to make her cinnamon cake. My pre-school granddaughter helped me.

Start with making sponge.

Mix together 4 cups of flour and 2¼ cups of scalded milk that cooled to lukewarm.

Dissolve a packet of yeast in ¼ cup warm water and let it stand for about 5 minutes before adding it to the dough. Knead this into the dough. It will feel soft and elastic.

Cover the dough with plastic wrap. Set it in a warm place and allow it to rise until doubled in size, about 45 to 60 minutes.

Preheat oven to 375 degrees.

Knead the dough again and then roll it on a floured surface until about ¾ inch thick.

Prepare your baking pan with shortening and flour or use cooking spray. (I used a 13 x 9 pan.) Arrange the dough in the prepared pan, gently pressing it to even the layer.

Miss Wilcox used slices of butter, sprinkles of cinnamon, and then sugar but didn’t provide measurements.

I took a little artistic license on this part and melted 4 tablespoons of butter and spread it over the top of the dough.

My granddaughter mixed 2½ teaspoons of cinnamon with 1 cup of sugar. We sprinkled it over the top. I think we could have used about ¼ cup less, but she got on a bit of a roll with the cinnamon sugar—a sweet one! 😊

Bake at 375 degrees for about 30 minutes.

My family enjoyed the delicious cinnamon flavor. If you like cakes very sweet, then 1 cup of sugar is the right amount. If not, ¾ cup of sugar should be plenty.

The cake itself has the sponginess of a bread, which isn’t surprising since that’s how the dough is made.

Also, it’s easier to eat this cake holding it in your hand.

I’d love to hear if you try this recipe.

Sources

Compiled from Original Recipes. Buckeye Cookery and Practical Housekeeping, Applewood Books, 2011.  

No-churn Chocolate Ice Cream

by Sandra Merville Hart

It always thrills me to find recipes for something I never dreamed of making. I don’t own an ice-cream maker and thought I’d have to purchase one before making homemade ice cream. Imagine my surprise at finding a no-churn recipe. And it’s easy to make!

I followed the Food Network’s recipe for No-Churn Chocolate Ice Cream. Click on the link for the recipe.

One of my grandchildren (the other watched his favorite show 😊) was thrilled to make this ice cream with me early in the day to be ready for an afternoon treat, as it requires 5 hours in the freezer before serving.

It’s amazingly quick and easy—and fun with a little one helping you and sneaking a lick of chocolaty fingers. 😊

I followed the recipe except I sprinkled a layer of milk chocolate chips in the middle and on top (about an ounce of chips in total) because I love chocolate-chocolate chip ice cream.

It turned out creamy and delicious! I could taste the cocoa, giving it an enhanced chocolate flavor over most frozen ice creams.

I lined my loaf pan with parchment paper. After the ice cream was frozen, the parchment paper was turned down to cover the ice cream in the freezer. Another option is to choose a container with a lid from the start, which is what I will do next time.

Additional add-ins—crushed cookies in a middle layer; M&M baking bits in a middle layer and on top; or gummy snack treats or sprinkles as decoration on top.

A fun summertime treat!

Sources

“No-Churn Chocolate Ice Cream,” Food Network, 2022/08/08 https://www.foodnetwork.com/recipes/food-network-kitchen/no-churn-chocolate-ice-cream-3364669.

Ice Cream Cake

by Sandra Merville Hart

My sister has a summer birthday and she told me how much she enjoyed making an ice cream cake with her young grandchildren, aged 5 and 2.

It sounded like so much fun that I decided to do the same with my grandchildren around the same age. The best part is you can modify this recipe and choose your favorites.

I asked her if she froze the cake between adding layers and she didn’t—but they must have worked quickly. I didn’t freeze the cake before adding the second layer of ice cream but I will next time. That’s the suggestion I’d make for you if you’re using 2 different layers of ice cream.

Below is the list of ingredients I used for our ice cream cake. Change them for your family’s preferences. 😊

Ingredients

Fudge brownies—make from scratch or use a mix

½ gallon chocolate ice cream

½ gallon cookies and cream ice cream

10-12 Oreo cookies, crushed

Sprinkles

Chocolate ganache—9 ounces unsweetened chocolate and 1 cup heavy cream

Use a springform pan to layer this dessert.

Bottom layer—prepare a brownie recipe and cook it in the springform pan. Allow it to cool.

Next, prepare the chocolate ganache. Set aside to cool for about 10 minutes.

On top of the cooled brownie inside the springform pan, scoop in a layer of chocolate ice cream.

Next, spoon on a thin layer of ganache.

On top of the ganache, sprinkle a layer of crushed Oreos.

Freeze all this in the pan for about half an hour.

Next, add a layer of cookies and cream ice cream.

Top it with sprinkles.

Freeze until ready to serve.

This was a little messy with young children but it was worth it. What fun! Their creative side came into play and, well, let’s just say the sprinkles ended up in a heap. I didn’t mind at all.

When it came time to serve the cake, I allowed 30 minutes of thawing time. It was too hard to slice, so I’d suggest removing it from the freezer an hour ahead of time.

Delicious! As if it could be anything else with 2 kinds of ice creams, fudge brownies, Oreos, ganache, and sprinkles!

What a great summertime activity with the kids! Be prepared for a bit of a mess and have fun with it. Creating a cake using flavors your family will love is half the fun.

Suggestions for alternatives: Instead of brownies as a bottom layer, substitute with large chocolate chip cookie layer.

Substitute the crushed Oreos with your favorite cookie.

Substitute one of the ice cream layers with chocolate mousse.

Enjoy!

Virginia in the Civil War by Joseph D’Arezzo

Reviewed by Sandra Merville Hart

Images of America

As an author of historical novels, I have to admit that I look for research books in the “Images of America” series. They are always very well done.

The old photographs along with the explanatory summaries transport me back to the locations where so much history took place. The photographs enhance what I’ve already researched in other nonfiction books.

Virginia’s citizens suffered through many battles during the Civil War. Photos and sketches of the locations and troops bring these to life. There is a photo of perhaps one hundred wagons in a field that toted necessary supplies for the troops.  

Informative and well-organized. I highlighted many sections of helpful facts.

Some of the battles touch my story in Byway to Danger, Book 3 in my “Spies of the Civil War” series.

Recommended for those desiring to learn more about Civil War history.

Amazon

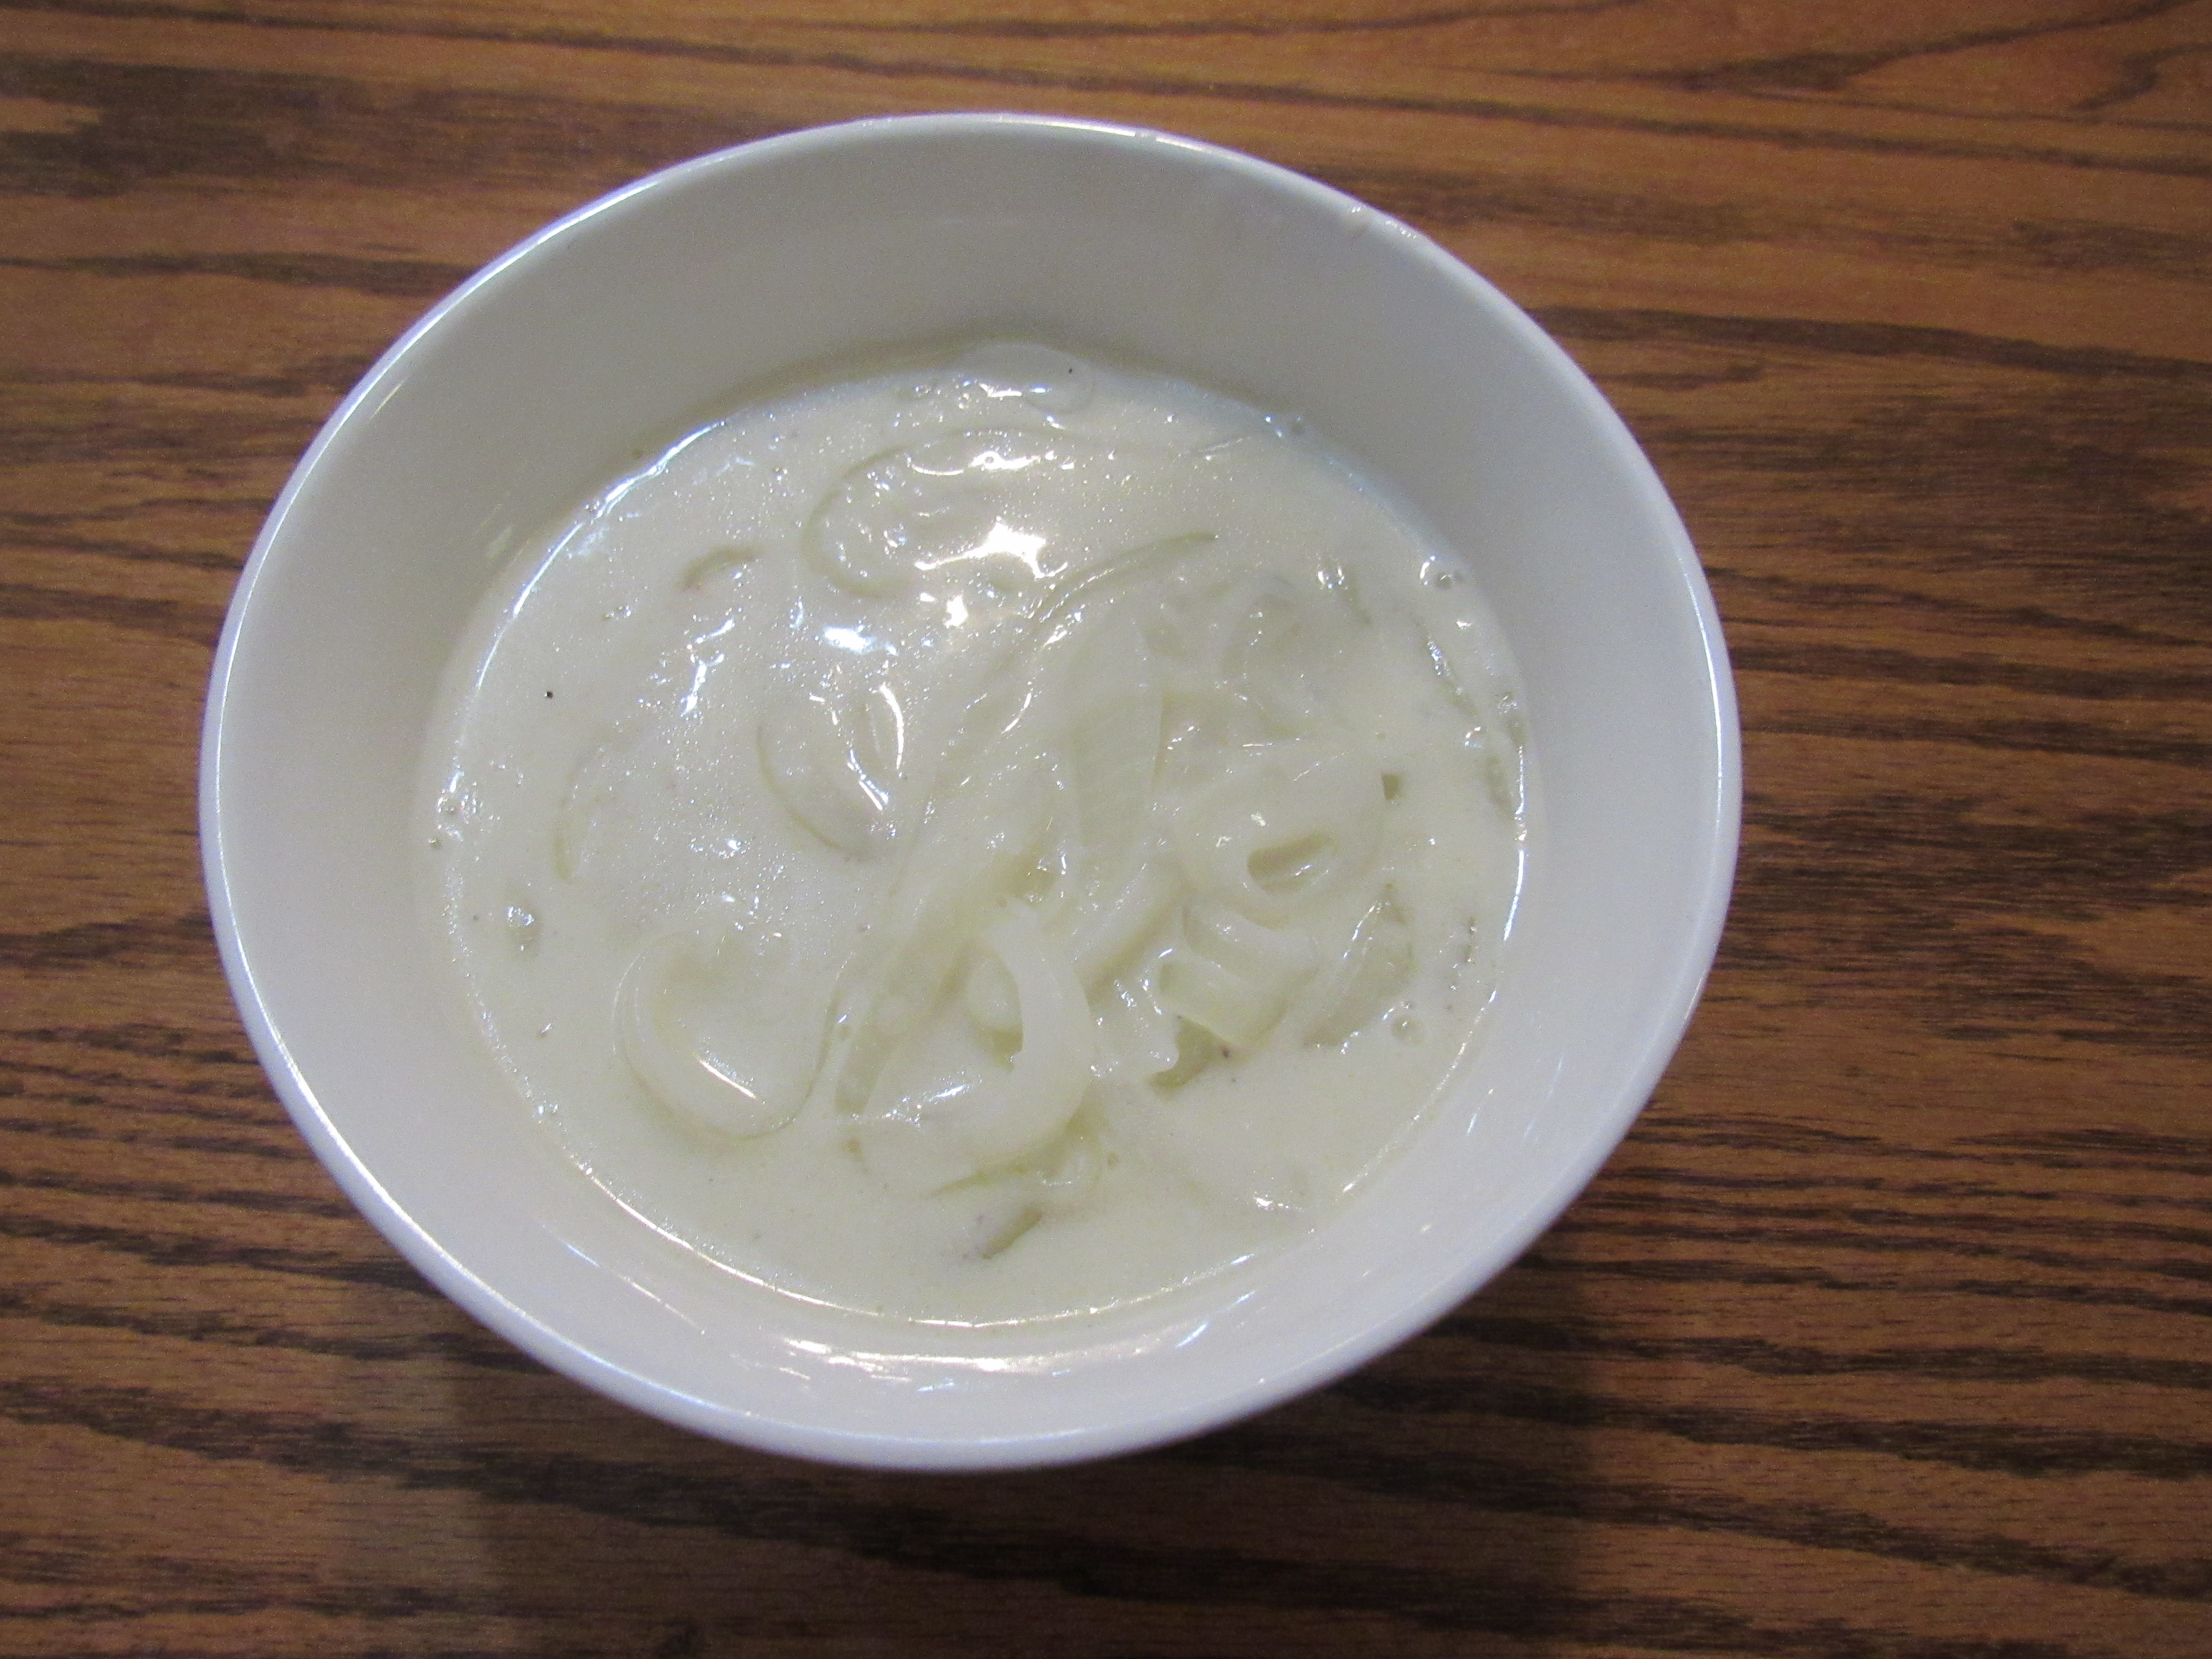
Onion Soup Recipe

by Sandra Merville Hart

One of the fun things I get to do as an author of historical novels is search through old recipe books for the time period that I’m writing. I include those dishes in my novels. “Spies of the Civil War” is my current series. Onion soup is one the dishes served in Byway to Danger, Book 3 in my “Spies of the Civil War” series. The hero is a talented baker and our heroine works as his assistant. 😊

A recipe for onion soup in an 1877 cookbook, Buckeye Cookery and Practical Housekeeping, was provided by a cook with the initials of E. W. W.  

Ingredients

3 onions

½ cup butter

1 tablespoon flour

1 small potato

1 cup milk

¼ cup heavy cream

1 teaspoon salt

½ teaspoon pepper

Peel and slice the onions. (I used yellow onions.)

Heat a large saucepan of water over medium high heat. Bring it to a boil while you continue with the recipe.

Stir 1 cup milk and 1 cup water together in a saucepan and heat to boiling. (An alternative is to use 2 cups of milk for an even creamier soup. Delicious!)

Melt the butter in a large skillet and stir in the flour, which will thicken the soup. Then add the onions to the skillet. Sauté the onions, stirring often, for at least ten minutes over medium heat, until the onions are softened.

While the onions cook, peel and grate one small potato. Set aside.

Pour the cooked onions into a large metal mixing bowl. Slowly stir in the boiling milk. Set the mixing bowl over the pan of softly boiling water to mimic a double boiler (or use a double boiler if you have one.)

Add the grated potato, salt, and pepper and cook for about 10 minutes. The soup will be creamy. Stir occasionally as it cooks.  

Remove the metal mixing bowl carefully from the heat because it will be hot. Stir in a ¼ cup of heavy cream.

Serve immediately.

I must admit I’m not a big fan of onion soup, but this creamy soup is delicious. I was surprised at how much I enjoyed my lunch! This soup wasn’t hot—as in spicy hot—and there was a hint of sweetness.

If you’d like an even creamier version of the onion soup, don’t mix any water with the milk, as noted.

This is the best onion soup I’ve ever eaten. I will make it again.

I’d love to hear if you try it.

Sources

Compiled from Original Recipes. Buckeye Cookery and Practical Housekeeping, Applewood Books, 1877.

Orange Cake Recipe

by Sandra Merville Hart

One of the fun things I get to do as an author of historical novels is search through old recipe books for the time period that I’m writing. I include those dishes in my novels. “Spies of the Civil War” is my current series. Orange cake is one of the desserts in Byway to Danger, Book 3 in my “Spies of the Civil War” series. The hero is a talented baker and our heroine works as his assistant. 😊

A recipe for orange cake in an 1877 cookbook, Buckeye Cookery and Practical Housekeeping, was provided by Mrs. D. Buxton.

Preheat oven to 350 degrees. Lightly spray 2 round cake pans or 1 13×9 baking pan. (I used a 13×9 pan.)

Separate 2 eggs and set aside the whites for frosting.

Beat in 2 additional eggs to the egg yolks (4 yolks and 2 whole eggs) and stir in 1 cup water. Set aside the egg mixture for the cake.

Sift together 3 cups all purpose flour with 2 teaspoons of baking powder. Set aside.

Combine 2 cups sugar with ½ cup butter until thoroughly mixed. Add egg mixture and stir until blended. Stir in the sifted flour a little at a time.

Add the zest, juice, and pulp of one large orange. (I used about 1/3 of the pulp, which definitely enhances the orange flavor.) Stir together.

Pour the mixture into the prepared 13×9 pan and bake for about 40 minutes or until brown.

Since it’s the middle of a hot summer, I made whipped topping instead of icing. It was a delicious, light topping that the children gobbled up. So did the adults!

This was a delicious summer dessert. The orange flavor was very strong. It’s a refreshing cake, especially with the whipped cream topping. I believe that it was also be good as a lemon cake. (I’d use the zest, juice, and pulp of 2 lemons in place of 1 large orange.)

Sources

Compiled from Original Recipes. Buckeye Cookery and Practical Housekeeping, Applewood Books, 1877.

Depression Cake Recipe

by Sandra Merville Hart

The family cook in my latest release, Boulevard of Confusion, Book 2 in my “Spies of the Civil War” series, was also a talented baker. She bakes pies, cakes, and cobblers that no one turns down. After writing these scenes, I was ready to bake.

I found a fun recipe in a child’s cookbook, The U.S. History Cookbook: Delicious Recipes and Exciting Events from the Past, that my three-year-old granddaughter could help me prepare.

Ingredients

1 cup shortening

2 cups water

2 cups raisins

1 teaspoon ground cinnamon

1 teaspoon ground nutmeg

1 teaspoon ground allspice

½ teaspoon ground cloves

2 cups sugar

Vegetable oil cooking spray

3 cups all-purpose flour

1 teaspoon baking soda

Preheat the oven to 350 degrees. Spray a 9 x 13 pan with cooking spray.

This is an easy recipe to get the children involved in baking. My granddaughter loves to add ingredients and stir them together. She tells me when it’s stirred enough. (She’s usually right but when I don’t agree, I can sneak in a few quick stirs. 😊)

Combine the first eight ingredients in a large saucepan. Stir them together but the shortening makes this challenging. Cook over a medium heat for ten minutes. Stir the raisin mixture as soon the shortening began melting. Then stir it a couple of times while it cooks to make sure it doesn’t stick.

Remove the raisin mixture from the heat and allow it to cool for ten minutes.

Sift the flour and baking soda together into the cooled batter. Stir it all together just until combined. Pour into the prepared pan.

Bake for 45 minutes.

I thought it looked a little plain so I sprinkled confectioner sugar on top.

You’ll love this moist cake if you like raisins. My picky three-year-old granddaughter doesn’t like raisins, yet loved this cake. She kept coming back for more.

During the Depression, eggs, butter, and milk were expensive ingredients. This recipe doesn’t have any of these—and I didn’t miss them.

Delicious and easy, this is one I’ll make again!

Sources

D’Amico, Joan and Drummond, Ed.D., R.D., Karen Eich. The U.S. History Cookbook: Delicious Recipes and Exciting Events from the Past, Jossey-Bass, A Wiley Imprint, 2003.