Peppernuts

by Sandra Merville Hart

I recently found that Christmas dinner in the 1870s included lots of desserts. One of them was a cookie called peppernuts. This Danish cookie is also known as Pfeffernusse. To my knowledge, I’ve never eaten or even seen this cookie and decided to try it.

There are no nuts or pepper or spices in the 1870s by Mrs. Emma G. Rea, so I imagined the cookie earned its name from being small-sized. I found a modern recipe that contained ground almonds and several spices—cardamom, cinnamon, ground cloves, allspice, and nutmeg. I decided to make both recipes and compare.

For the 1870s recipe, combine 1 cup of sugar with ½ cup butter until completely blended. Stir in 2 beaten eggs and 2 tablespoons of milk.

Mrs. Rea’s recipe then calls for “flour enough to roll.” There’s a lot of guesswork with these historical recipes. I started out with 1 cup of flour and mixed in 1 teaspoon of baking powder with it. Then I added a ¼ cup of flour at a time until it was just “enough to roll,” about 1 ¾ cups in total.

I chilled the dough for about 30 minutes.

I used a method from the modern recipe that suggested rolling the dough into half-inch ropes and slicing into half-inch pieces. This was quick and easy.

Bake at 375 degrees 8 – 10 minutes or until lightly brown.

The cookies flattened out in the baking, so I’ll increase the flour next time I bake them to 2 cups.
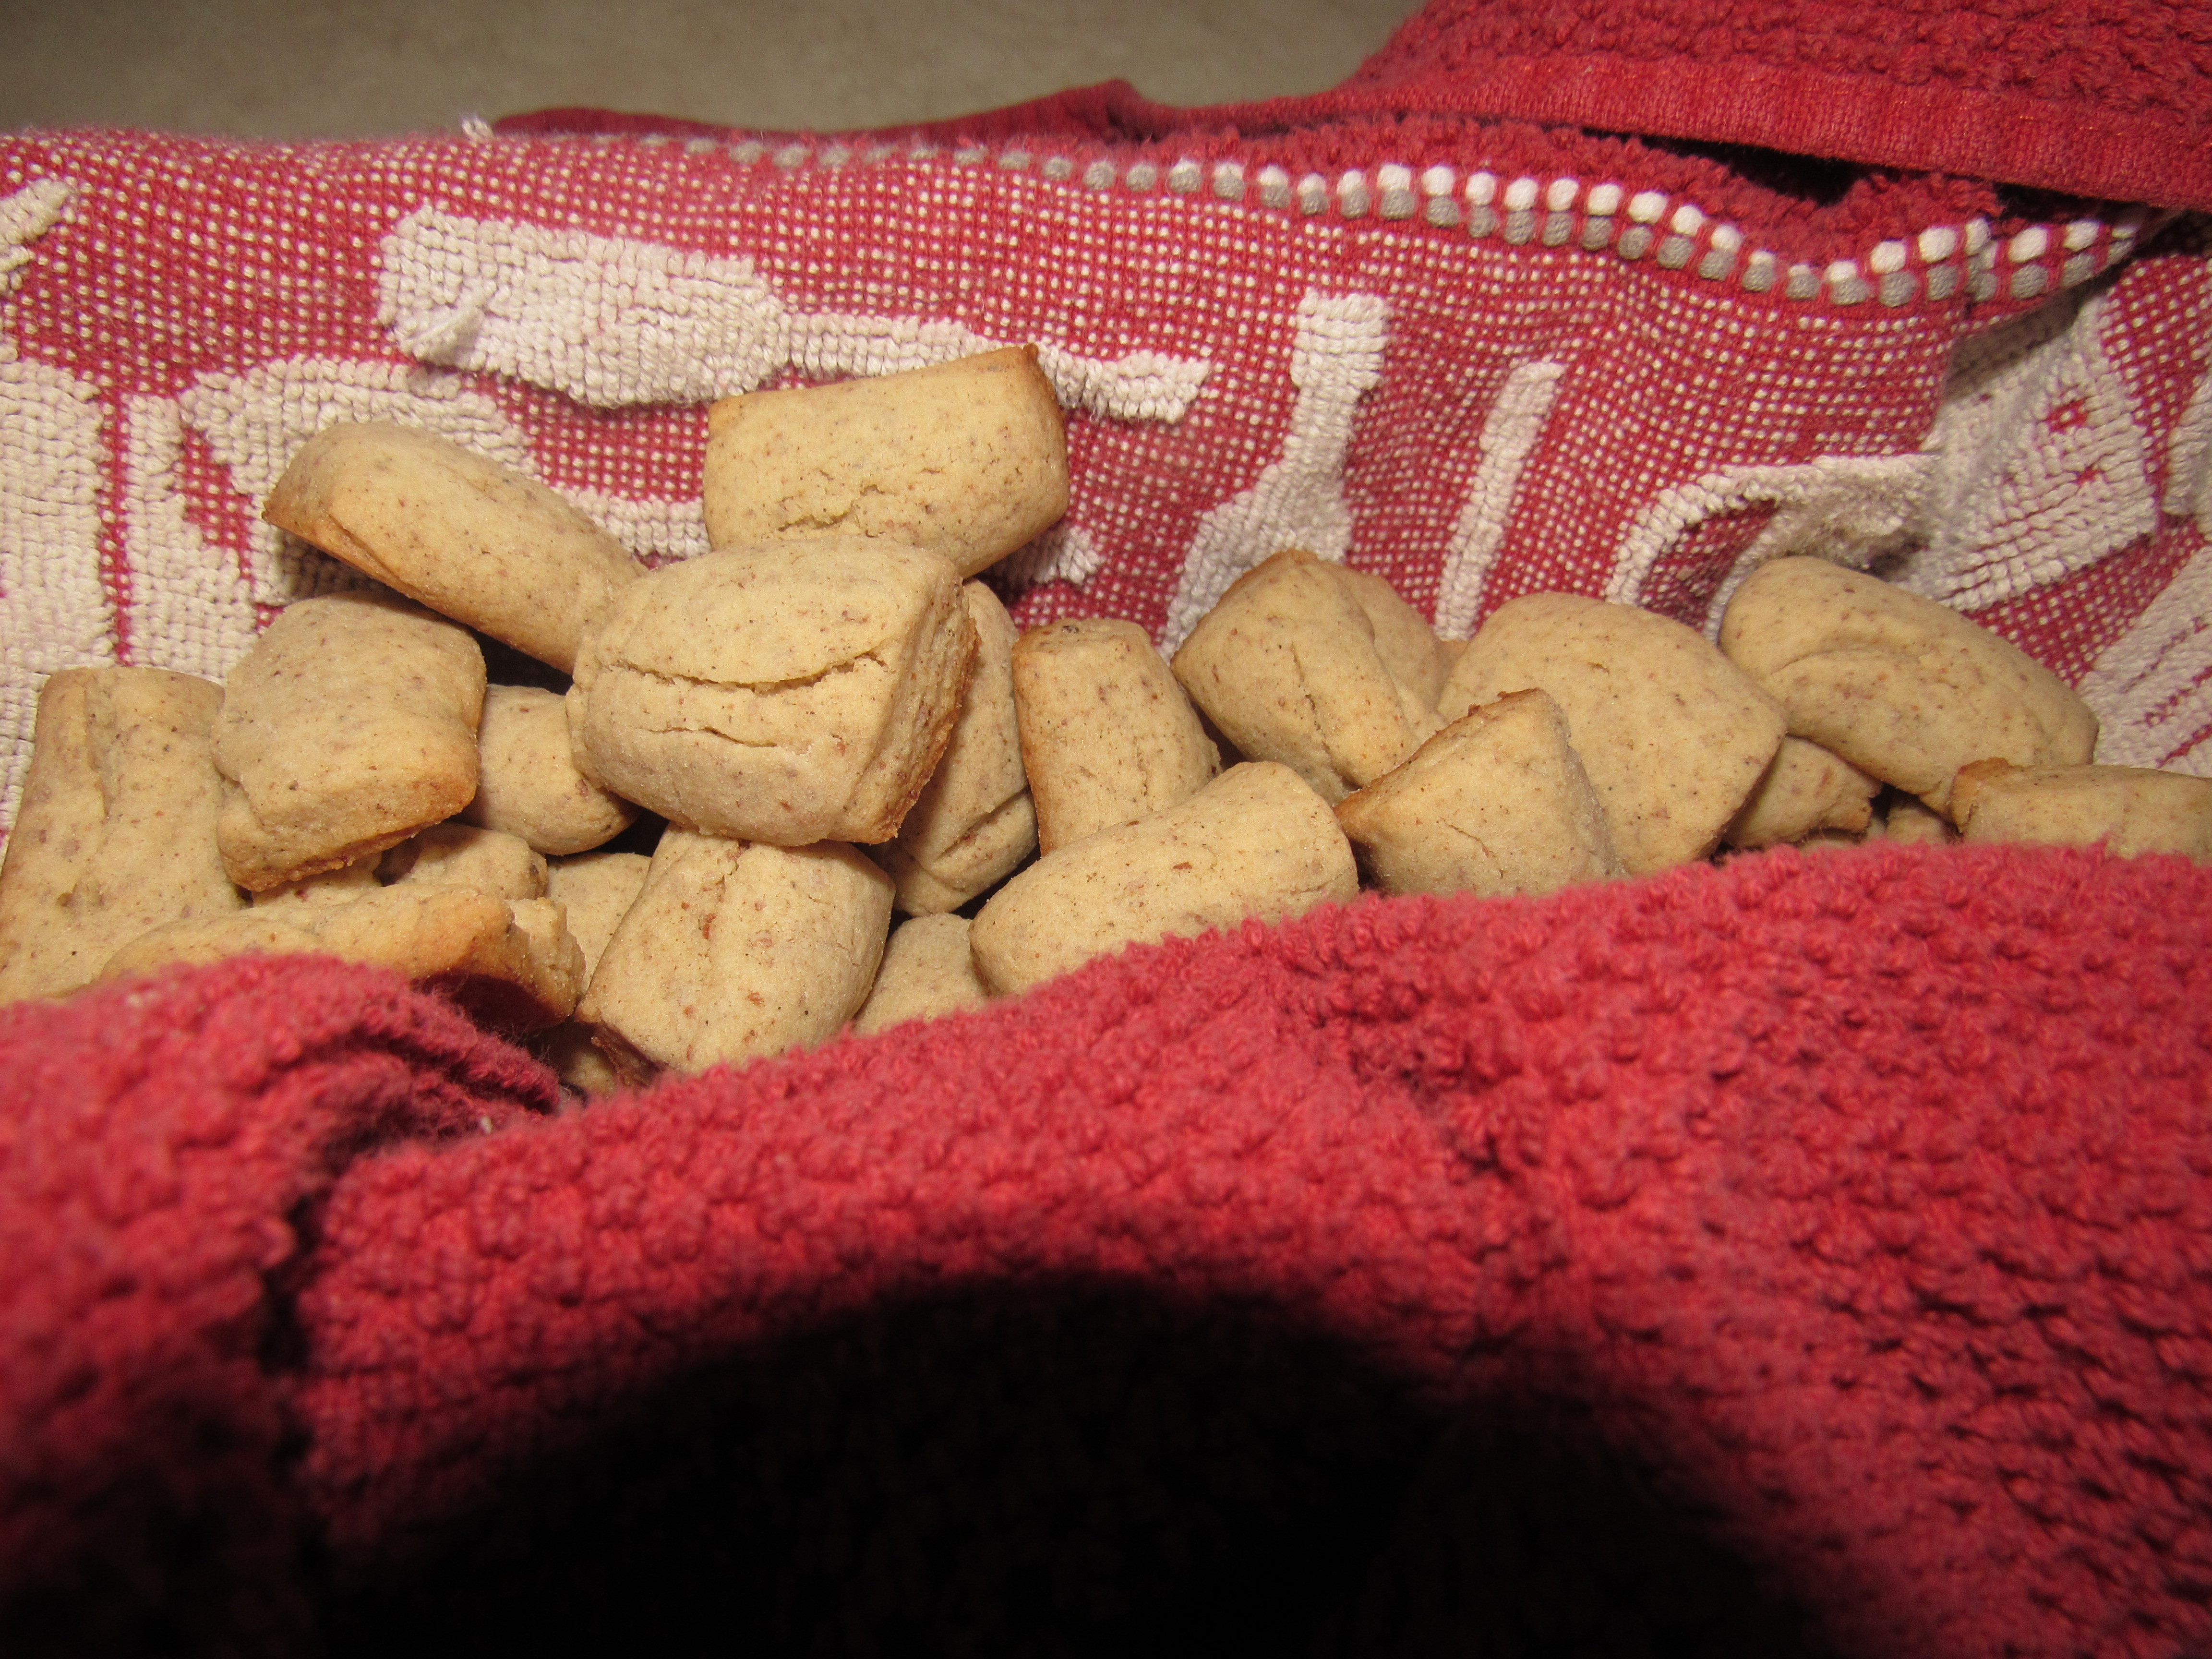
These cookies were delicious! What an easy cookie recipe with ingredients usually kept on hand. The cookies reminded me of vanilla wafers, even though there is no vanilla in them. Family who tried them went back for more again and again.

I then made the modern recipe that used ground almonds and several spices. Delicious! I chilled this dough about 30 minutes the same as the first recipe. These cookies use more flour and retained their shape in the oven.

My husband prefers the old-fashioned recipe. They are so different that it didn’t seem like the same cookie to me. I liked them both.

Sources

Compiled from Original Recipes. Buckeye Cookery and Practical Housekeeping, Applewood Books, 1877.

Ojakangas, Beatrice. “Peppernuts, Food Network, 2020/11/23 https://www.foodnetwork.com/recipes/peppernuts-recipe-1955898.

Pita Bread Recipe

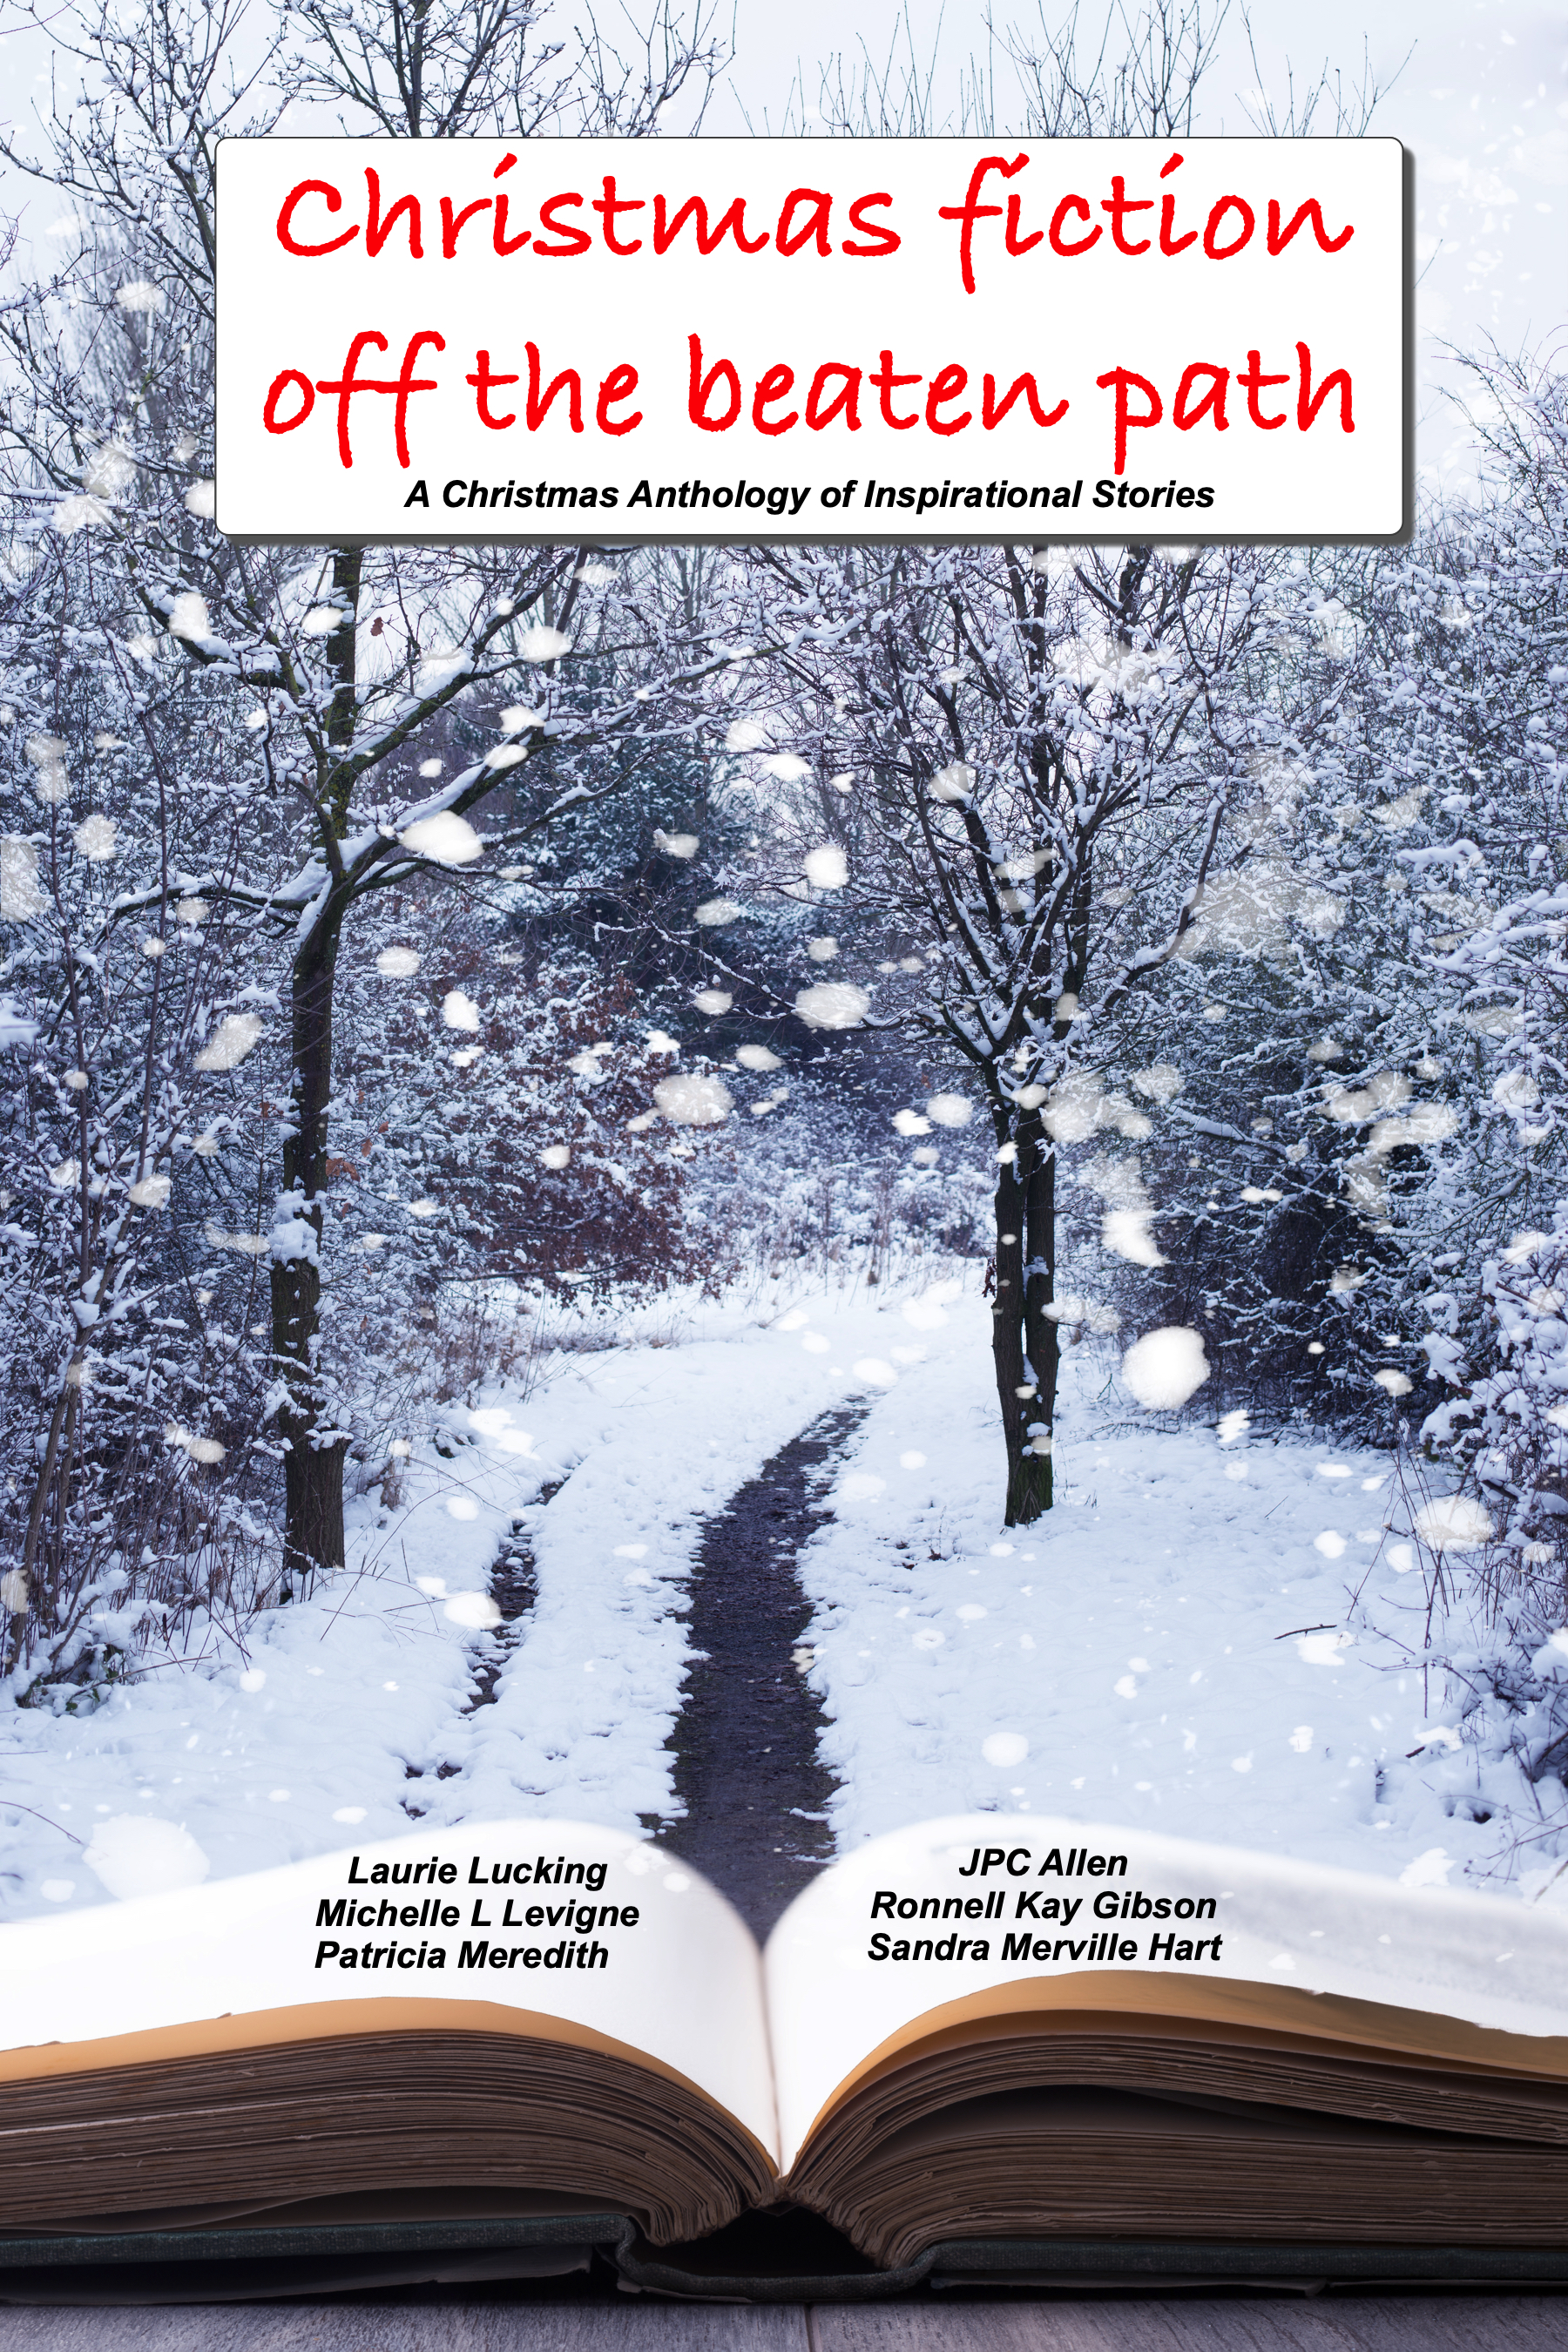
Today’s post is by fellow author, Patricia Meredith. We both have stories in Christmas Fiction off the Beaten Path, a collection of inspirational Christmas stories. Sandra’s nostalgic story is about a hard-working family  man in a difficult place called “Not This Year.” Patricia’s story was inspired by the song “Mary, Did You Know?” Welcome to Historical Nibbles, Patricia!

 by Patricia Meredith

Joseph was working late again, so it was just me and Jesus. I cut up his lamb into small pieces, praying that maybe this time he’d eat the meat without complaint.

Like most children I’d known, he hadn’t yet “acquired a taste” for meat, but it seemed to me the only thing he had acquired a taste for was bread. Bread for every meal. My hands were growing sore with all the kneading.

“You cannot live on bread alone!” I cried when he refused once again to touch anything else before him.

His lips puckered and his eyes widened, and then he shoved in another fistful of bread.

I shook my head. At least he was growing.

                                   — “Mary, Did You Know?” by Patricia Meredith

Like Mary, I love baking bread. One of my favorites is a simple Pita Bread recipe that makes a delicious, chewy bread perfect for wrapping around fresh vegetables and hummus. It’s cooked in a cast-iron skillet, which means if you cook it over an open fire, you get that nice outdoor smell and flavor added to the food, reminiscent of the way Mary might have cooked it in her home.

INGREDIENTS:

1 cup warm water

1 packet (2 ¼ tsp) active dry yeast

2 ½- 3 cups all-purpose flour

2 tsp salt

1 tablespoon olive oil (+1-2 T olive oil for cooking)

DIRECTIONS:

Mix the water and yeast and let stand for about five minutes. Add salt, olive oil, and 2 ½ cups of flour. Mix until combined and then knead with more flour for about 5-7 minutes. The dough should be smooth and elastic. Try to be sparing with the extra flour—less is better.

Run a little olive oil into a clean bowl, roll the dough in the oil, and then let the dough rest in the bowl, covered, until it’s doubled (about 1 hour).

Turn the dough out and divide it into smaller pieces. Depending on how thick you like your pita, you can usually get about 12-16 out of the risen dough. Using a floured rolling pin, roll each piece into a flat circle.

Heat a cast-iron skillet over medium heat. Drizzle oil in the pan. Lay a pita on the skillet and bake 1-2 minutes, until the bubbles start to form, keeping an eye on it. It should get toasted spots on it. Flip again and cook another 1-2 minutes on the other side. It should puff up, forming small pockets.

Remove from heat and cover with a towel. Eat hot and fresh!


About Patricia:

Patricia Meredith is the author of historical and cozy mysteries. She currently lives just outside Spokane, Washington on a farm with peacocks, ducks, guinea fowl, chickens, and sheep. When she’s not writing, she’s playing board games with her husband, creating imaginary worlds with her two kids, or out in the garden reading a good book with a cup of tea. Check out her blog at Patricia-Meredith.com, or follow her on Instagram and Facebook at @pmeredithauthor.

“Mary, Did You Know?” is one of the stories included in the Christmas Fiction Off the Beaten Path anthology. Ask for it at your favorite bookstore.

Amazon

Mom’s Chicken and Dumplings

by Sandra Merville Hart

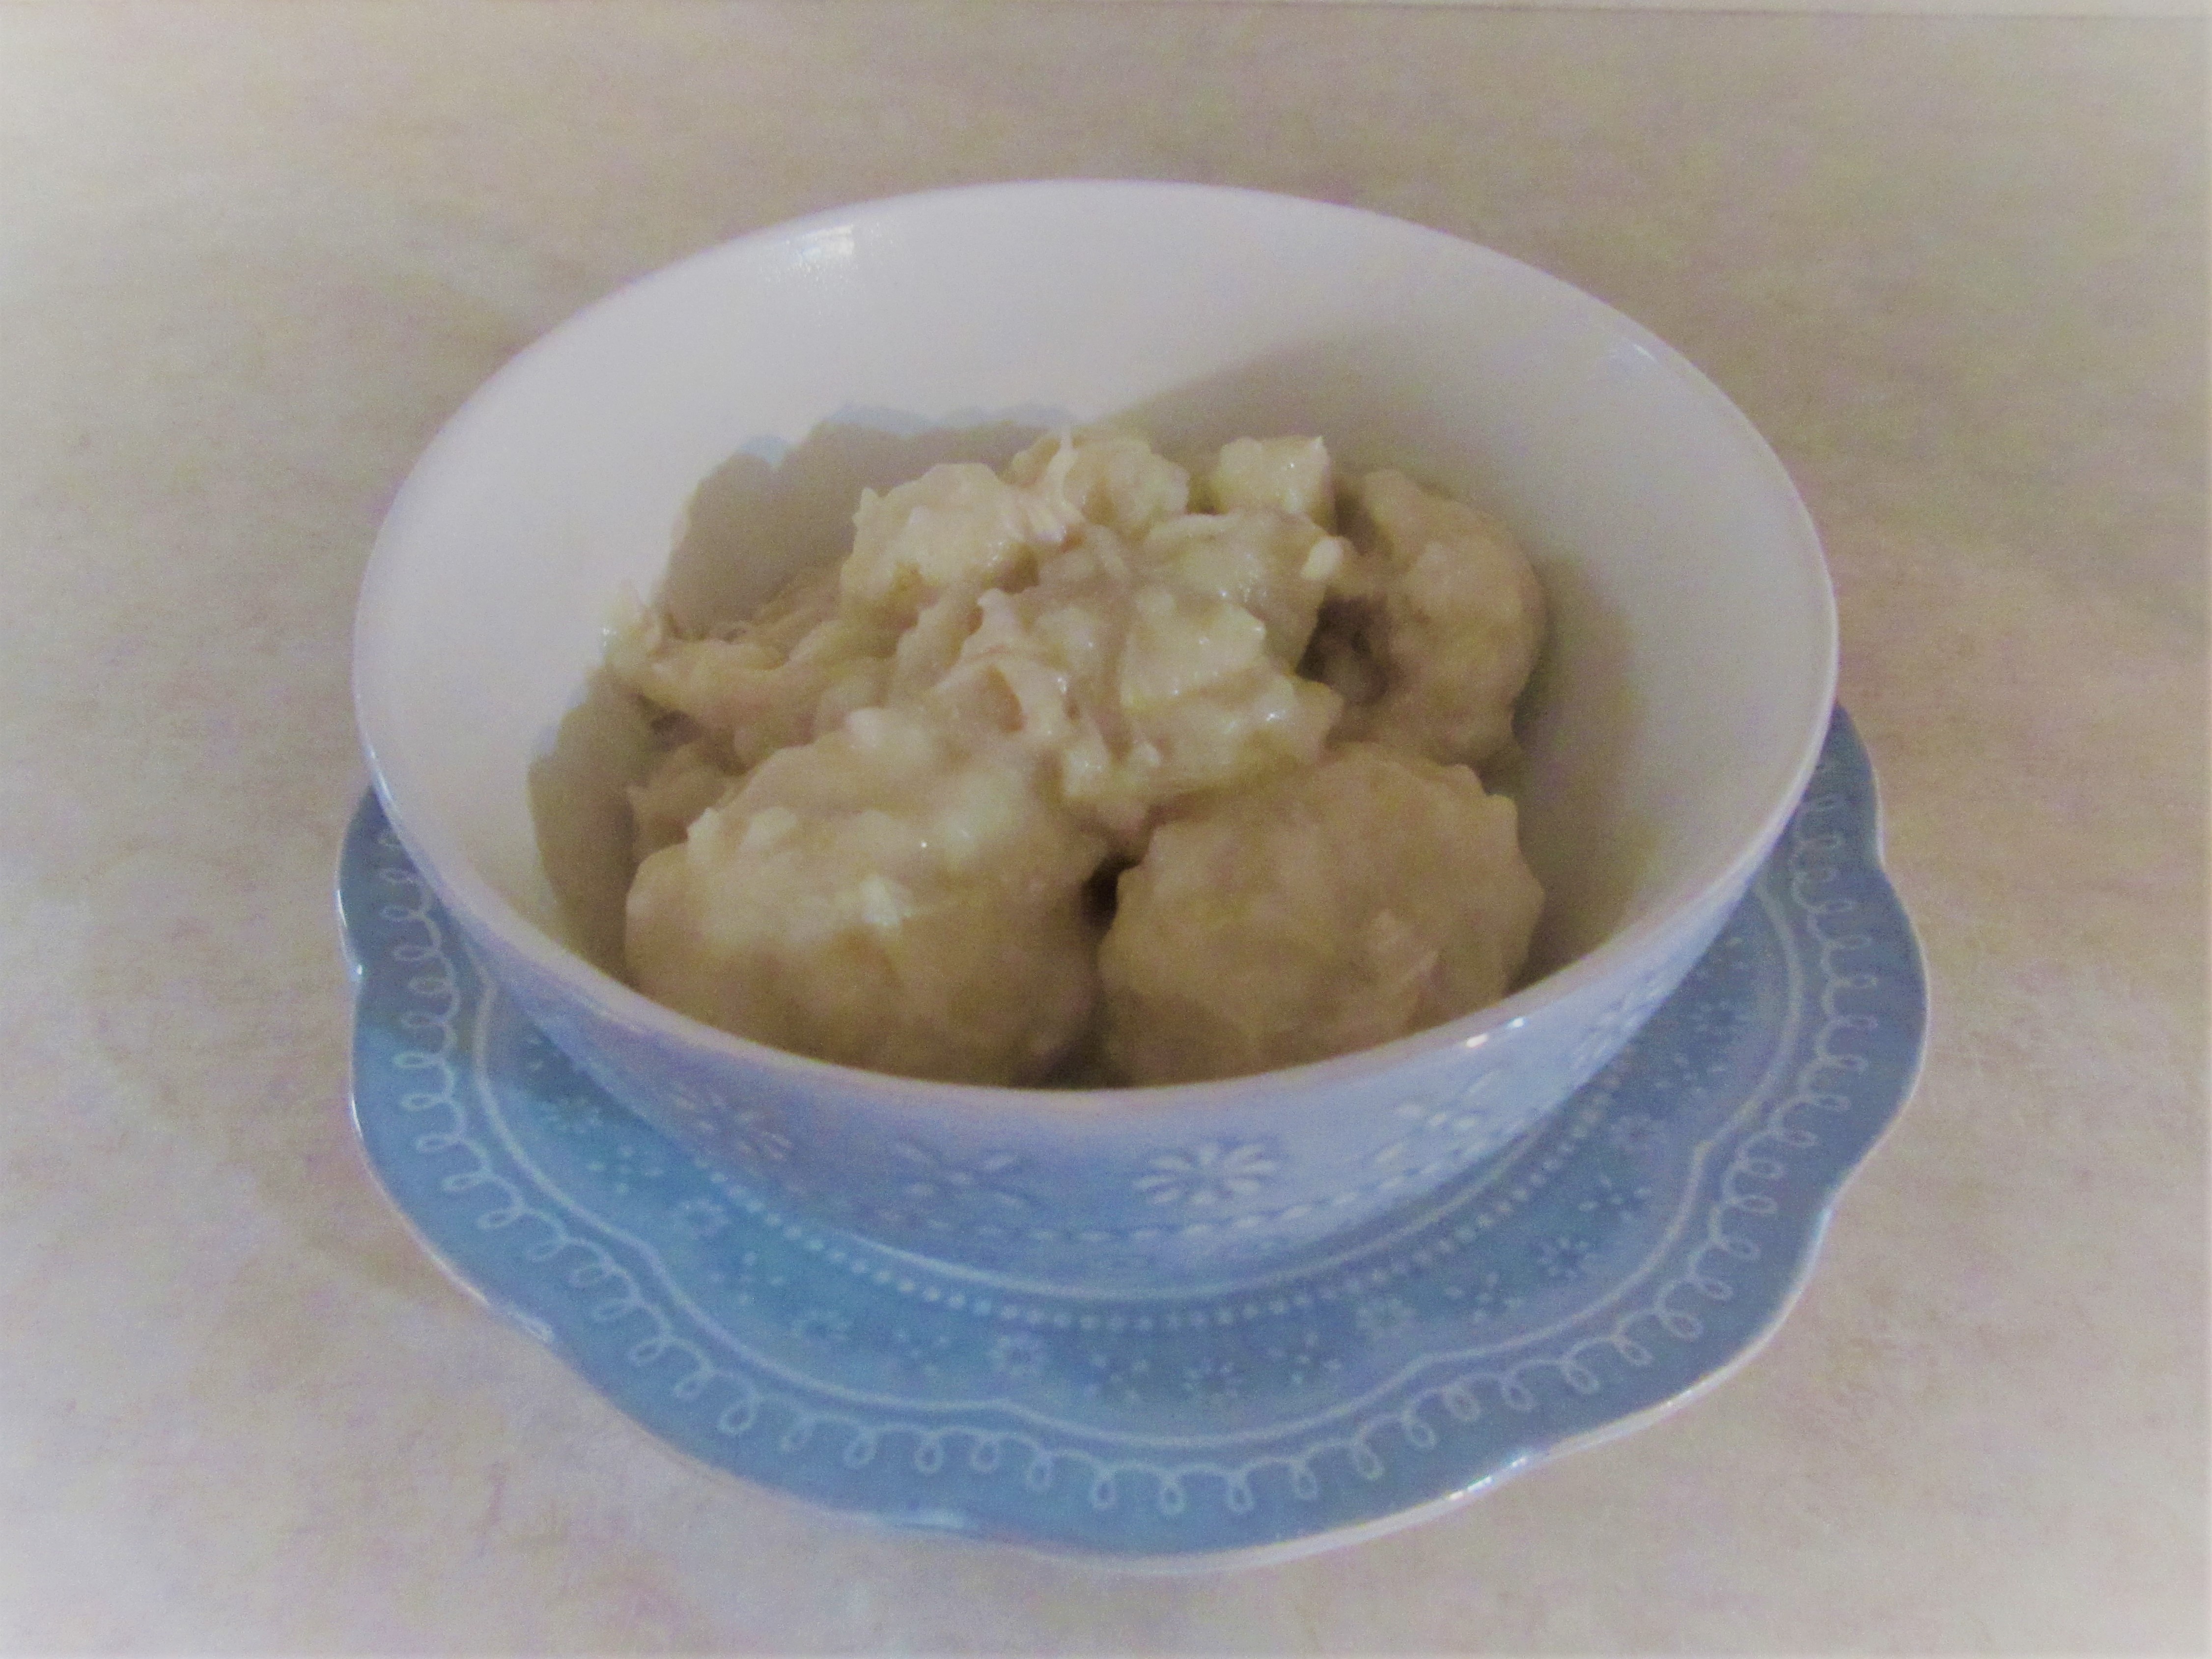
My mom made chicken and dumplings fairly often when I was growing up. As the cold weather approaches, this is still one of my favorite comfort meals. My family likes it almost as much as I do, especially my husband. My grandmother rolled out dumplings but my mom used a recipe for “drop” dumplings, which I like because it’s quicker.

3 chicken breasts

1 quart of chicken stock or chicken broth or 1 quart of water with 5 chicken bouillon cubes

3 cups all-purpose flour

1 ½ teaspoons salt

4 ½ teaspoons baking powder

6 tablespoons Crisco shortening

1 ½ cups milk

Cover chicken with broth (or chicken stock or water with bouillon cubes) in a crockpot and cook on low at least five hours or until tender.

When chicken is done, remove from broth and allow it to cool. Save this broth. Then shred the meat with 2 forks.

In a large saucepan, add the reserved broth and chicken. Bring to a low boil.

Sift together the flour, salt, and baking powder. Add shortening and blend it into the flour mixture with a pastry blender or a fork. Stir in milk until blended together.

When the broth gently bubbles (on medium to medium high heat) drop the dumplings into the broth by rounded teaspoon.

Cook about 10-15 minutes and then serve.

I’d love to hear if you try this recipe. Enjoy!

Marshmallows


by Sandra Merville Hart

Marshmallow root has been used for at least 2,000 years to soothe respiratory and digestive issues. It’s been used in desserts, beverages, and cosmetics. Most mallows are edible and were a delicacy for Romans. Folks in other European countries boiled it and then fried it in butter and onions.

Marshmallow root (Althaea officinalis) is a flowering plant that grows along rivers and marshes. The root is a brown, fibrous husk. It produces mucilage, a substance similar to sap, that has been used as an herbal medicine to treat coughs, dry mouth, and to soothe skin irritations. It may reduce digestive issues like ulcers.

Dried marshmallow root can be used to make a cup of tea.

The marshmallows that we are used to eating today usually don’t contain marshmallow root and had its beginnings in France about 170 years ago. In 1900, corn syrup, egg whites, and water were heated along with marshmallow root and poured into molds.

I followed the Food Network’s recipe to make marshmallows, a new dish for me. I halved the recipe—a mistake because I used a 13 x 9 pan to rest them in and this made a thin layer of marshmallow. (If you halve the recipe, I suggest using a 8 x 8 pan.)

This mistake turned out to be a good thing.

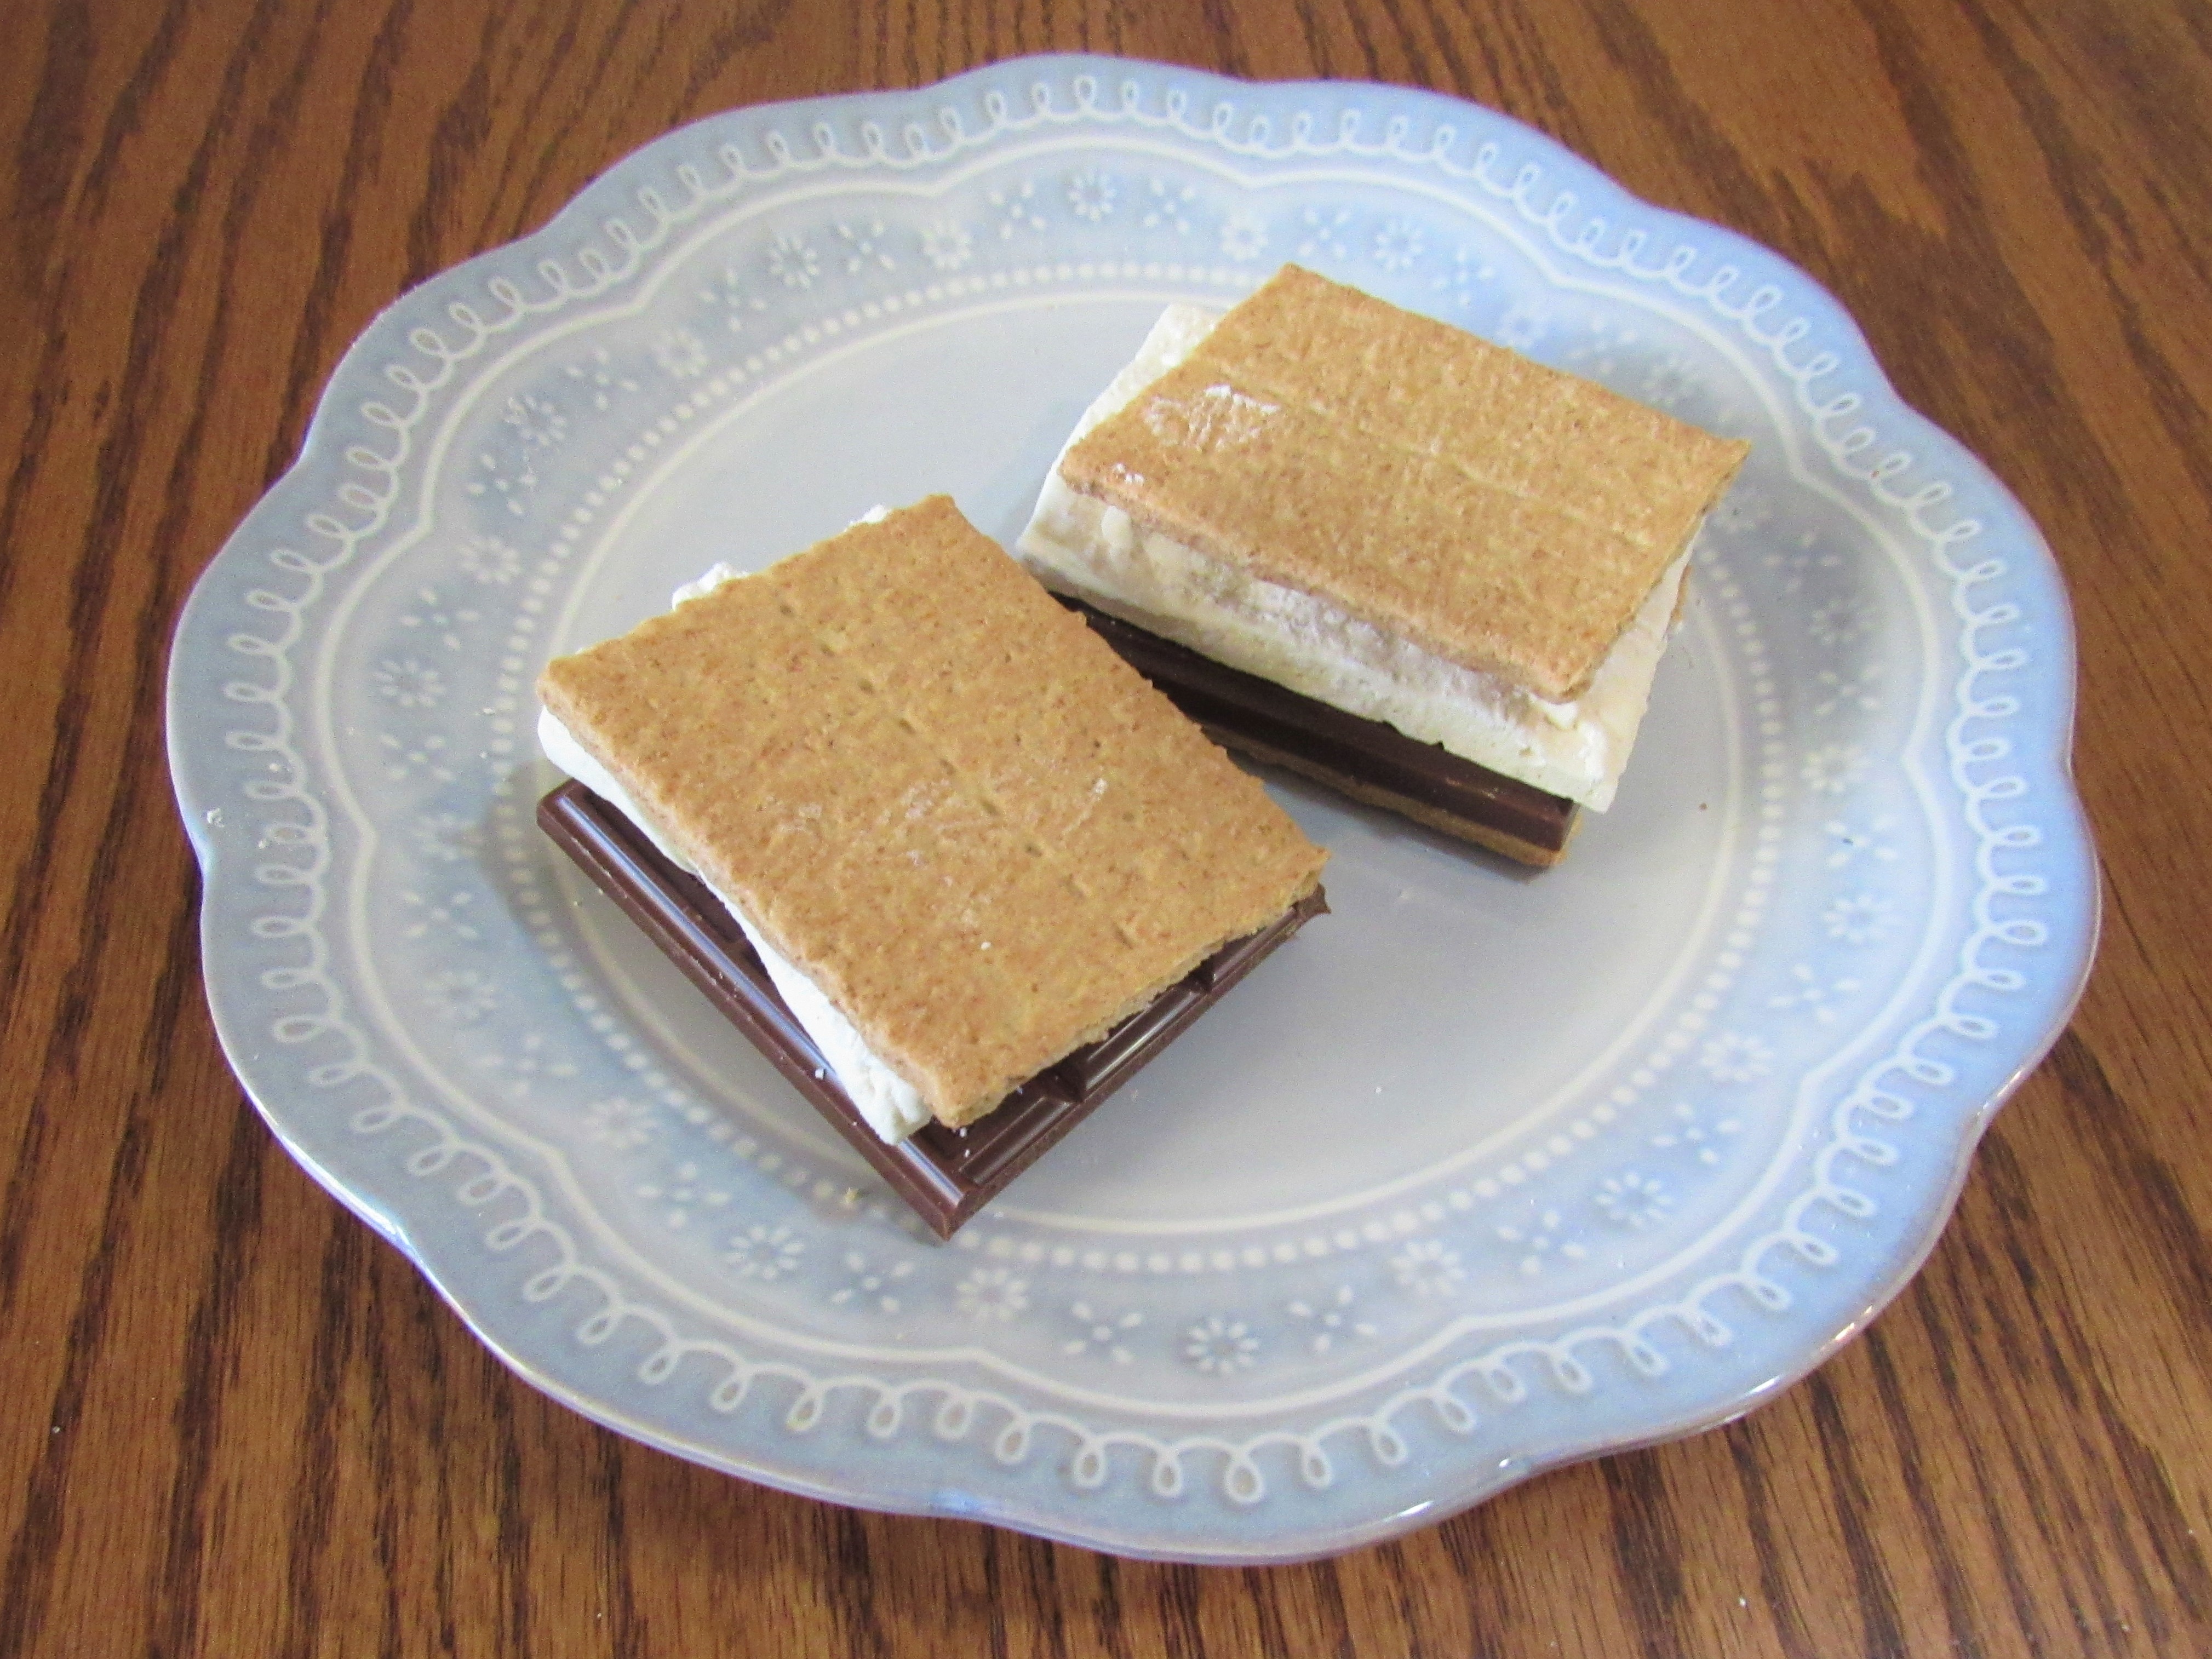
I needed to take a dessert to a family gathering so instead of slicing them into 1-inch squares, I sliced them into cracker-sized shapes for s’mores. It was perfect!

Family members loved this novelty dessert! If you want that “roasted over the fire” gooey taste, then layer a slice on top of a cracker, half of a Hershey’s chocolate bar and microwave for about 5 seconds. I preferred it unmelted (less messy) but everyone else preferred it melted.

Homemade marshmallows have to set for at least 4 hours or overnight so plan accordingly if you want to use them for your next campfire.

Sources

“Althaea (plant),” Wikipedia, 2020/10/12 https://en.wikipedia.org/wiki/Althaea_(plant).

“Homemade Marshmallows,” Food Network, 2020/10/12 https://www.foodnetwork.com/recipes/alton-brown/homemade-marshmallows-recipe-1953933.

“Marshmallow Root,” Mountain Rose Herbs, 2020/10/12 https://mountainroseherbs.com/marshmallow-root.

“What are the Benefits of Marshmallow Root?” MedicalNewsToday, 2020/10/12 https://www.medicalnewstoday.com/articles/324860.

Merle Smith Williams’s Famous Southern Meatloaf

by Sandra Merville Hart

I was so excited that friend and fellow author Debra DuPree Williams shared a recipe from her debut novel, Grave Consequences, that I asked her if I could share another one from her novel. Happily, she agreed.

I’m always happy to find a new recipe for meatloaf. This is her family’s recipe.

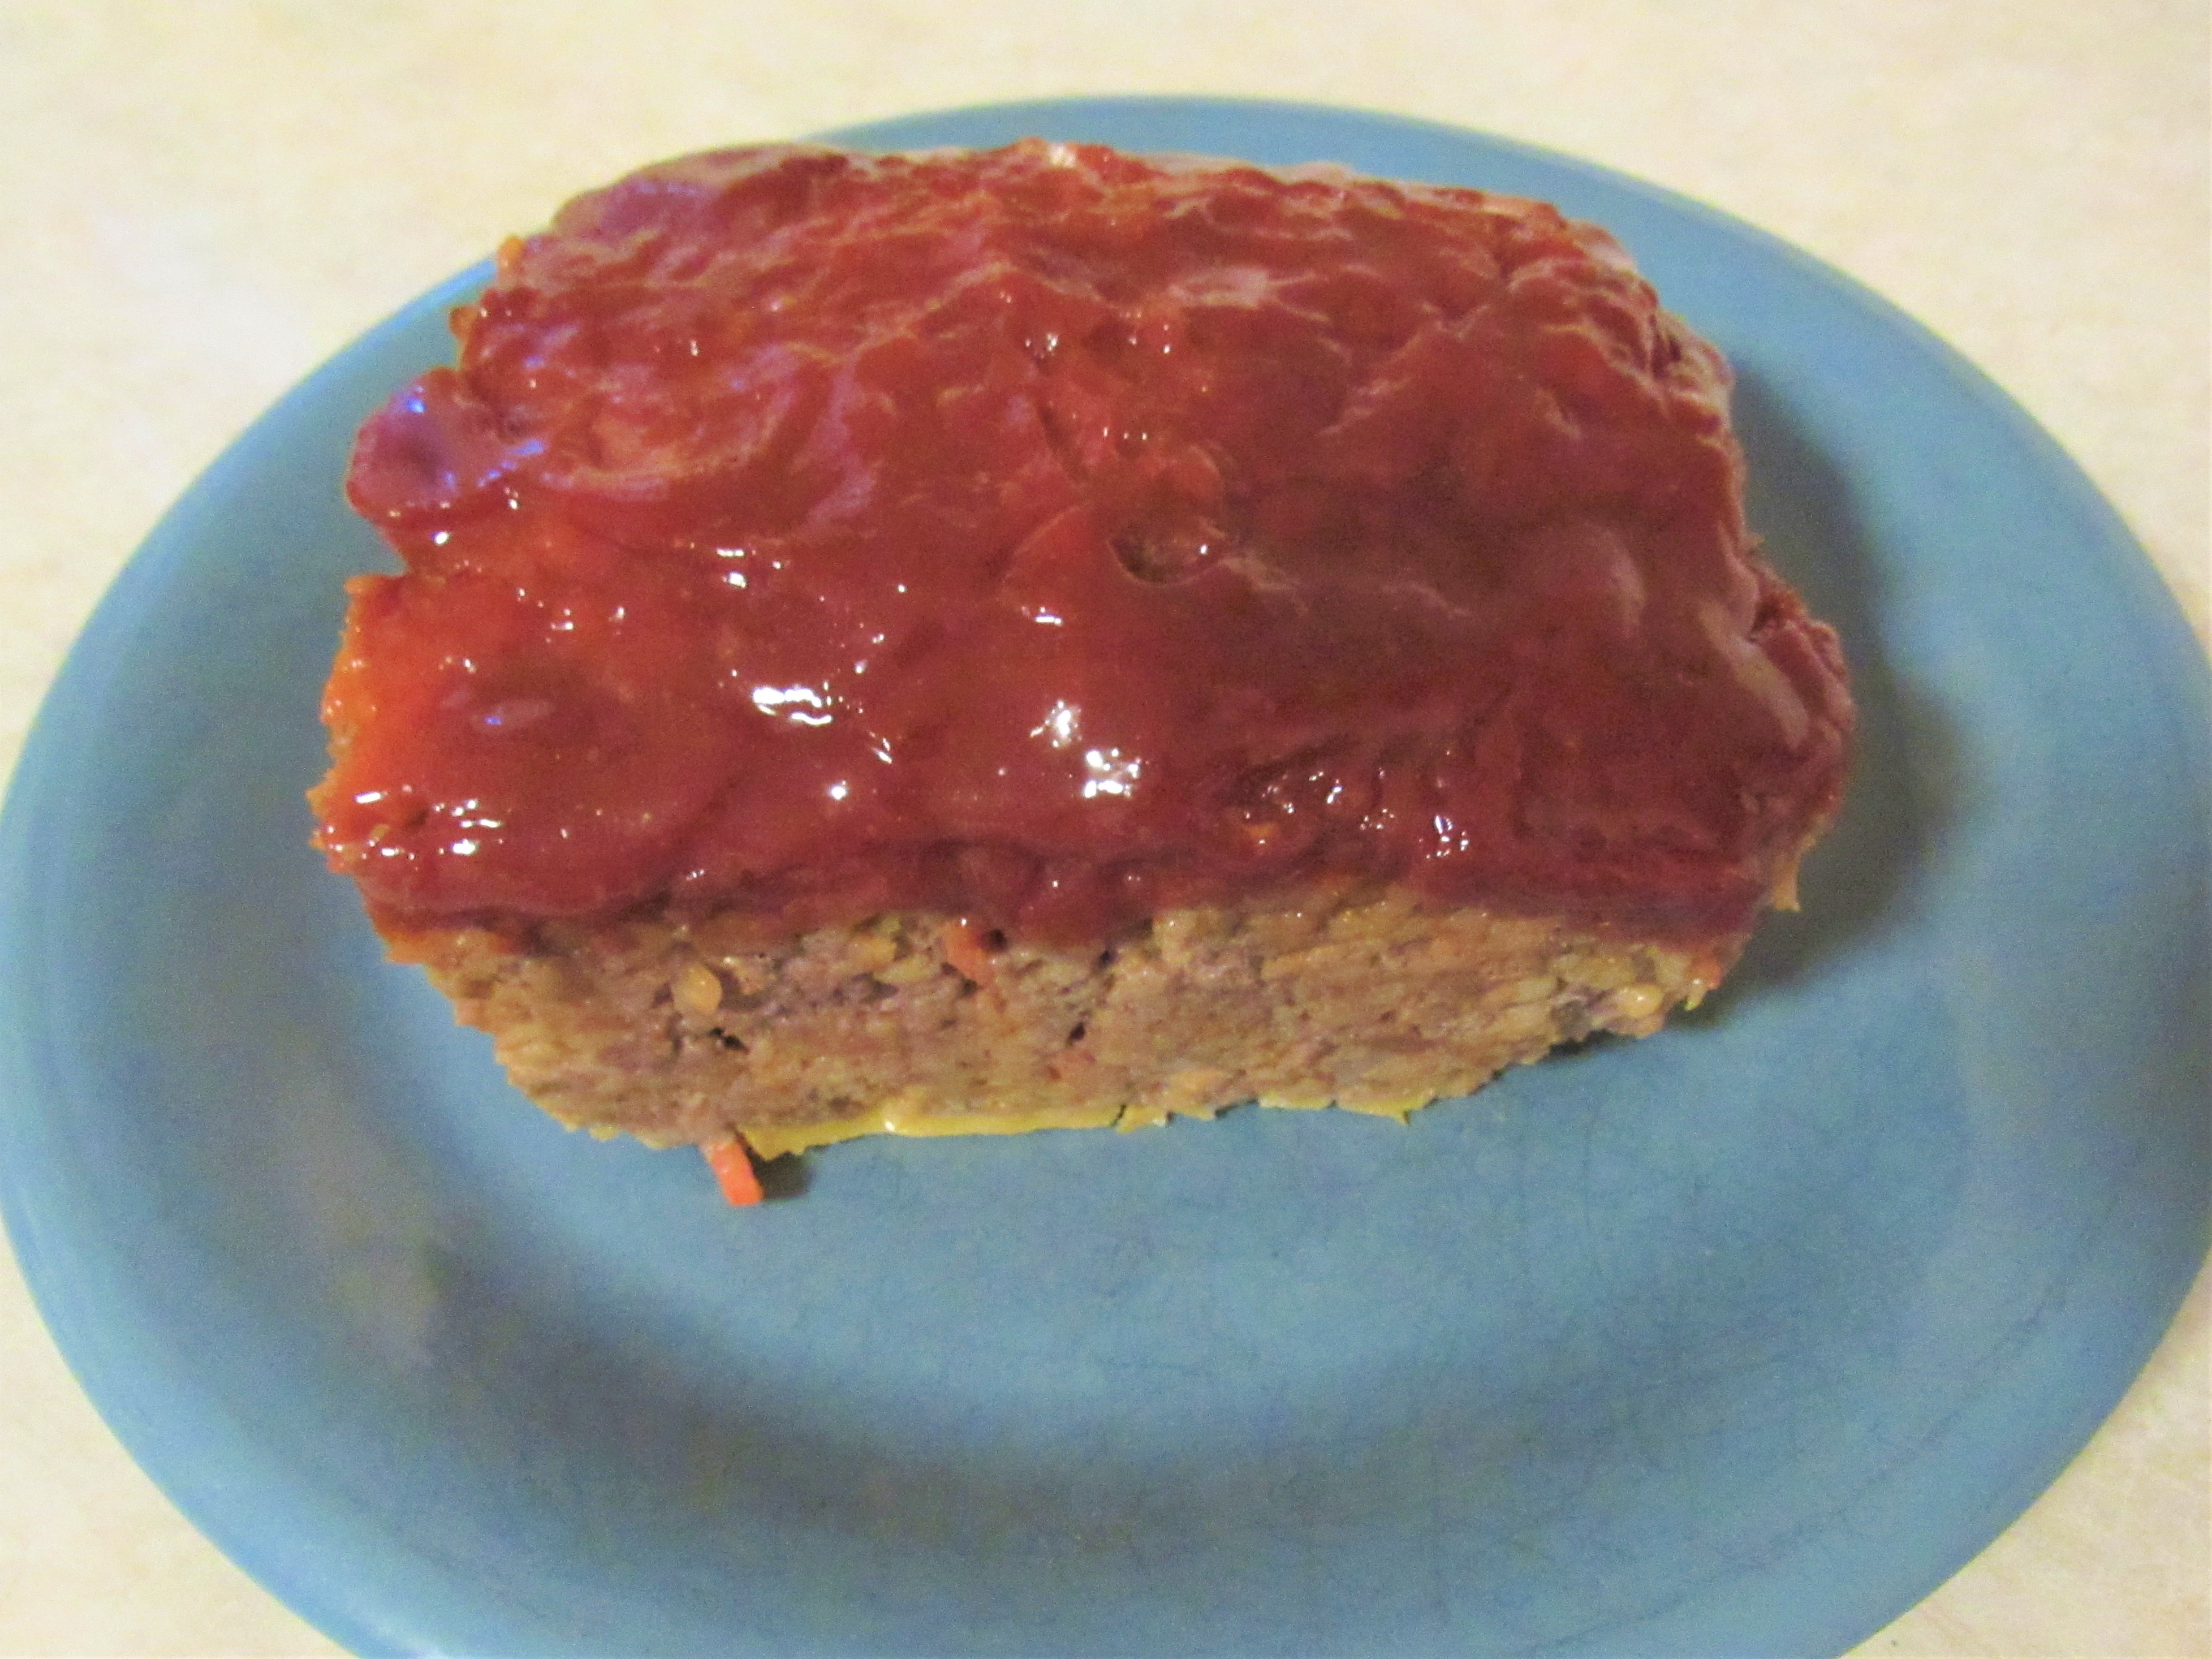
Merle Smith Williams’s Famous Southern Meatloaf

1 ½ pounds ground beef (use more if you have a big family)

1 cup cracker crumbs or stale bread broken into pieces (these days, I use canned breadcrumbs)

1 onion, chopped

½ bell pepper, chopped (I use red ones but you may use any or all colors)

½ cup shredded carrots

1 egg, slightly beaten

1 ½ tsp salt

¼ tsp pepper

½ can condensed tomato soup

Water if mixture seems too dry (add slowly, no more than ¼ cup at most)


Debra also included a tip from her dad: add 1 teaspoon baking powder to your meat mixture to keep it from drying out. This also works for hamburger patties. Thanks for the tip, Debra!

Combine all ingredients. Instead of using extra water, Sandra used extra tomato soup for enhanced flavor. Yum! Also, Sandra used Panko bread crumbs.

Form into a loaf and put it into a loaf pan.

Ingredients (for the topping)

½ cup ketchup

¼ cup dark brown sugar

1 tsp prepared mustard (the bright yellow kind)

Combine the above and spread over top of meatloaf.  Bake at 350 degrees for 45 minutes. Yields 8-10 servings.

Sandra’s note: my meatloaf needed an extra 10 minutes, so mine baked just under an hour.

Delicious! There’s a surprising sweet flavor until you remember about the brown sugar in the topping. The meat is moist and packed with vegetables. Shredded carrots are new ingredient for me to add to meatloaf and I liked it as an easy way to get an extra serving of vegetables.

My husband likes plain meats so I don’t often make meatloaf. I gobbled a couple of slices for supper one evening. Then it made a comforting sandwich for lunch 2 days before I froze the rest. That insures more meatloaf sandwiches in the future.

Thanks for allowing me to share this recipe with my Historical Nibbles family, Debra!

Sources

Williams, Debra DuPree. Grave Consequences, Firefly Southern Fiction, 2020.

Raspberry Frangipane Tart

I’ve been watching The Great British Baking Show and learning a lot about dishes that are new to me. Even more helpful is The Great British Baking Show Masterclass, where talented bakers Paul Hollywood and Mary Berry demonstrate their own recipes.

Mary Berry shared her recipe for a frangipane tart on one of the episodes. I’d never made one so I watched carefully and wrote down all the instructions.

She advised bakers that several fruits would taste delicious in this recipe. Just choose a fresh fruit that’s in season. Though her apricot frangipane tart looked delicious, they weren’t in season when I made the dessert. I chose raspberries instead.

Though it challenged me to convert “grams” to cups, her recipe was pretty easy to follow.

Frangipane takes it name from Marquis Muzio Frangipani, who lived in France. This 16th century Italian nobleman invented an almond scent that was used to add a fragrance to gloves. This somewhat bitter perfume inspired French bakers to create the classic frangipane recipe.

If you’d like to check out one of Mary Berry’s frangipane desserts, here’s the link.

I took this dessert to a family gathering and they were excited to try it. Frangipane was a new dish for everyone and most of them liked it. Some thought that the raspberry jam layer and the fruit of the top greatly enhanced the dessert. I liked it but felt it needed a little more almond flavor. I was very glad I tried it.

Have you ever made this dessert?

-Sandra Merville Hart

Sources

“Frangipane,” Baking Encyclopedia, 2020/07/19 https://www.bakepedia.com/baking-encyclopedia/frangipane/.

Granny’s Tea Cakes

by Sandra Merville Hart

I was so excited that friend and fellow author Debra DuPree Williams shared a recipe from her debut novel, Grave Consequences, that I asked her if I could share another one from her novel. Happily, she agreed. This is her family’s recipe for her Granny’s Tea Cakes.

Southern tea cakes are more like a thick cookie than a cake. They probably were created in rural Southern kitchens from basic ingredients and passed down through the generations.

“Sis and I lamented that we don’t have any of our granny’s recipes,” Debra says. “I doubt she wrote down anything. They were all stored inside her mind and her heart.”

Granny’s Tea Cakes

1 stick butter

1 cup sugar

2 eggs

1 Tbs. buttermilk

¼ tsp baking soda

flour (Note: she didn’t include quantity. See below.)

Cream butter and sugar. Add eggs, buttermilk, then soda. Add flour and beat until it is of a consistency that can be rolled out. (Sandra used about 2 cups of flour.) Roll out on floured board and cut into small cakes. Bake at 350 degrees until golden brown.

I used a glass as a “cake cutter” and baked them in a preheated oven for about 20 minutes. Depending on the individual size of the cakes, you may need more or less time.

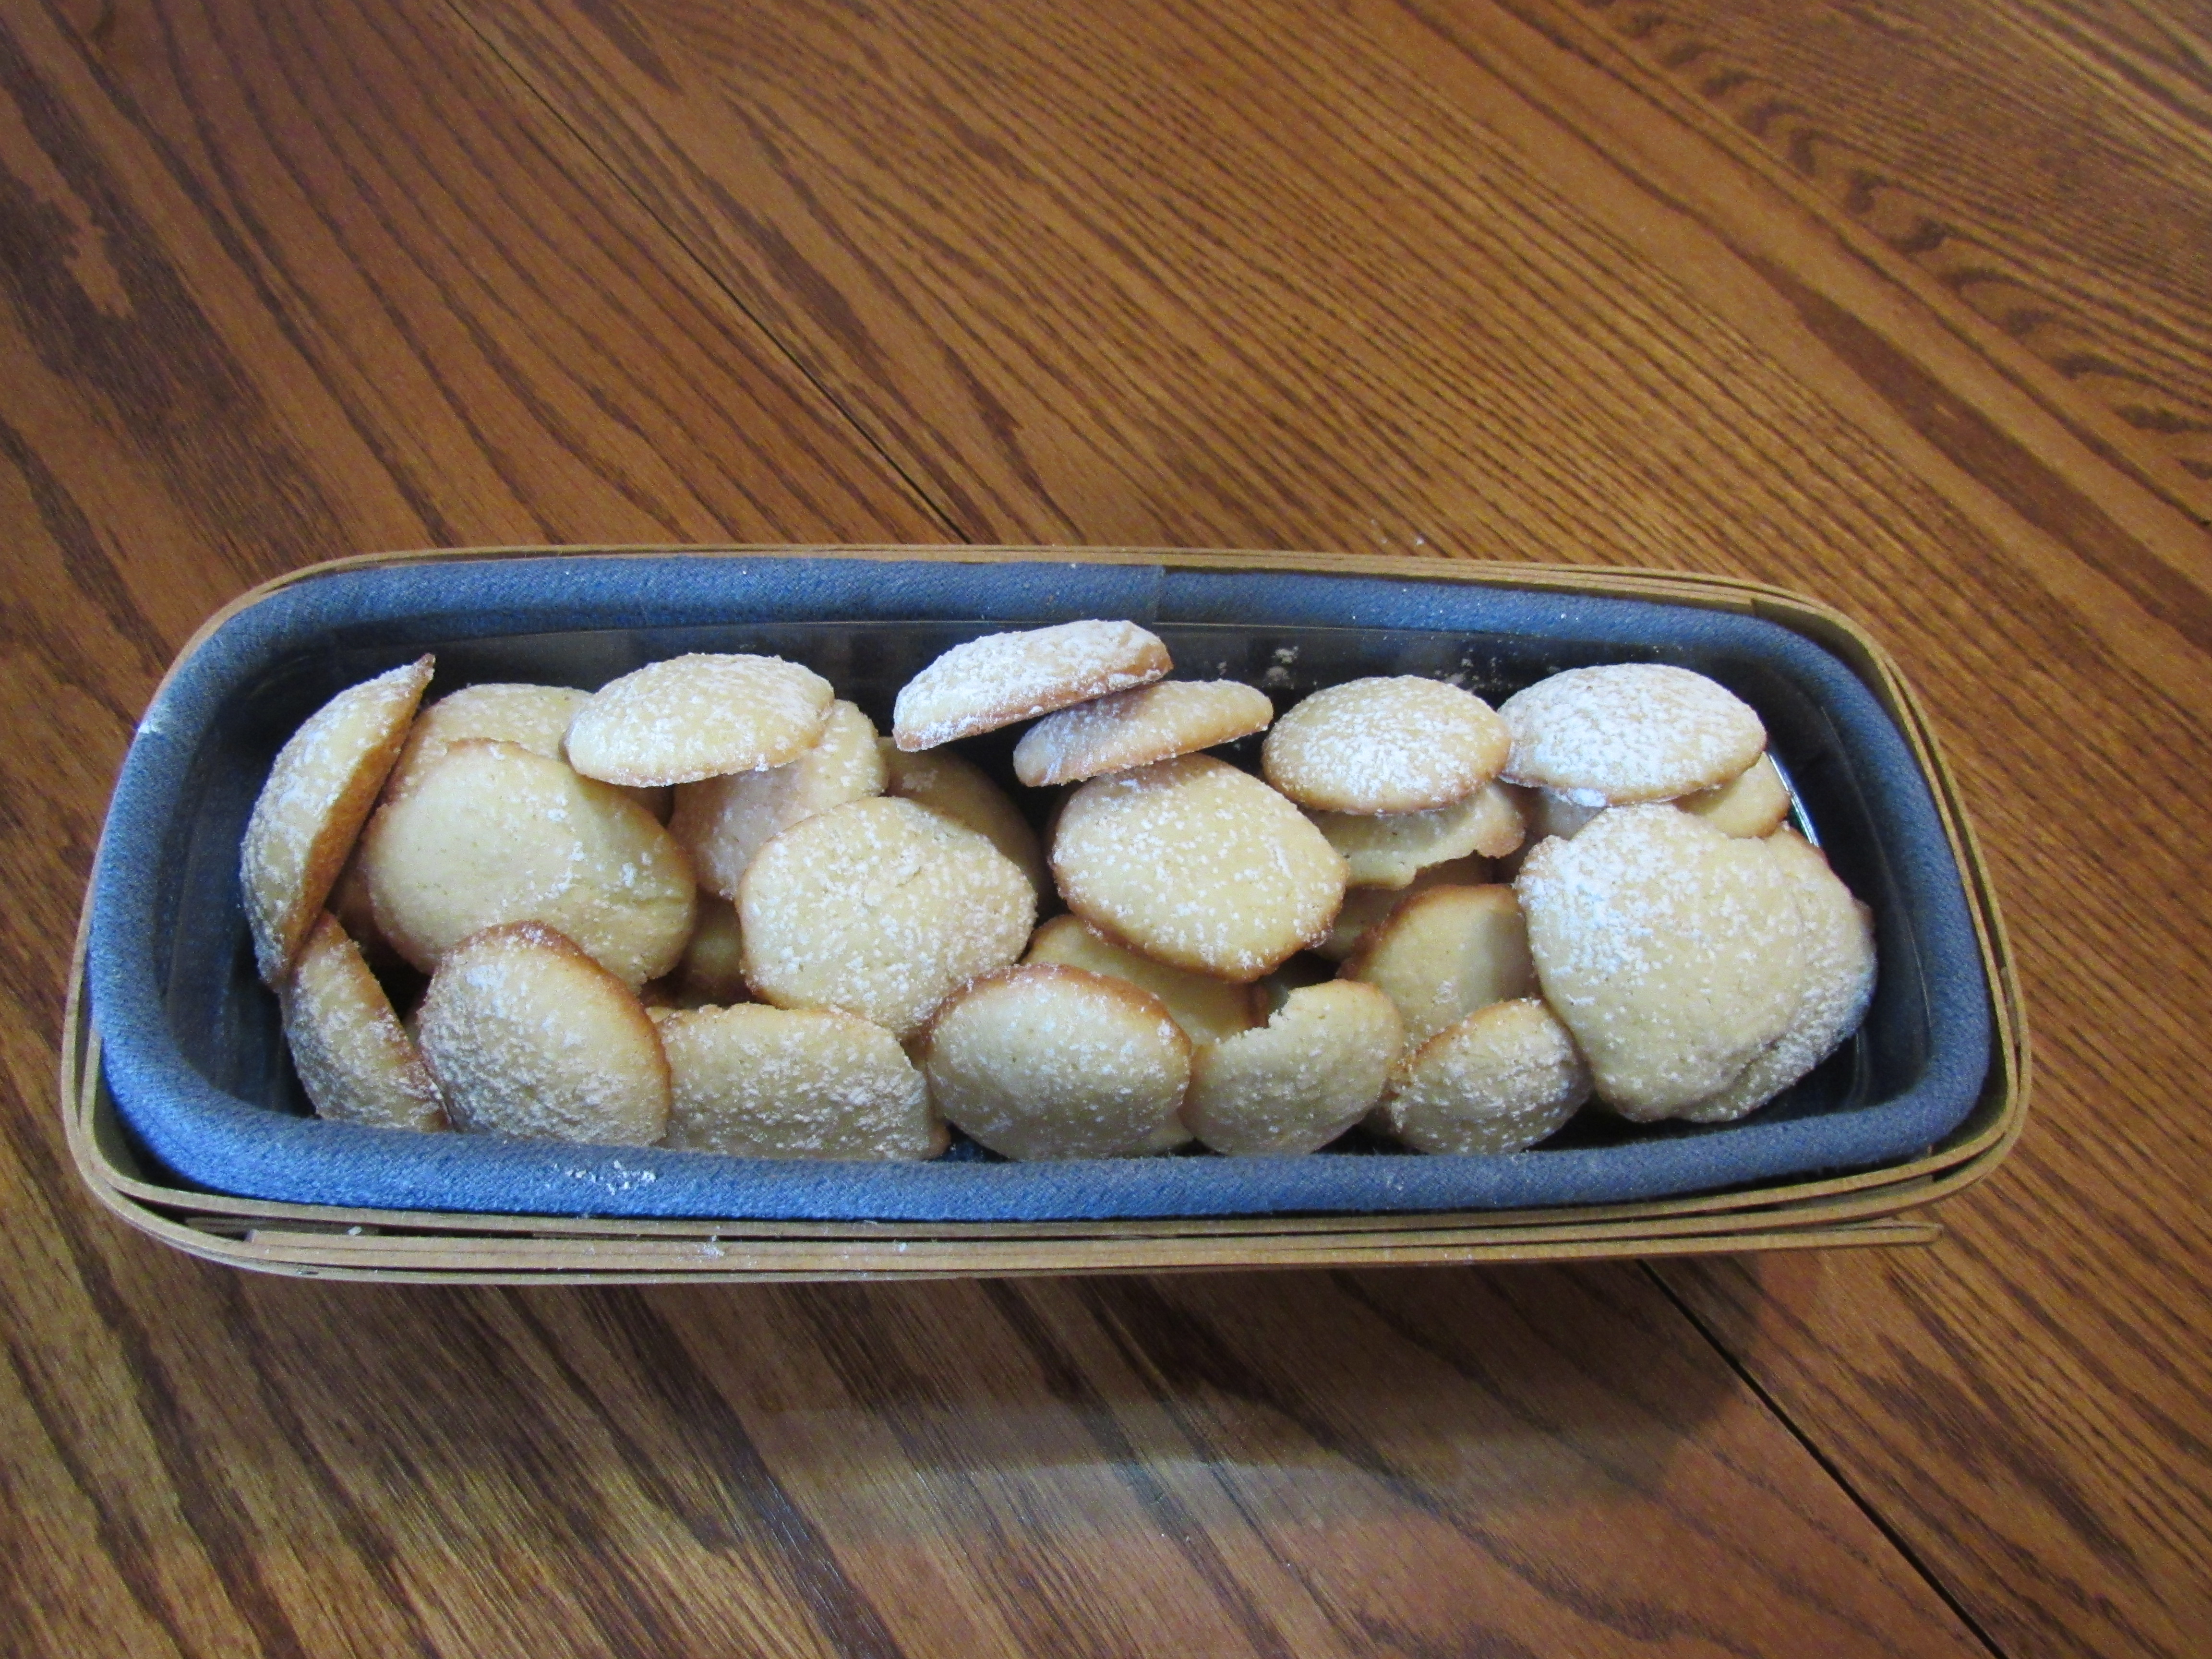
These are deliciously soft, thick cookies that remind me of my own grandmother’s stack cakes. The tea cakes are a little plain so I dusted mine with powdered sugar. The next time I bake them, I’ll add cinnamon to the batter.

This basic recipe will be easy to modify to your family’s preferences.

Thanks for allowing me to share these tea cakes with my Historical Nibbles family, Debra!

Sources

Williams, Debra DuPree. Grave Consequences, Firefly Southern Fiction, 2020.

Shannon, Patricia. “What is a Southern Tea Cake Anyway?”, Southern Living, 2020/08/22 https://www.southernliving.com/desserts/cookies/southern-tea-cakes.

Vegetable Pizza

My daughter asked me to bring an appetizer to a gathering at her home. Vegetable pizza is more exciting, in my opinion, than veggies and dip. Chopping the vegetables is the biggest part of the preparation.

I made it easy on myself by using the refrigerated dough sheets.

Ingredients

1 packet dry Ranch dressing mix

1 cup (8 ounces) sour cream

1 cup (8 ounces) cream cheese, softened

2 packages refrigerated dough sheets (can use crescent rolls)

1 cup fresh broccoli, chopped

1 cup cauliflower, chopped

1 cup tomatoes, diced

1 cup cucumbers, diced

1 cup shredded carrots

1 cup shredded cheddar cheese

Preheat the oven to 375 degrees.

Combine the Ranch dressing mix, sour cream, and cream cheese. Mix well and set aside.

Chop the broccoli and cauliflower, using the florets. Discard the thick stems or use in another recipe.

Dice the tomatoes and cucumbers. (I usually put these on my veggie pizza. Since my daughter doesn’t like them, I left them off this time. That’s the beauty of this recipe—choose the raw veggies that your family loves.)

Roll out the dough sheet onto a baking sheet and bake for 10 – 12 minutes or until lightly browned. Allow it to cool for 10 – 20 minutes. (I purchased 2 packages and placed one each on two different baking sheets so that half could remain in the refrigerator while the first one was being served.)

Spread the Ranch dressing mixture over the crust once it cools. Scatter the veggies, one type at a time, over the dressing mixture. Top with cheddar cheese.

Refrigerate for at least an hour. Slice and serve.

Hope your family enjoys it!

-Sandra Merville Hart

Oregano

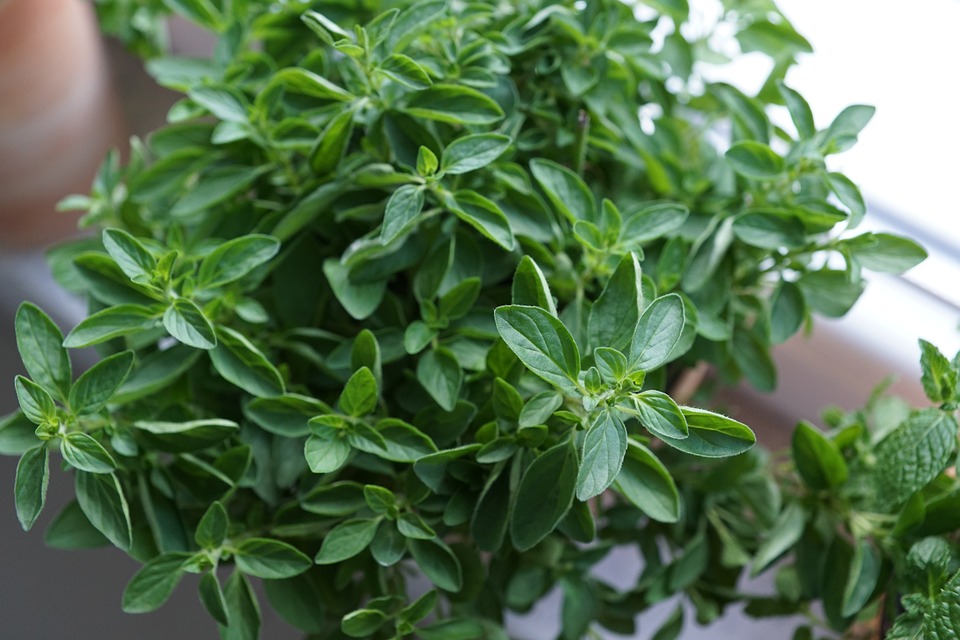
I add oregano to vegetable soup and cabbage soup. I love the aroma, which is enough to pique my appetite!

Of course, this is a popular seasoning in pasta dishes as well as pizza. Oregano can be chopped and added to pizza dough or bread dough.

This versatile seasoning may be used on fish, meat, sausages, in salads, marinades, and a variety of other dishes.

Dried oregano usually has more flavor but can grow stale if kept too long.

I was surprised to learn that the name is Greek and means “joy of the mountain.” Though the United States is now one of the leading producers of oregano, it was little-known until World War II soldiers, who had been stationed in Italy, returned home and talked about the herb.

Historically, both the Greeks and Chines used oregano for medicinal purposes.

It contains an antioxidant. It’s been used to treat colds, indigestion, diarrhea, and asthma.

Researchers are studying oregano for anti-inflammatory and anti-bacterial benefits. There is also some evidence that it may help fight some forms of cancer. Also, oregano may help those with Type 2 Diabetes to improve insulin resistance.

Of course, always consult your doctor before trying any of these as treatments.

-Sandra Merville Hart

Sources

Brazier, Yvette. “What are the health benefits of oregano?” Medical News Today, 2020/07/19 https://www.medicalnewstoday.com/articles/266259#nutrition.

“Oregano,” New World Encyclopedia, 2020/07/19 https://www.newworldencyclopedia.org/entry/Oregano.

Bubble Solution

This pandemic has made us scramble to find items that used to be in ready supply. One of them—at least for my family—has been bubble solution.

My grandchildren are the perfect age to love chasing bubbles around my yard. Current conditions have curtailed activities for all of us. Because we have been staying at home more than usual, our bubble machine has gone through over two gallons of bubble solution this summer.

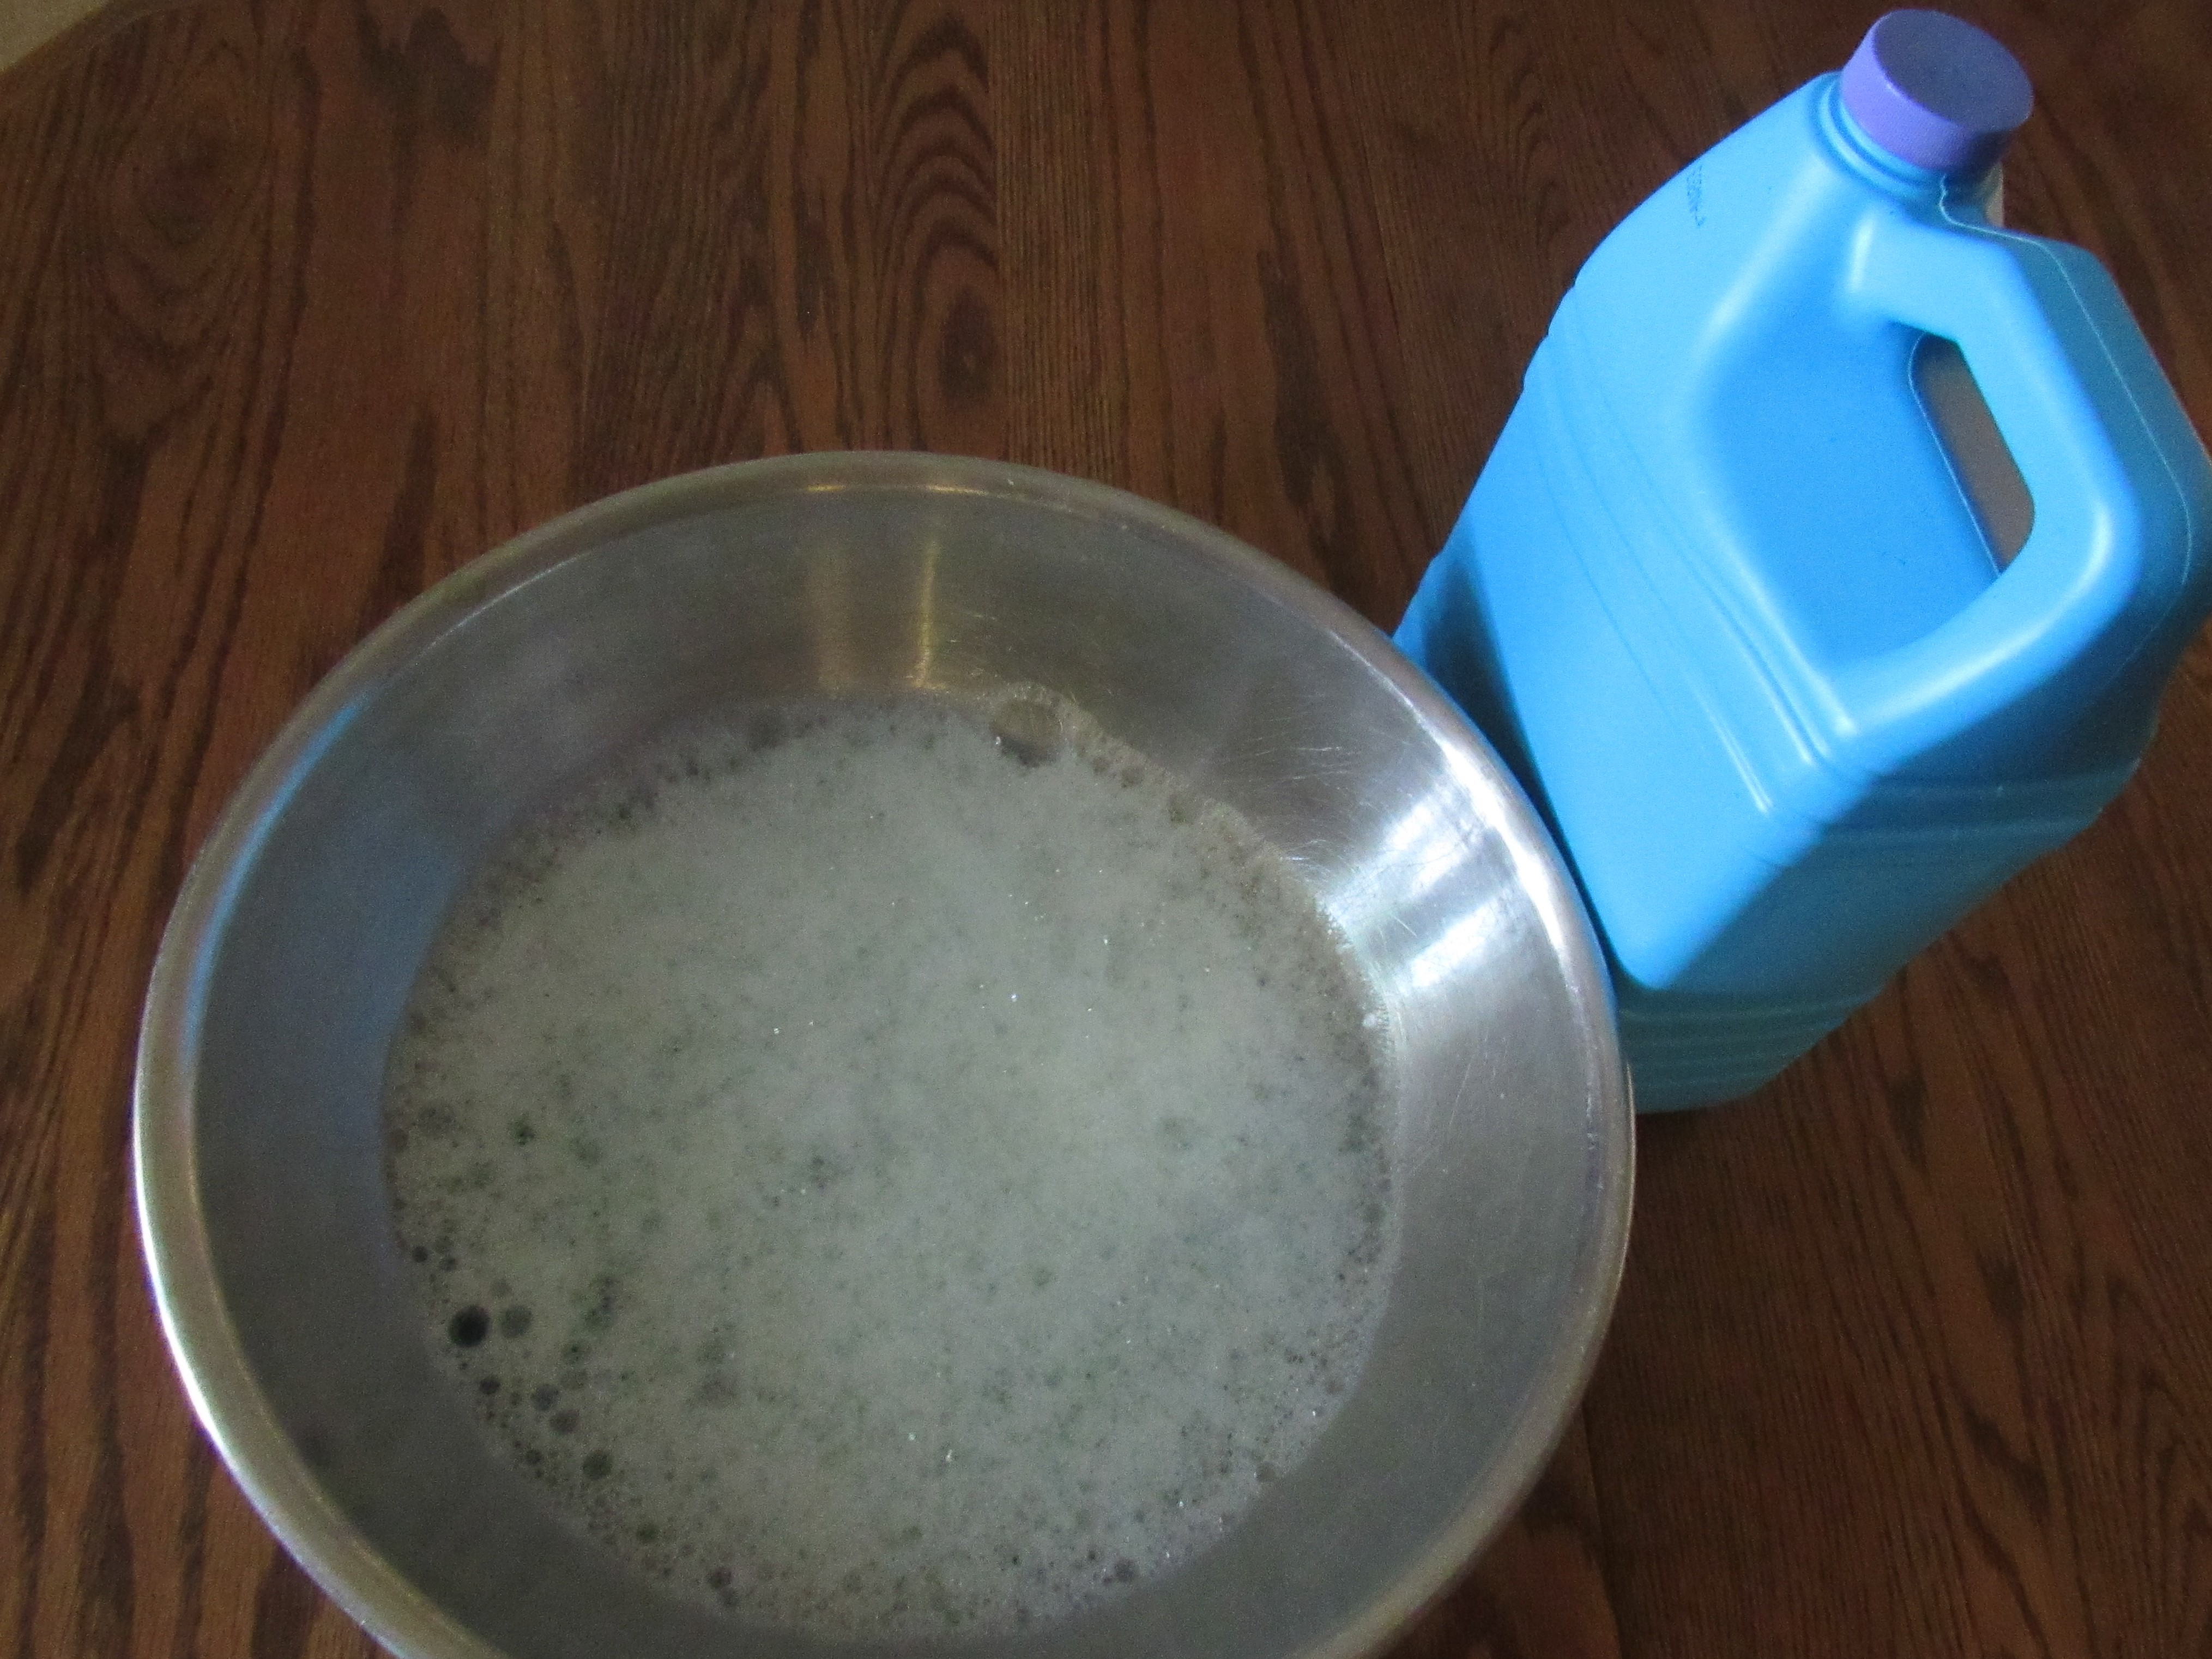
Here’s a simple recipe that mostly fills a standard large bottle of bubble solution. Save those old bottles and make your own.


Use a medium-sized bowl.

1 ½ cups dish soap

4 ½ cups water

2 tablespoons sugar


Combine these together gently or you’ll have lots of bubbles in the bowl. Mine turned out a little sudsy and I set it aside for a few minutes. 😊

Store in a bottle until ready to use.

We’ve already tested this recipe and it works great. Enjoy!

-Sandra Merville Hart