Today’s post is written by my dear friend and fellow author, Catherine Castle. Her newest novel, A Groom for Mama, just released. She has a fun, witty style of writing that captivates readers. I can’t wait to read this novel. Welcome, Catherine!
If there’s one thing we know about wedding cakes today, it’s that they come in a wide variety of style, flavors and sizes. If you look on the internet you can find wedding cakes ranging from simple two or three layers to towering monstrosities or multi-flavored cakes connected with plastic bridges and even individual cupcakes. But nowhere have I seen a wedding cake that resembles the one the groom broke over his bride’s head in Roman times. In ancient history, and even up to Victorian times, the wedding cake bore little resemblance to the sweet confections of today.
In ancient Rome, the bridal cake was a simple, unsweetened barley loaf. The groom would eat part of the loaf and break the remainder over the bride’s head. This was a symbolic act thought to bring prosperity and good fortune to the couple. Wedding guests would try to eat the crumbs from the cake so they could also share in the good fortune showered down on the bride’s head.
In medieval England, the bridal cake was composed of buns or small cakes. Stories remain from accounts telling of stacking the cakes as high as they would go. If the bride and groom were able to kiss over the tall stack it was thought they would have a life of prosperity.
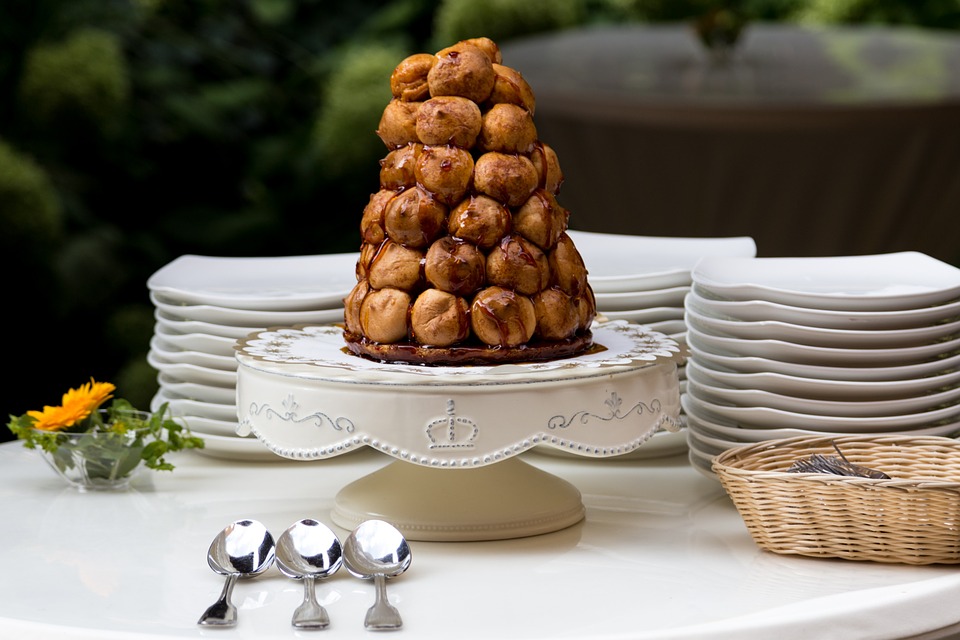
 By the 1660s the story is told of a French chef who was traveling through England and saw the stacked pile of cakes at a wedding. After returning home he devised a method of constructing rounded cakes or buns into a tower form called a Croquembouch. This tiered pile of cakes became the traditional French wedding cake. Today it’s common to place a Croquembouch on top of a more modern layer cake.
From the mid-1700s a Bride’s Pie was introduced at wedding meals. The pie, which was a meat pie, not a sweetened concoction, was filled with sweetbread, mincemeat, or mutton. Bride’s cakes, which were more like fruitcake than the typical white batter cakes we associate with today’s weddings, might also be eaten.
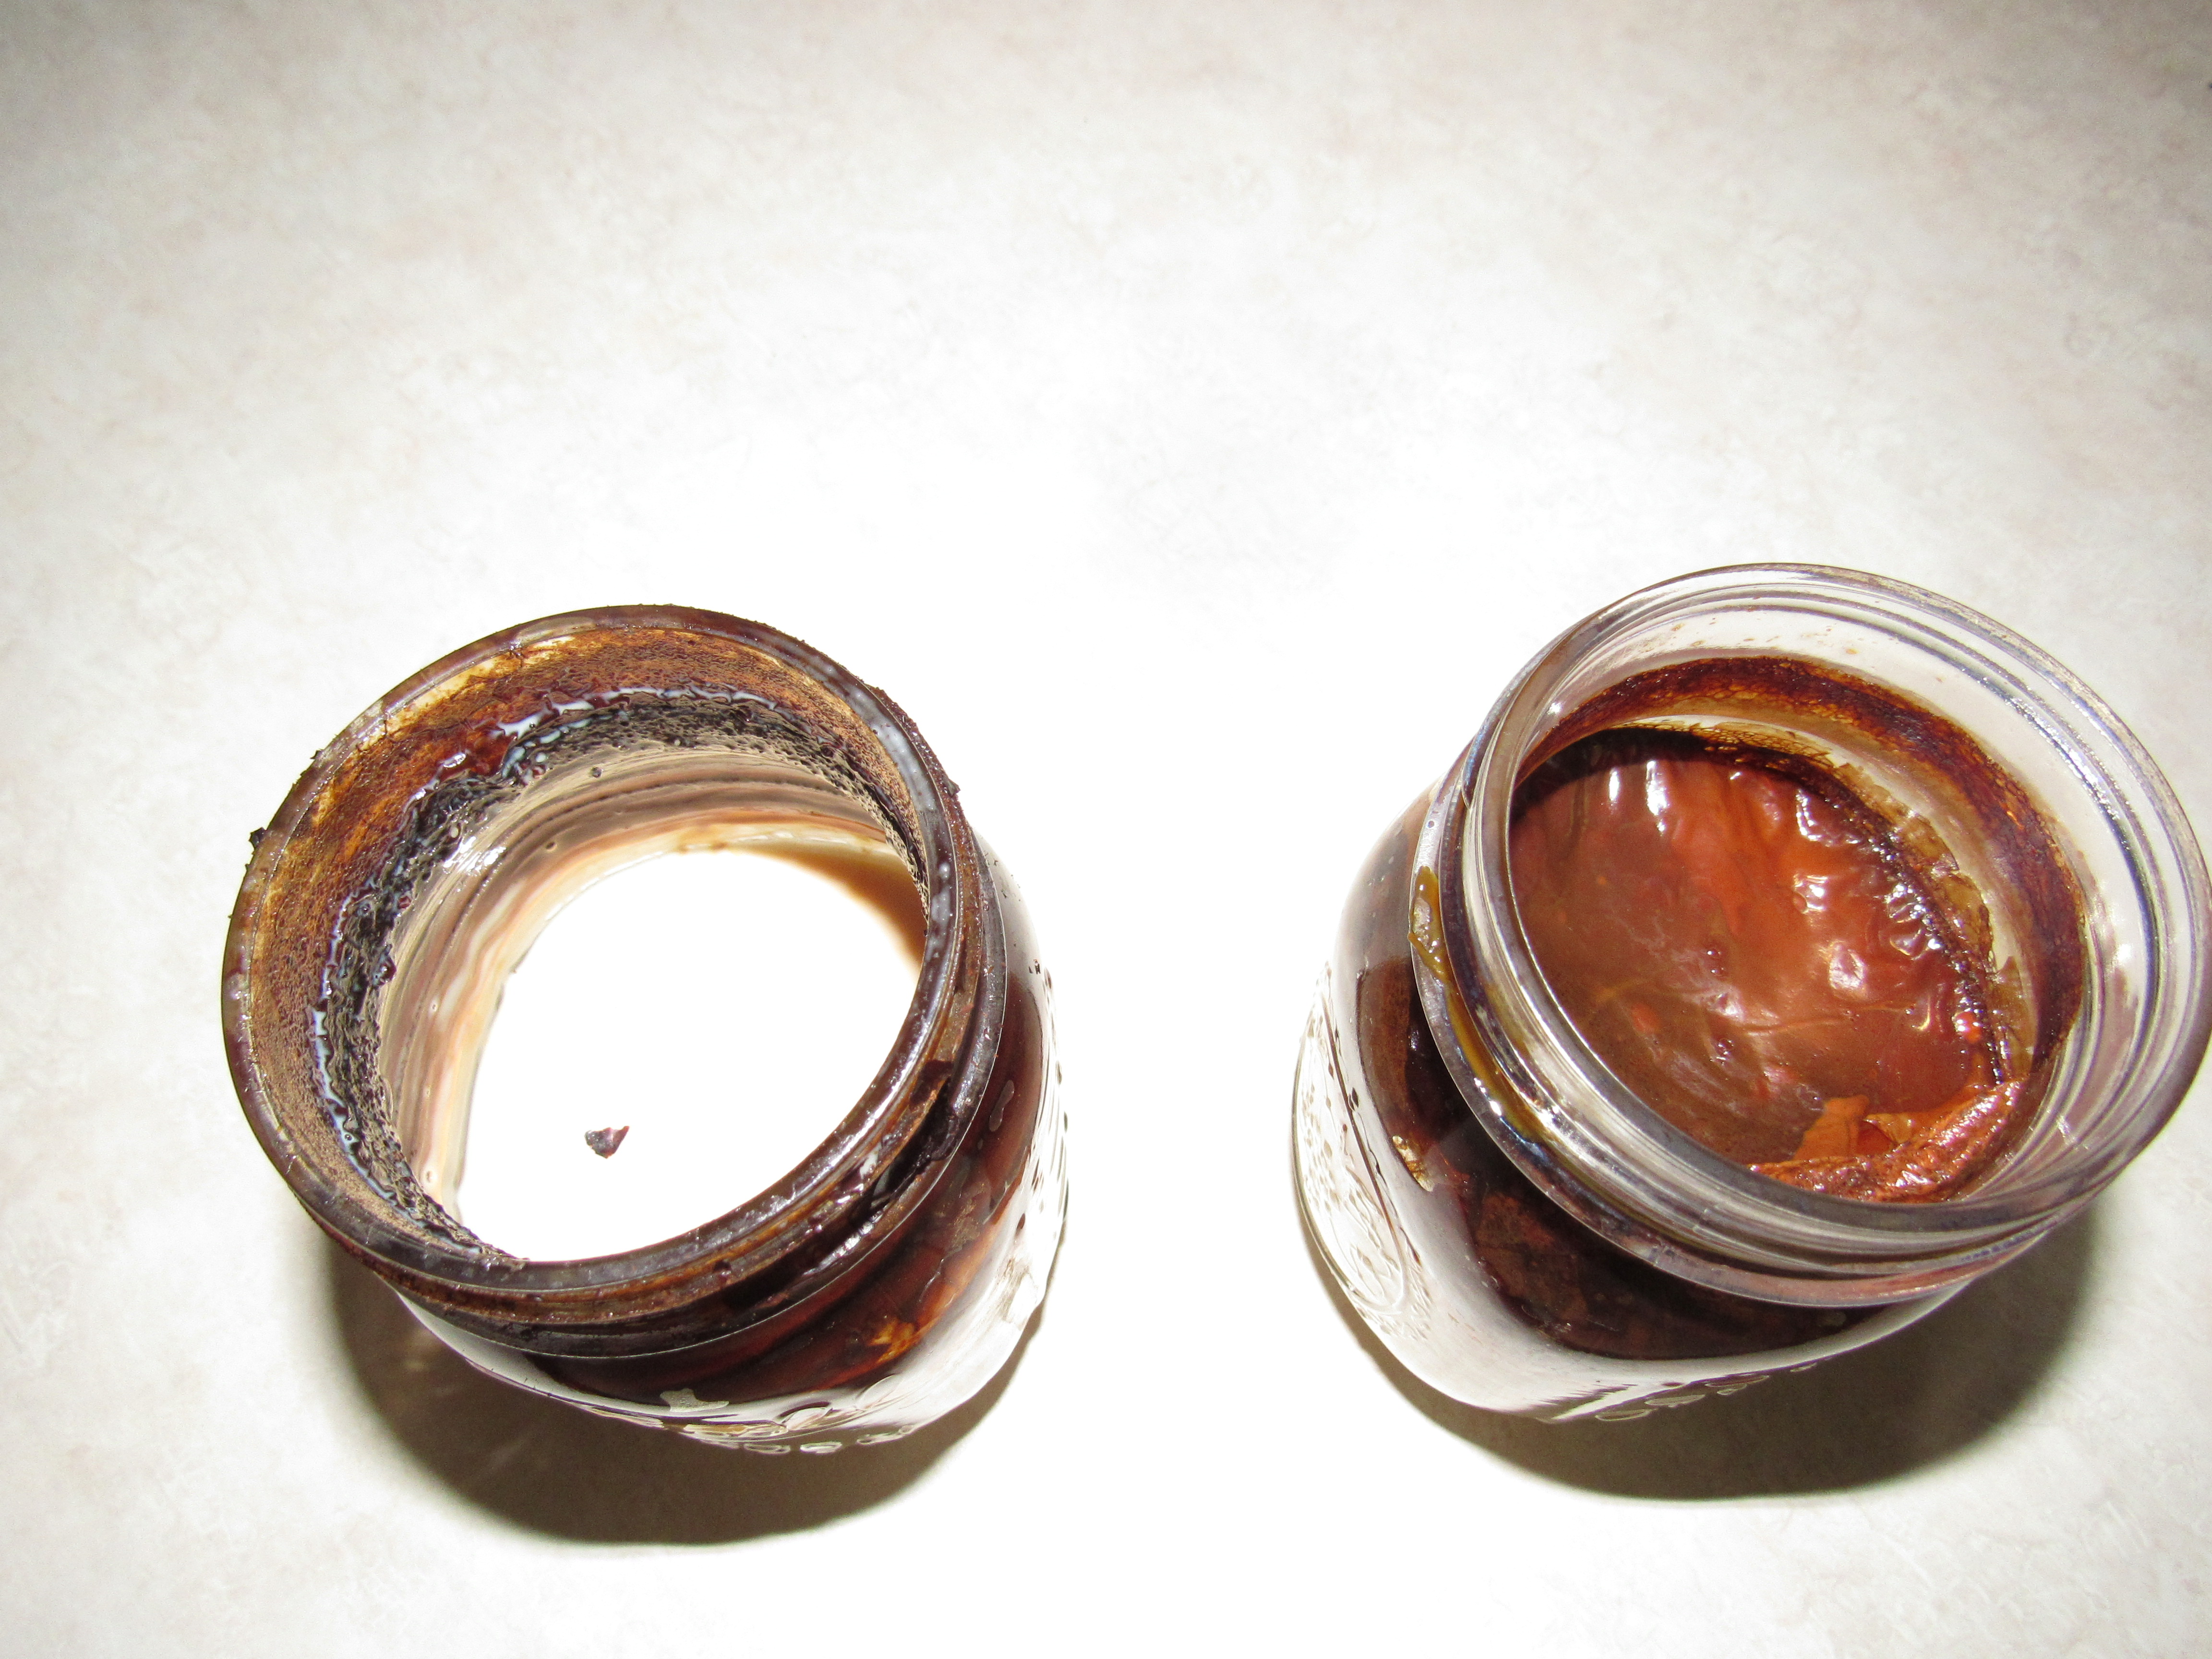
Groom’s cakes appeared in the 1880s and were typically darker-colored fruitcakes that were much smaller than the bride’s cake. Bride’s cakes, in Colonial times, were very rich creations, often reserved for the wealthy who could afford the ingredients. Because they were so labor intensive to make, the cakes were made weeks ahead of the wedding and soaked in alcohol to preserve them for the wedding date.
In the 1800s bride fruitcakes were still the norm. Below is a typical recipe for a wedding cake from an 1833 recipe book, courtesy of http://www.foodtimeline.org/foodcakes.html#weddingcake
[1833]
“Wedding Cake
Good common wedding cake may be made thus: Four pounds of flour, three pounds of butter, three pounds of sugar, four pounds of currants, two pounds of raisins, twenty-four eggs, half a pint of brandy, or lemon-brandy, one ounce of mace, and three nutmegs. A little molasses makes it dark colored, which is desirable. Half a pound of citron improves it; but it is not necessary. To be baked two hours and a half, or three hours. After the oven is cleared, it is well to shut the door for eight or ten minutes, to let the violence of the heat subside, before cake or bread is put in. To make icing for your wedding cake, beat the whites of eggs to an entire froth, and to each egg add five teaspoonfuls of sifted loaf sugar, gradually; beat it a great while. Put it on when your cake is hot, or cold, as is most convenient. It will dry in a warm room, as short distance from a gentle fire, or in a warm oven.”
—The American Frugal Housewife, Mrs. Child, Boston [1833] (p. 72)
In 1840, Queen Victoria introduced the white-icing tiered cake that we know today as a “wedding cake.” The cake was iced in ‘royal icing’, which had been invented specifically for the royal wedding cake. Although the cake looked different on the outside, the batter was still the traditional fruitcake of the bride’s cake. The first tiered cakes, including Queen Victoria’s cake, had layers that were not edible. It wasn’t until 1882 when the first tiered cake with all-edible layers appeared at the wedding of Prince Leopold, Duke of Albany. Even today, our English friends choose the traditional fruitcake batter for their wedding cakes. Prince William and Kate’s wedding cake was made with a fruitcake batter, as was his mother’s and his grandmother’s.
Wedding toppers appeared in the 1940s, and by the 1950s, American brides began moving away from the traditional fruitcake of Colonial America. Today, you’ll find wedding cakes in many styles, themes, and flavors. If you can dream it, there will be someone who can make it.
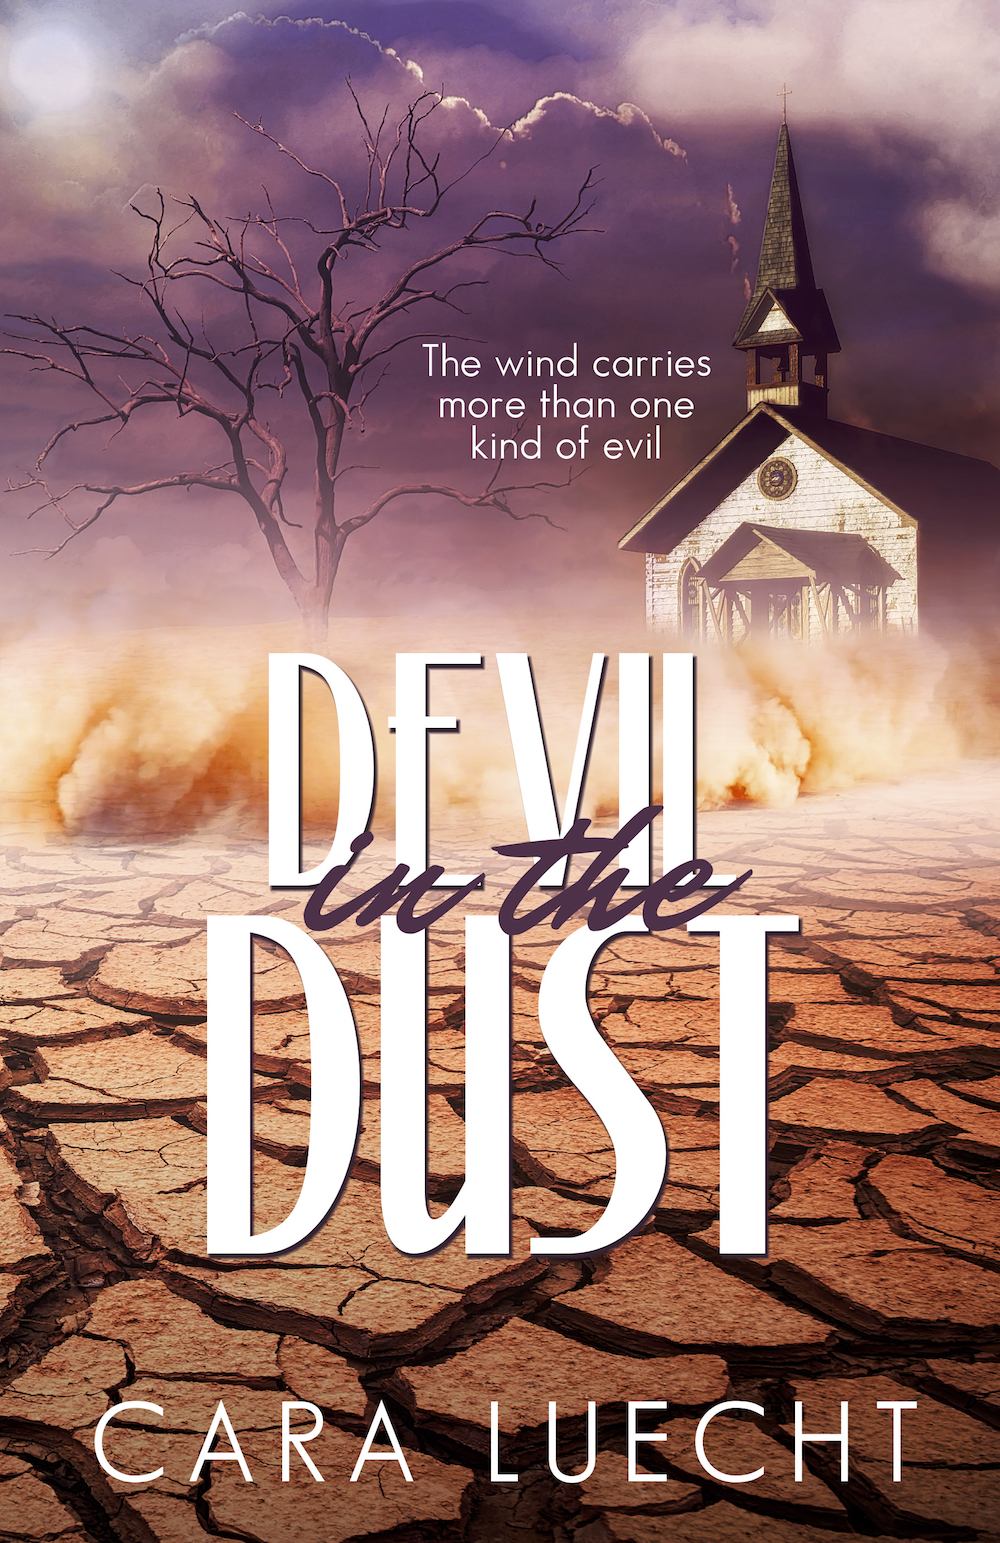
Until I started working on this blog I hadn’t thought much about what kind of cake my characters would have, but I think it would look a lot like the one on my book cover. And Mama would have been sitting on a layer just as she is in the cover. After all, she was Cupid’s helper.
-Catherine Castle
A Groom for Mama –a sweet, romantic comedy by Catherine Castle, from Soul Mate Publishing
 A Groom for Mama Blurb: Beverly Walters is dying, and before she goes she has one wish—to find a groom for her daughter. To get the deed done, Mama enlists the dating service of Jack Somerset, Allison’s former boyfriend.
The last thing corporate-climbing Allison wants is a husband. Furious with Mama’s meddling, and a bit more interested in Jack than she wants to admit, Allison agrees to the scheme as long as Mama promises to search for a cure for her terminal illness.
A cross-country trip from Nevada to Ohio ensues, with a string of disastrous dates along the way, as the trio hunts for treatment and A Groom For Mama.
Buy link: Amazon
 About the Author:
Multi-award-winning author Catherine Castle has been writing all her life. Before beginning her career as a romance writer she worked part-time as a freelance writer. She has over 600 articles and photographs to her credit, under her real name, in the Christian and secular market. Besides writing, Catherine loves traveling with her husband, singing, and attending theatre. In the winter she loves to quilt and has a lot of UFOs (unfinished objects) in her sewing case. In the summer her favorite place to be is in her garden. She’s passionate about gardening and even won a “Best Hillside Garden” award from the local gardening club.
Her debut inspiration romantic suspense, The Nun and the Narc, from Soul Mate Publishing was an ACFW Genesis Finalist, a 2014 EPIC finalist, and the winner of the 2014 Beverly Hills Book Award and the 2014 RONE Award. Her most recent release, A Groom for Mama, is a sweet romantic comedy from Soul Mate Publishing. Both books are available on Amazon.
Contact links:
Catherine’s website
Catherine’s blog
Catherine’s Amazon author page
Catherine’s Goodreads
Twitter @AuthorCCastle
Facebook
Stitches Thru Time
SMP authors blog site
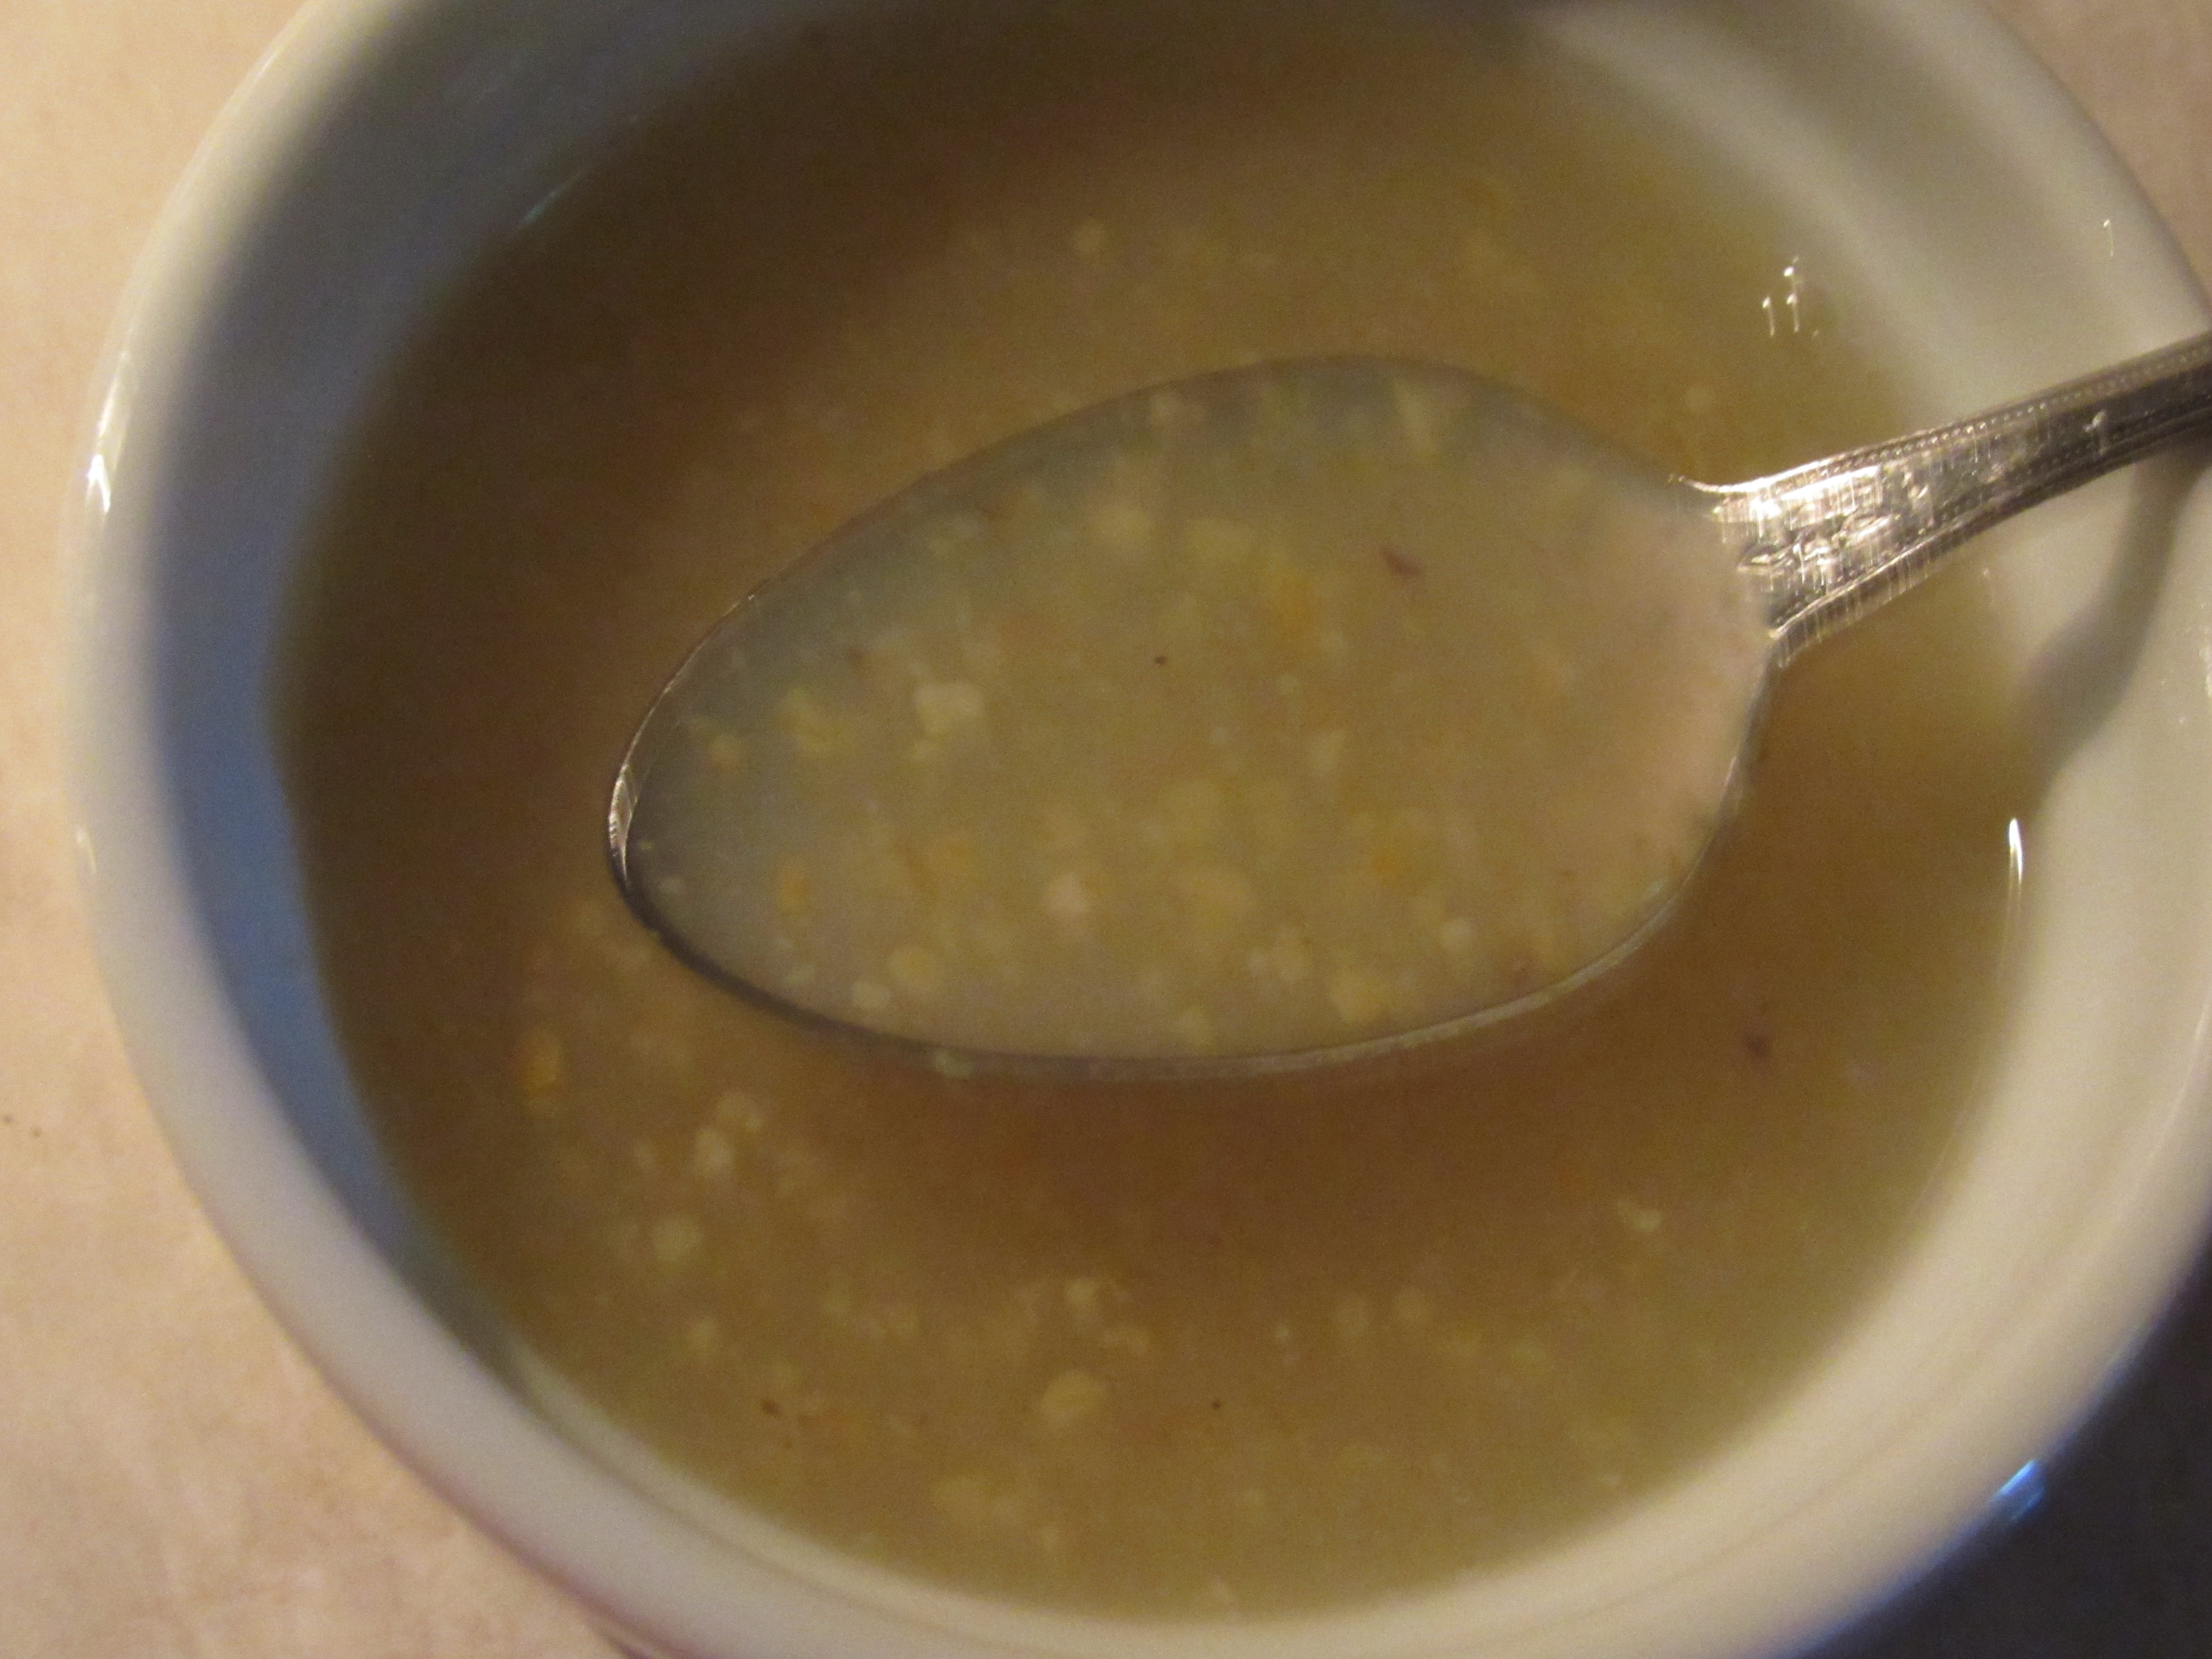
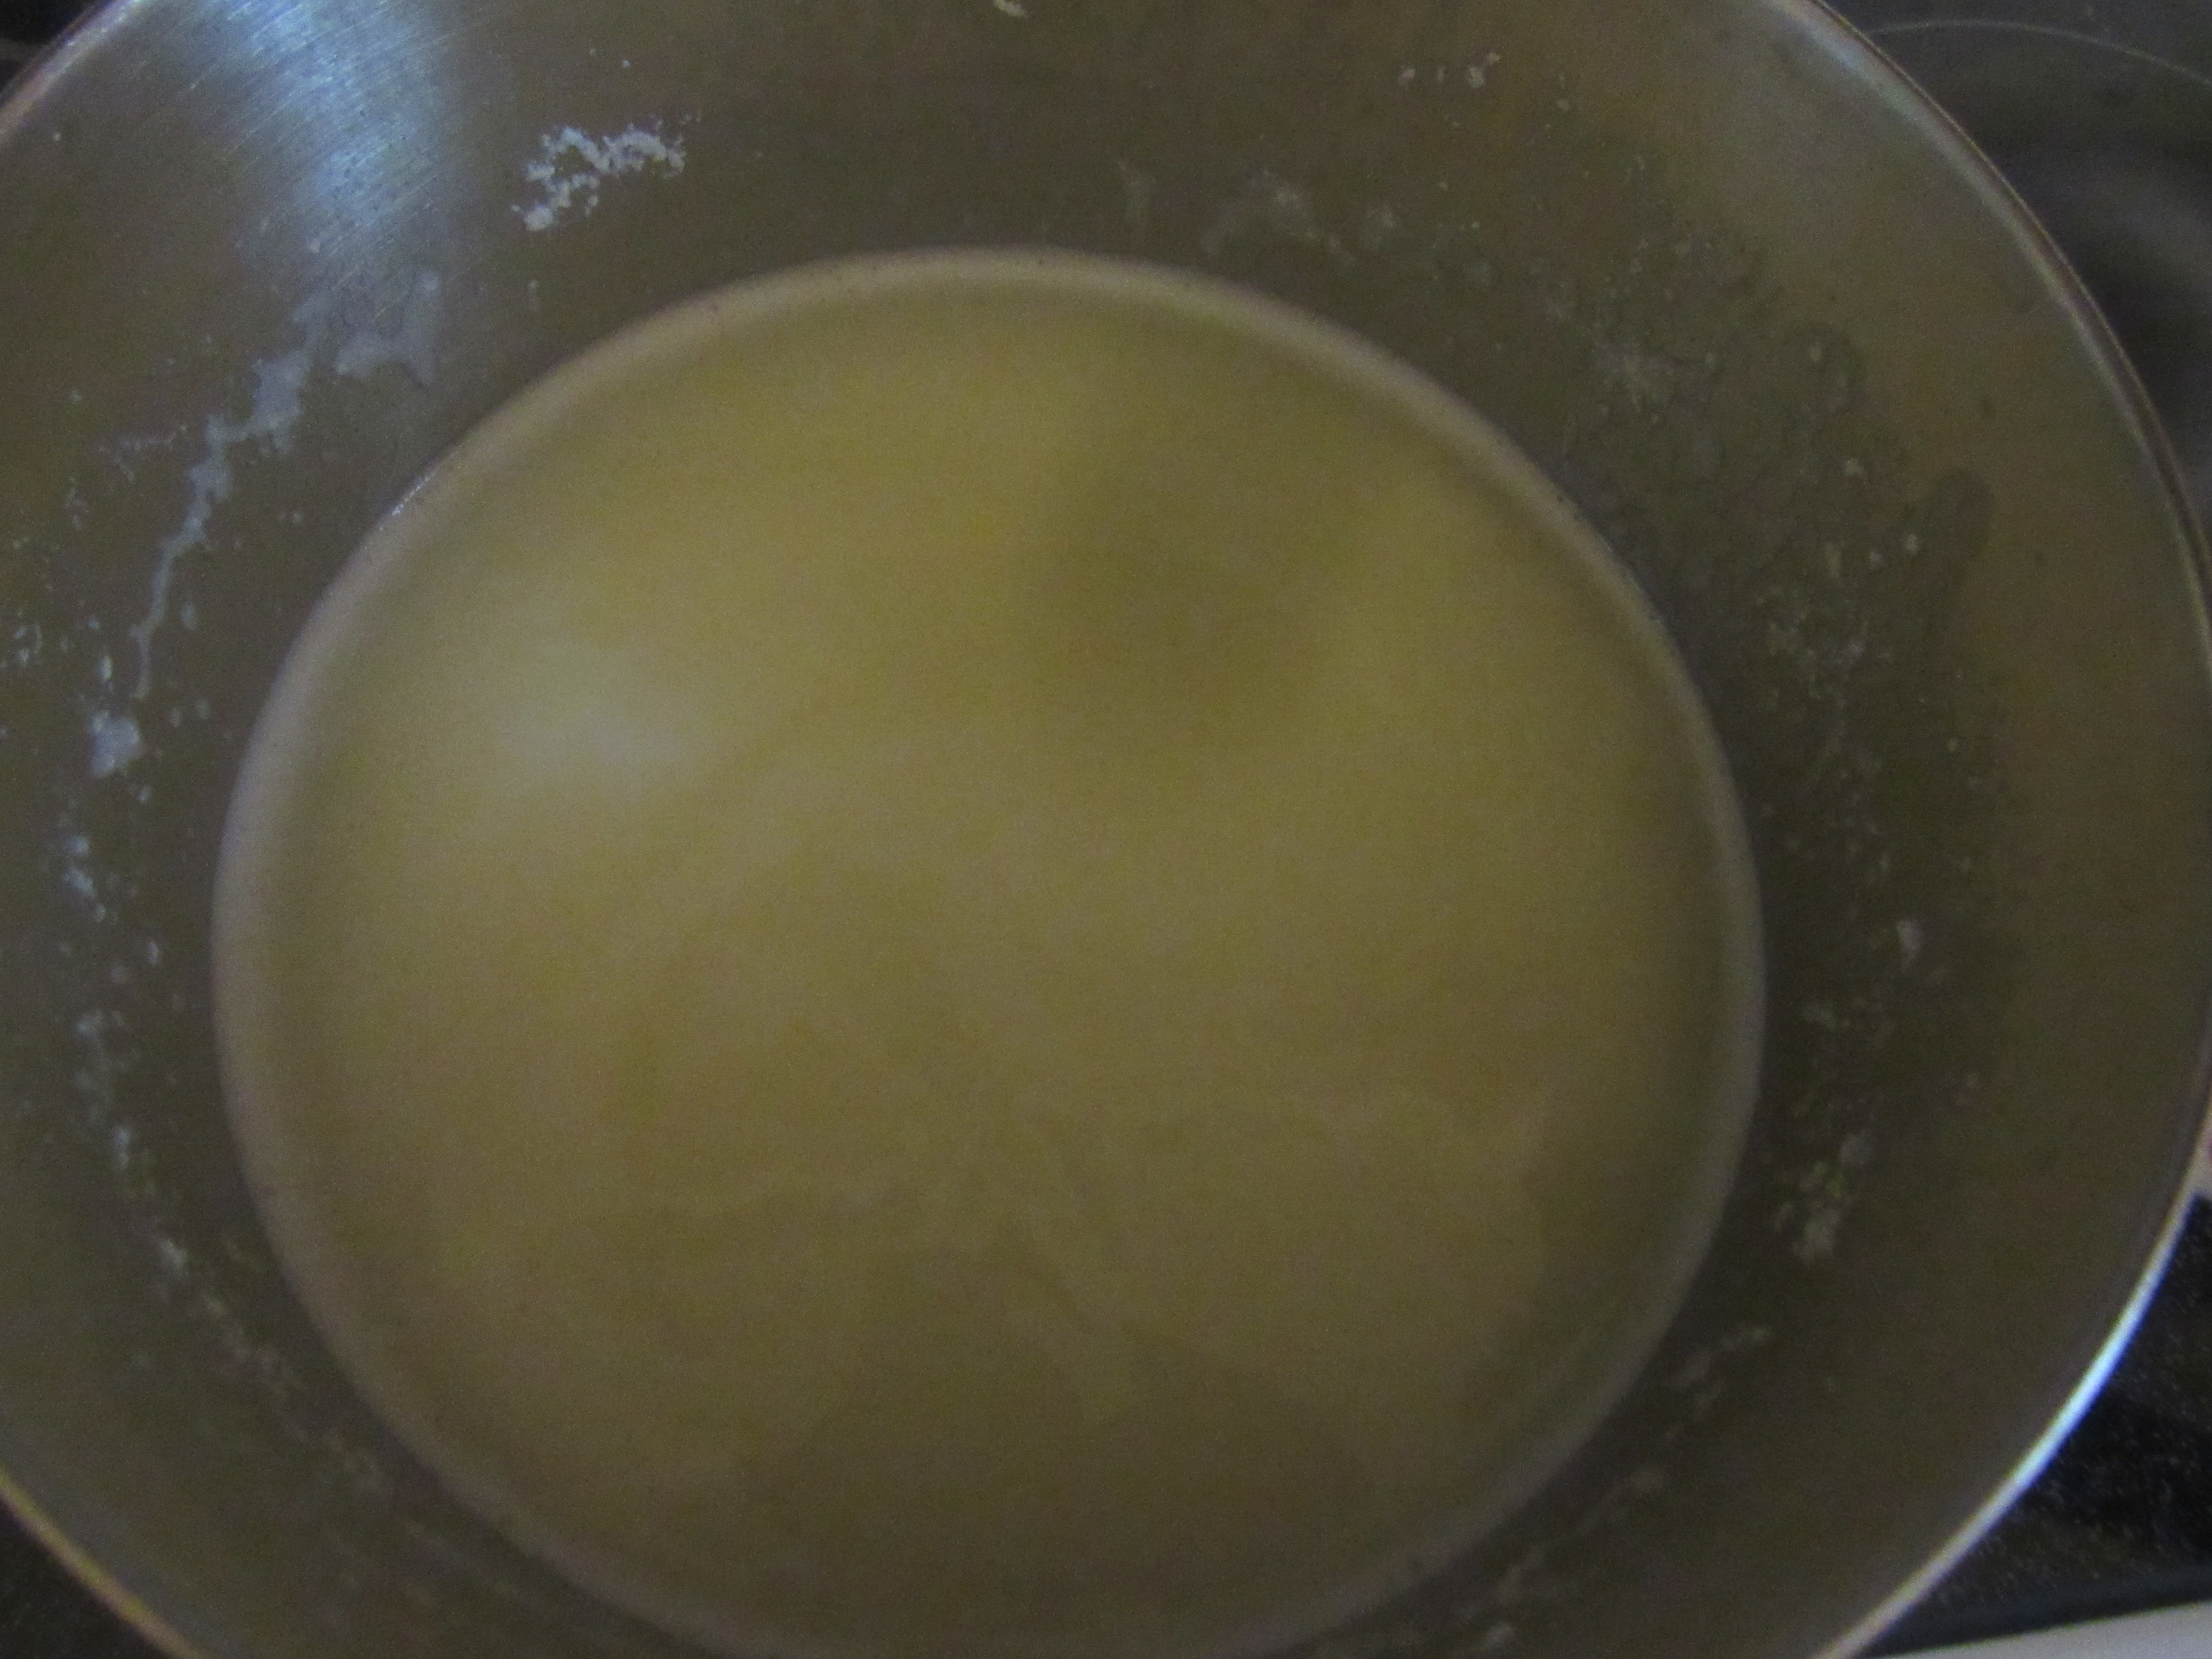
 Stir 2 tablespoons of cold water into 2 tablespoons of cornmeal. Add to the boiling water with a pinch of salt.
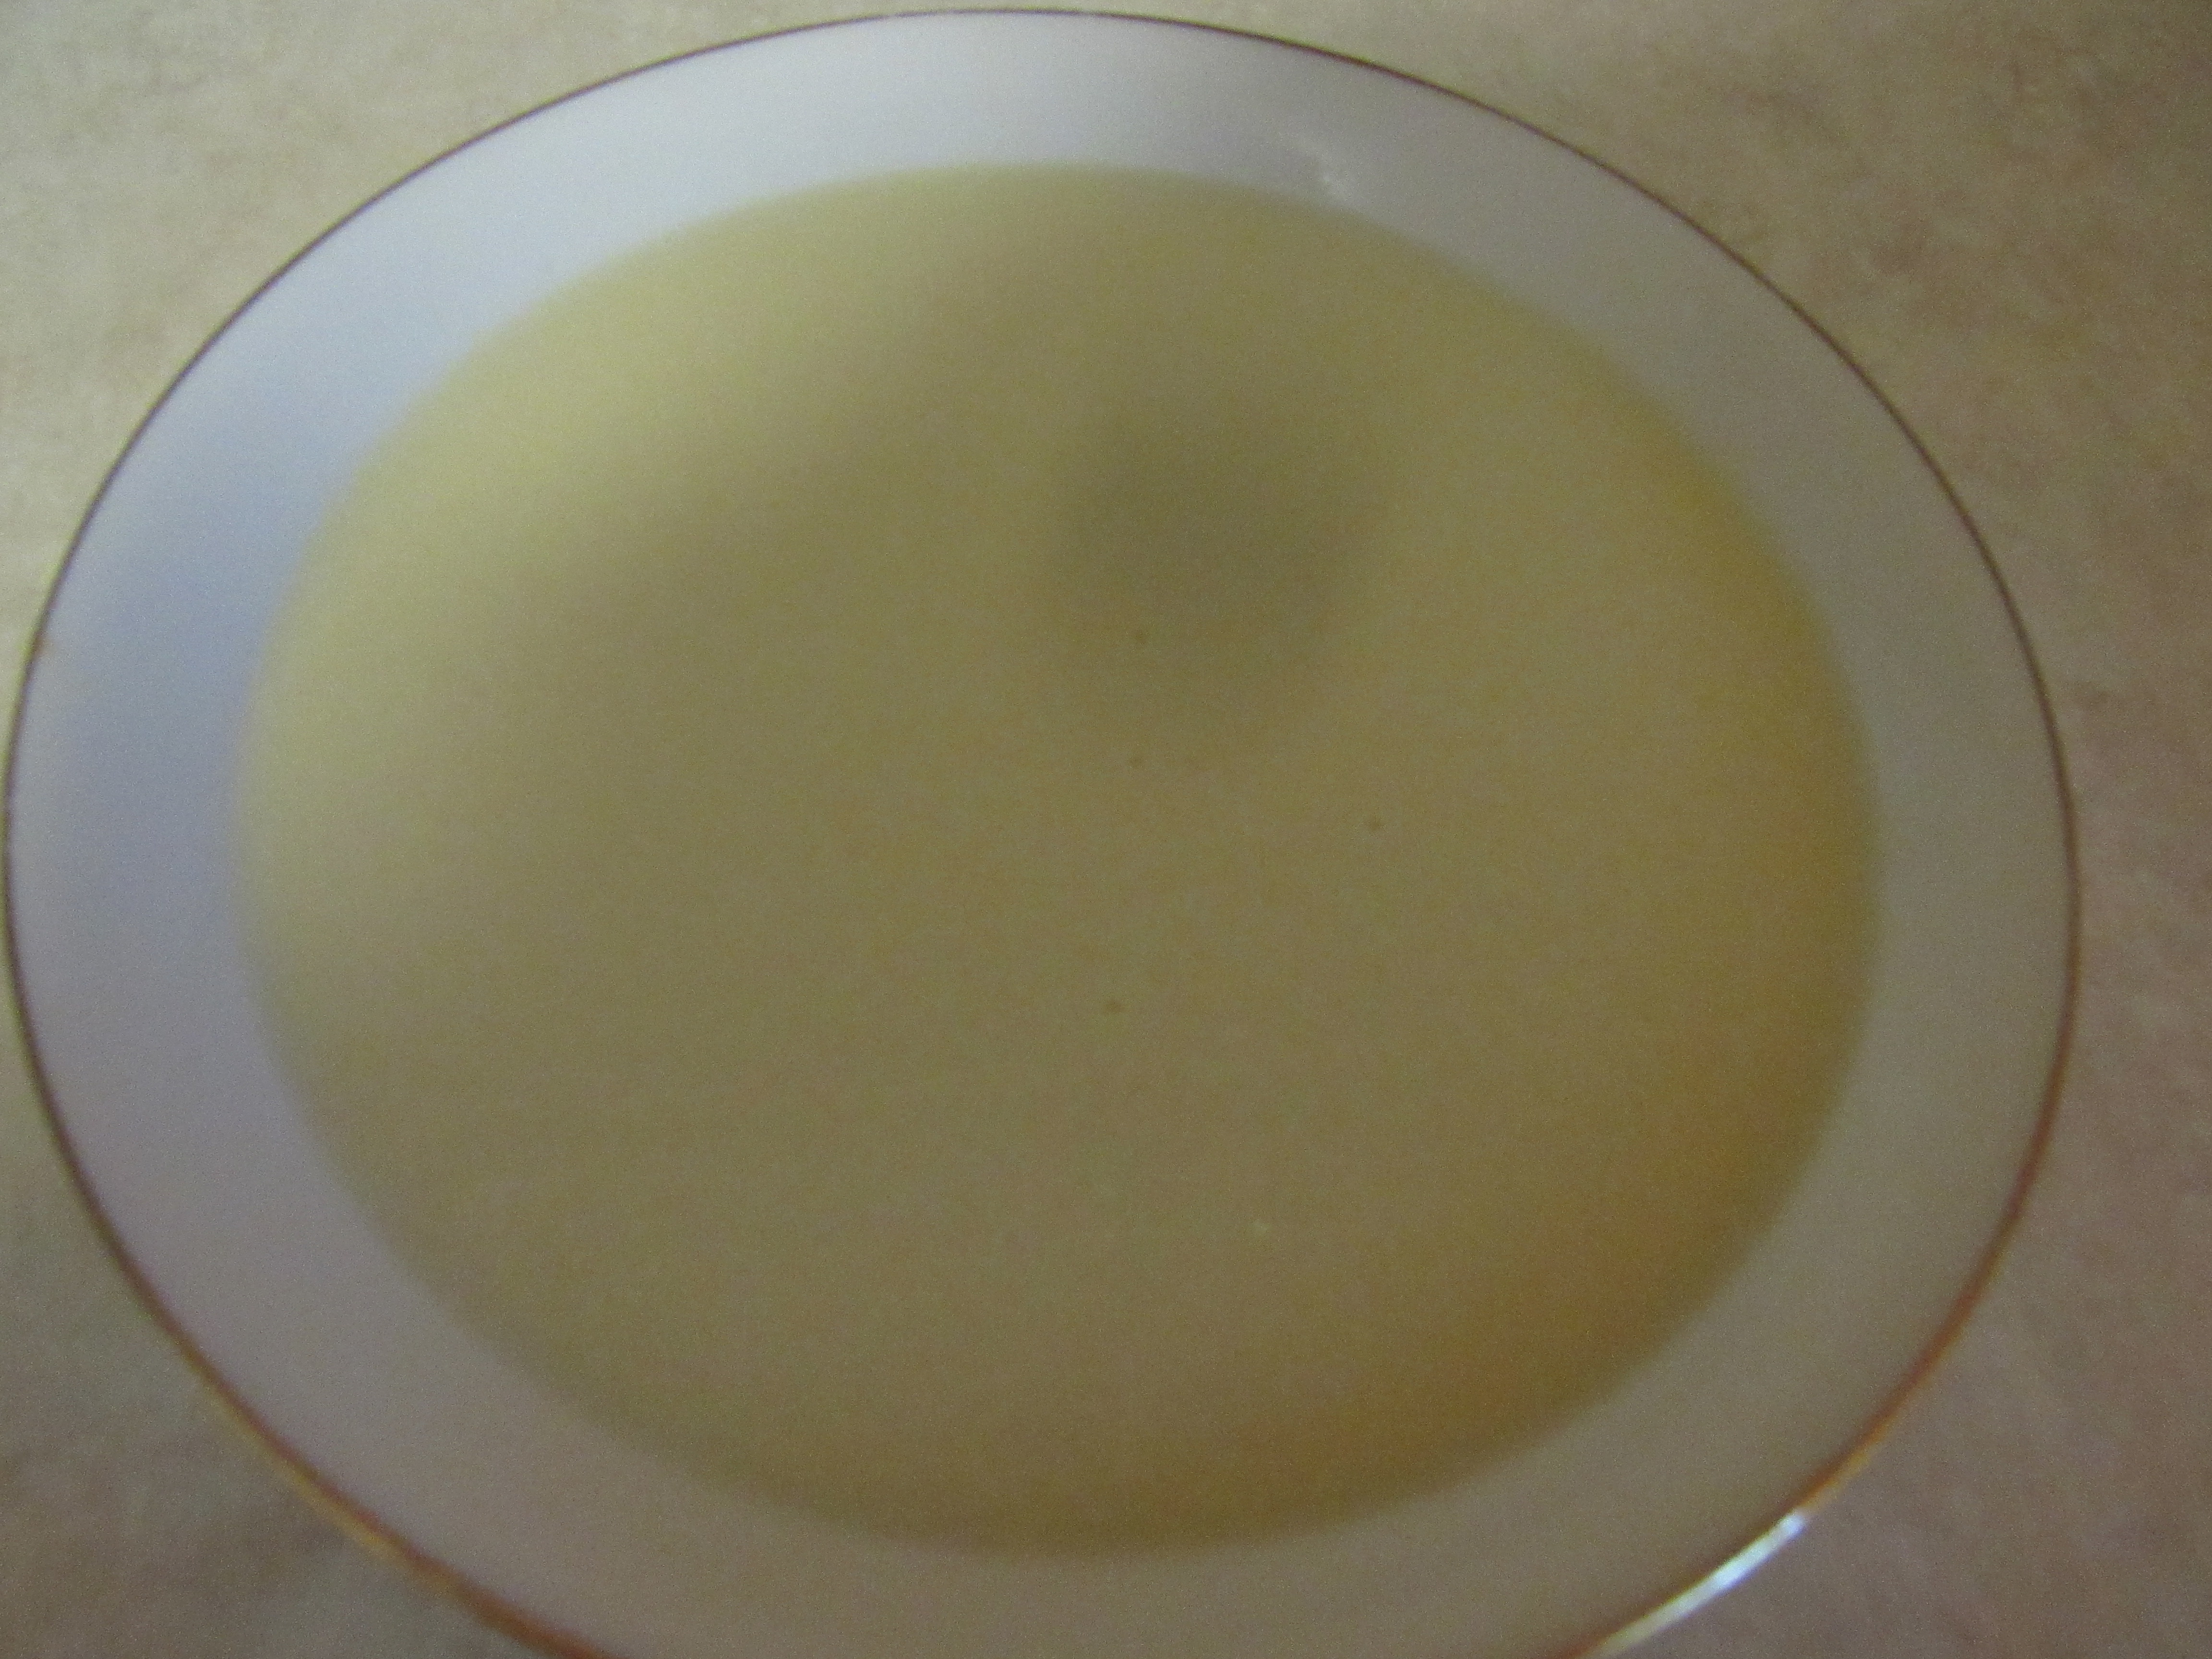
 Remove from heat. Let it settle. If the patient is very sick, pour off the water on top and serve this way. The broth is grainy and a bit thicker than might be expected.
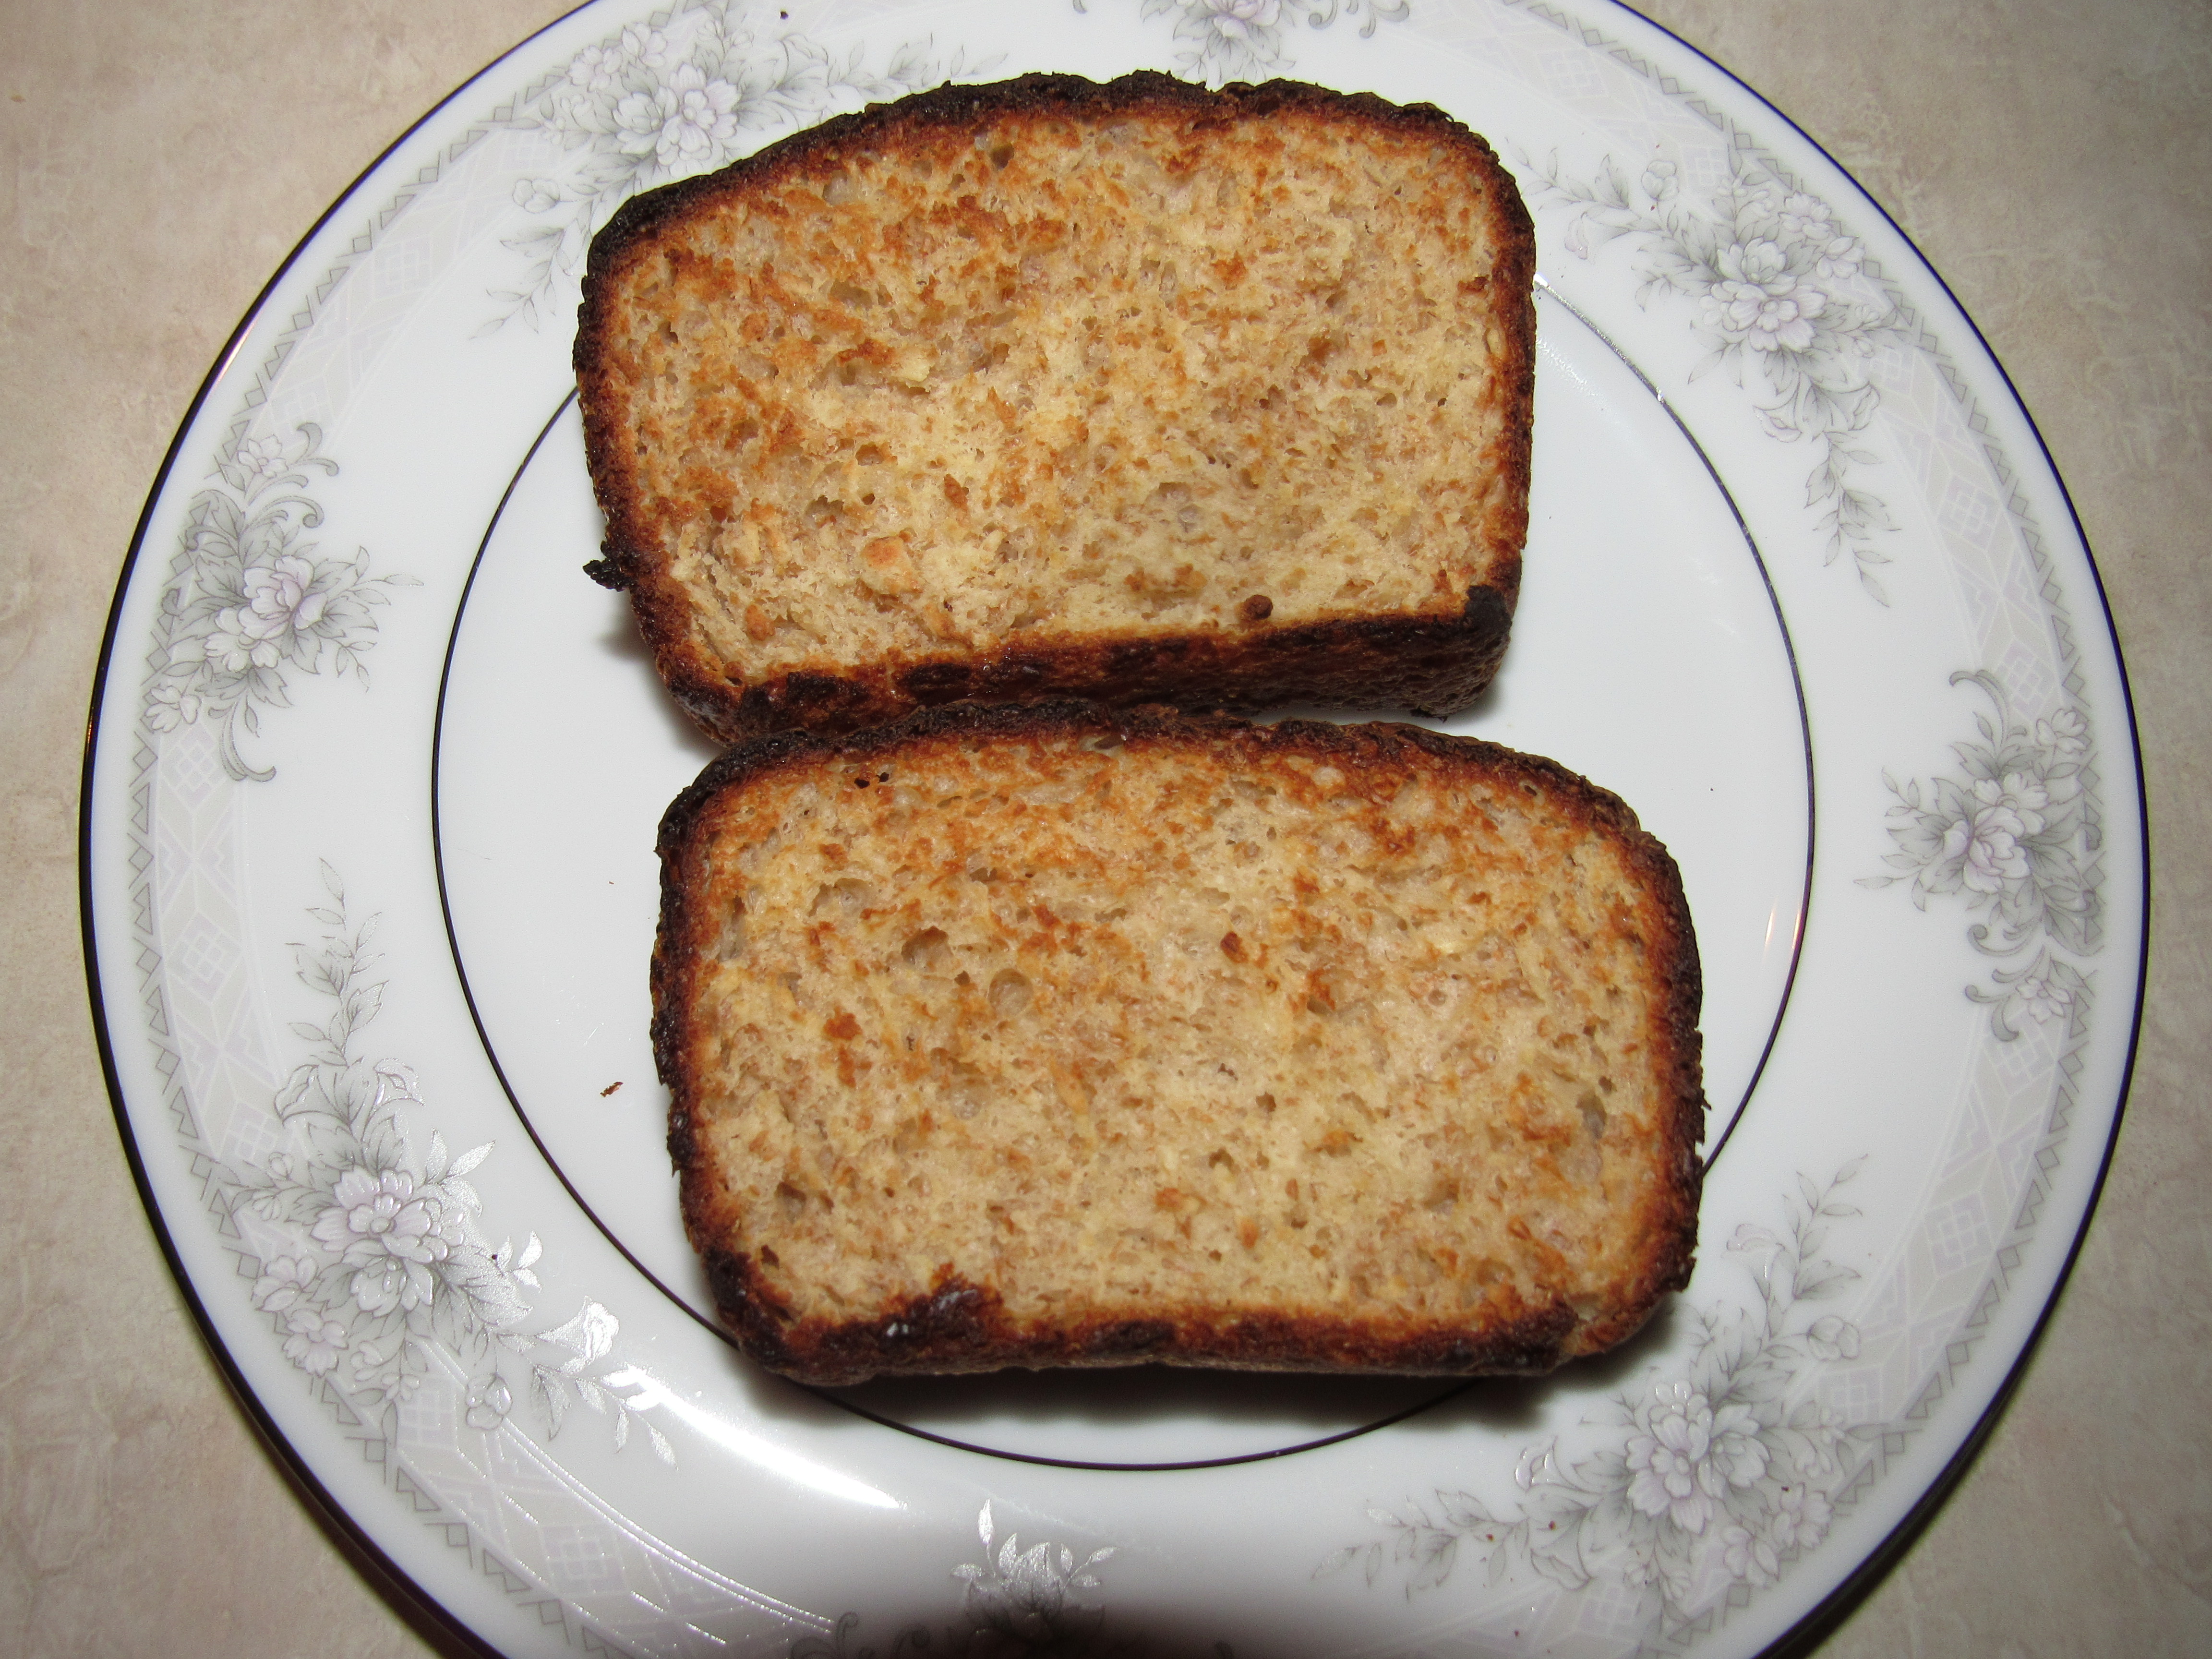 Pour the broth into a bowl. Add 2 tablespoons of light or heavy cream, 2 teaspoons of sugar, ½ teaspoon of cinnamon, and 1/8 teaspoon of ginger. Nutmeg can be substituted for the ginger. Stir well.
 The broth has a pleasant, sweet taste. I’m not a cereal lover, but broths with bread added have a little in common with cereals.