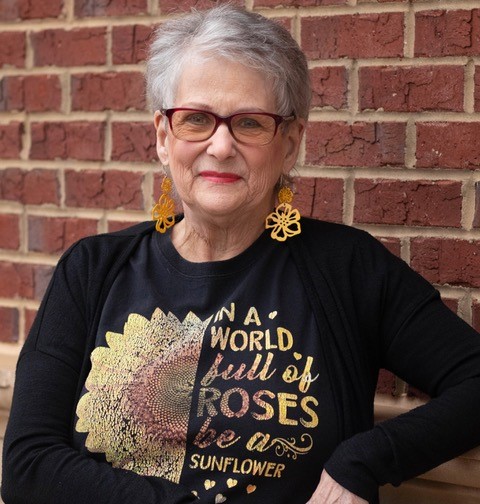
by Pegg Thomas
Today’s post is by talented editor, fellow author, and dear friend, Pegg Thomas. She shares her delicious seasonal recipe and tells us about her newest release. Welcome back to Historical Nibbles, Pegg!
This is a special date for me. November 25 was my grandfathers’ birthday. That’s right. Both grandfathers were born on this day 8 years apart. It’s also firearm deer season here in Michigan, and I spent many years on this date in a cabin in the woods near Pinestump Junction with my father’s father. It was a rustic cabin with a hand pump for water, a wood stove to cook on, and a little building out back for… well… you know. So many happy memories of baking cakes in that wood stove with the help of my great aunt and singing “Happy Birthday” when everyone returned to the cabin after a full day hunting in the woods. Memories of family, love, and all the best things of Fall.
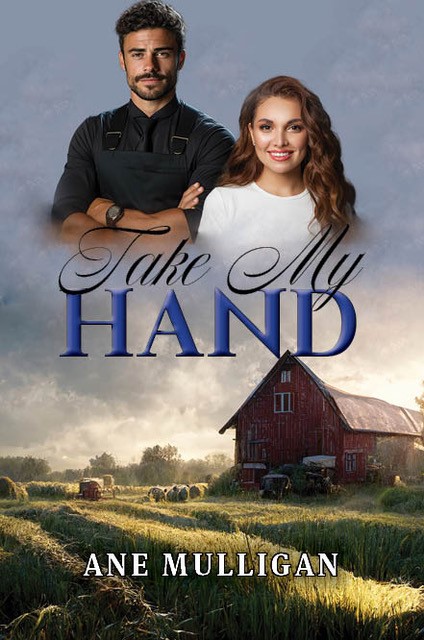
But this year, I’m celebrating a different way, with the release of Freedom’s Promise, book three in my Path to Freedom series. With this series, it’s best to read the books in order, but each is its own complete story. Here’s a back cover copy of Freedom’s Promise:
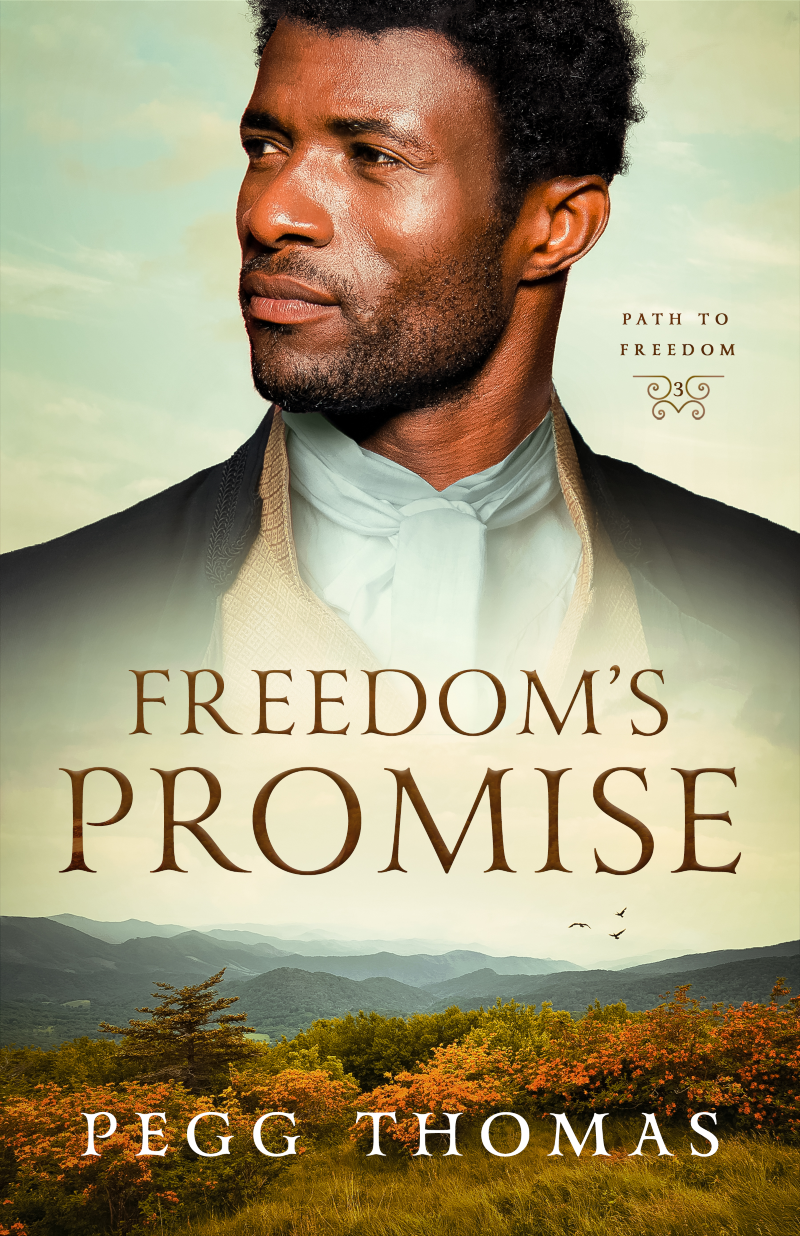
Zachary Brown has a prosperous dairy farm, good friends, and the respect of his neighbors and fellow Quakers in Mount Pleasant, Ohio. But something is lacking.
Someone to share his life with.
Daniel Whiteford lost everything that meant the most to him. It has brought him to a hard truth. He gave away his grandson four years ago to save the reputation of his family and business, but it wasn’t enough.
He wants the boy back.
When a fugitive slave shows up at the farm, Zachary recognizes the need to help others outside of his sheltered community. But there are dangers due to the laws that uphold slave owners’ rights. And then Daniel arrives—with a young slave girl.
A clash is coming to Mount Pleasant.
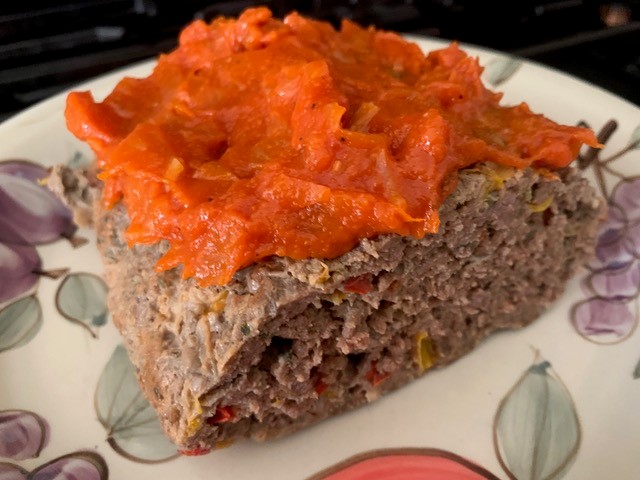
And as an extra for the release celebration, here is a yummy fall recipe!
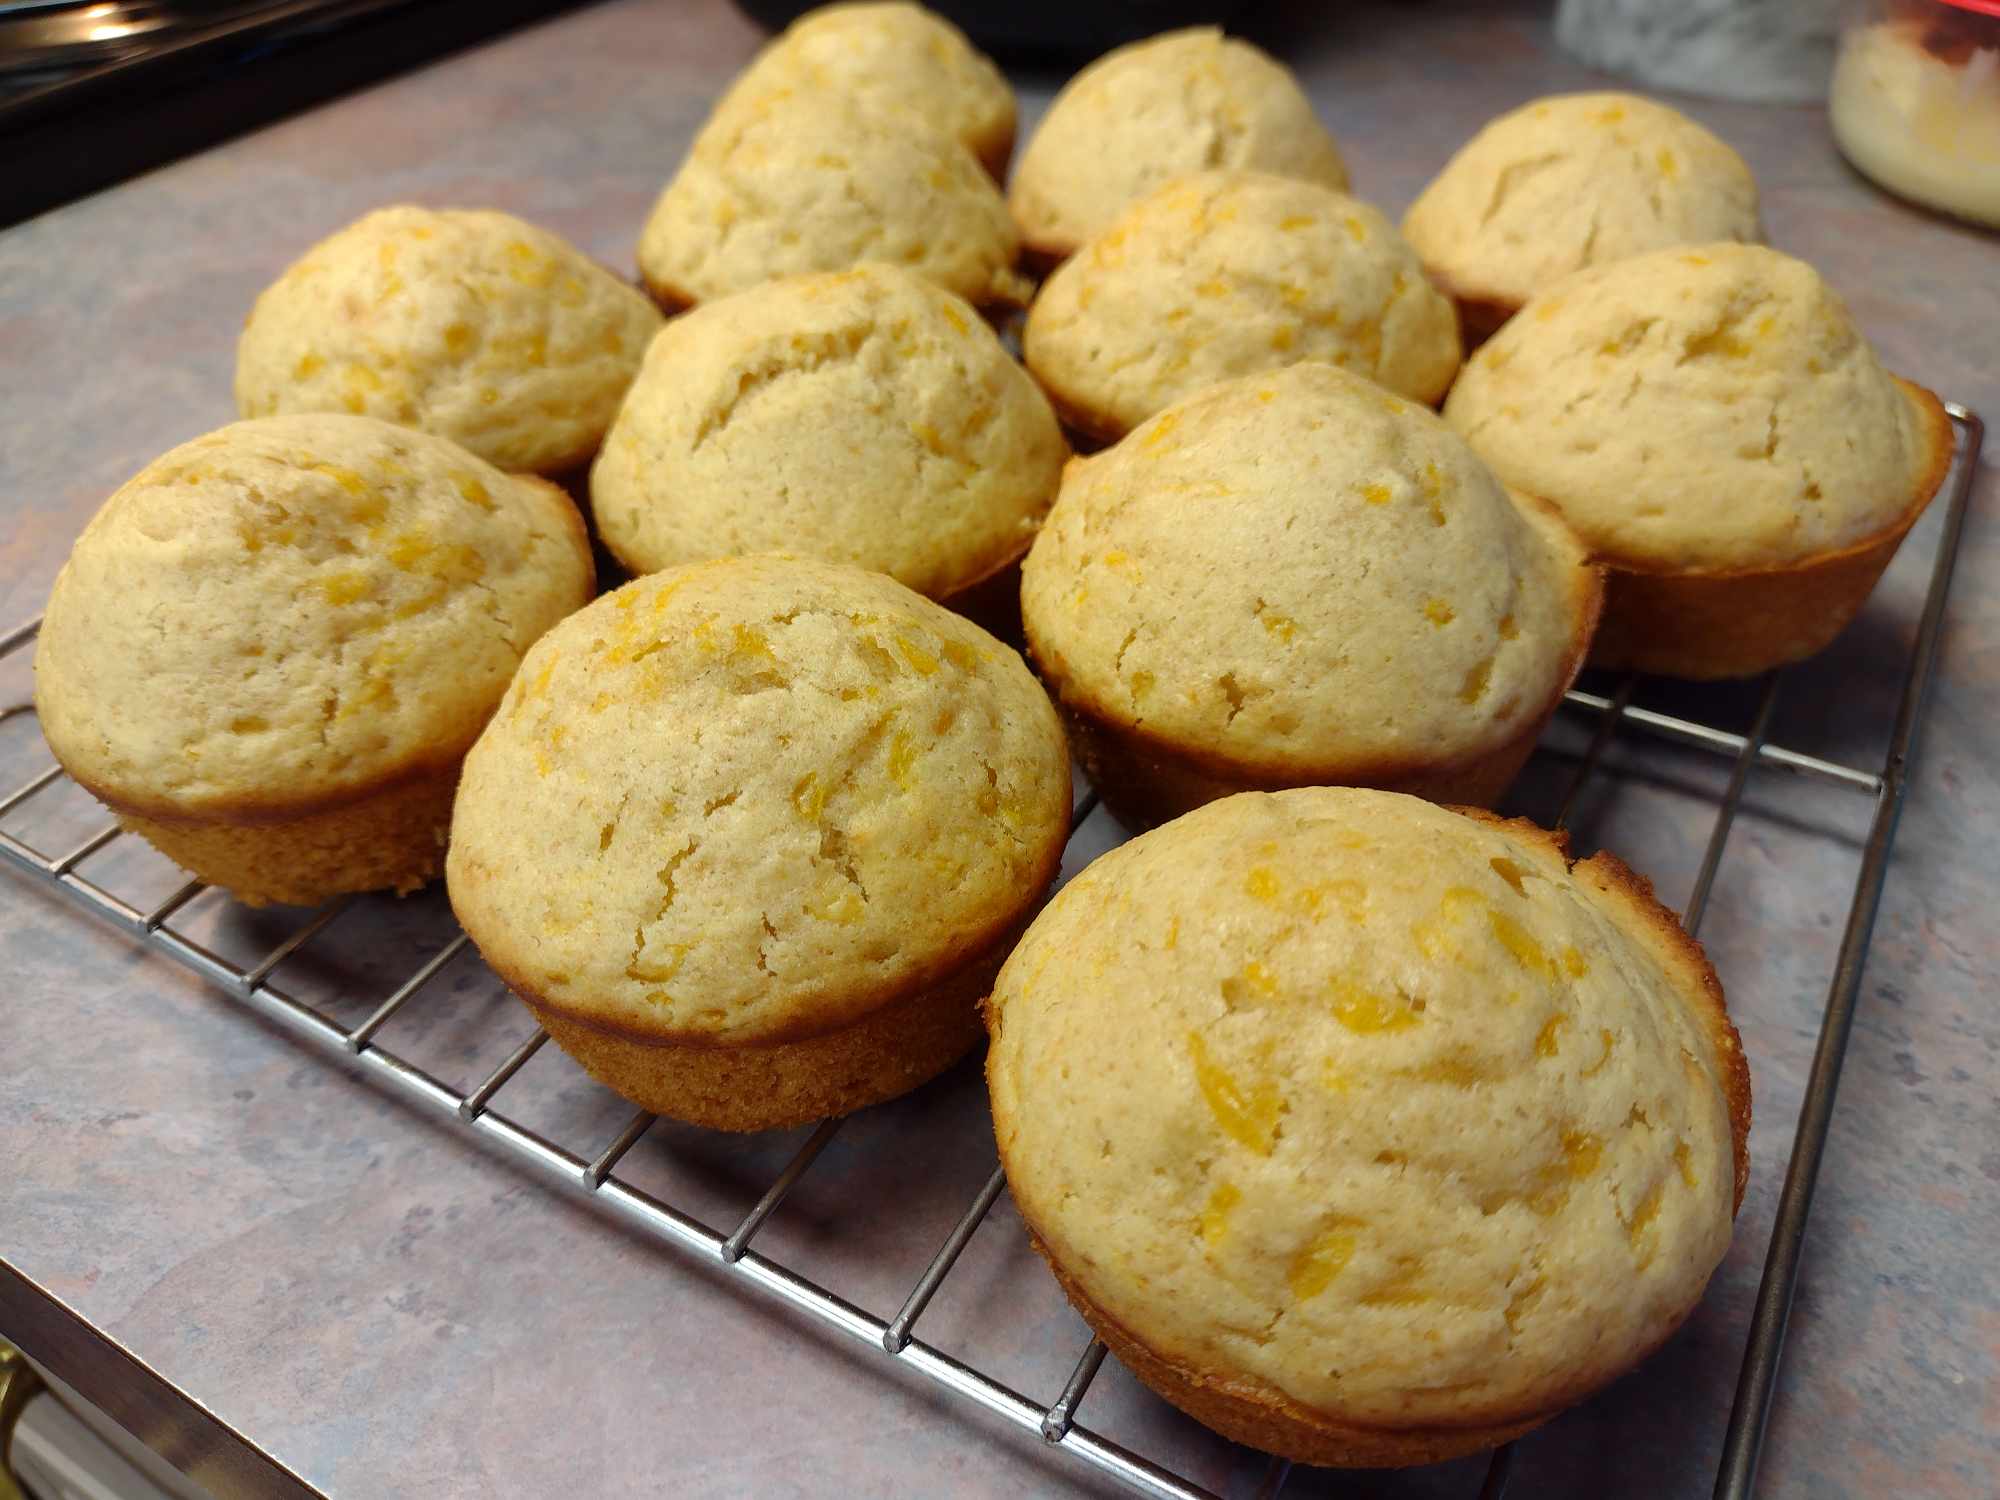
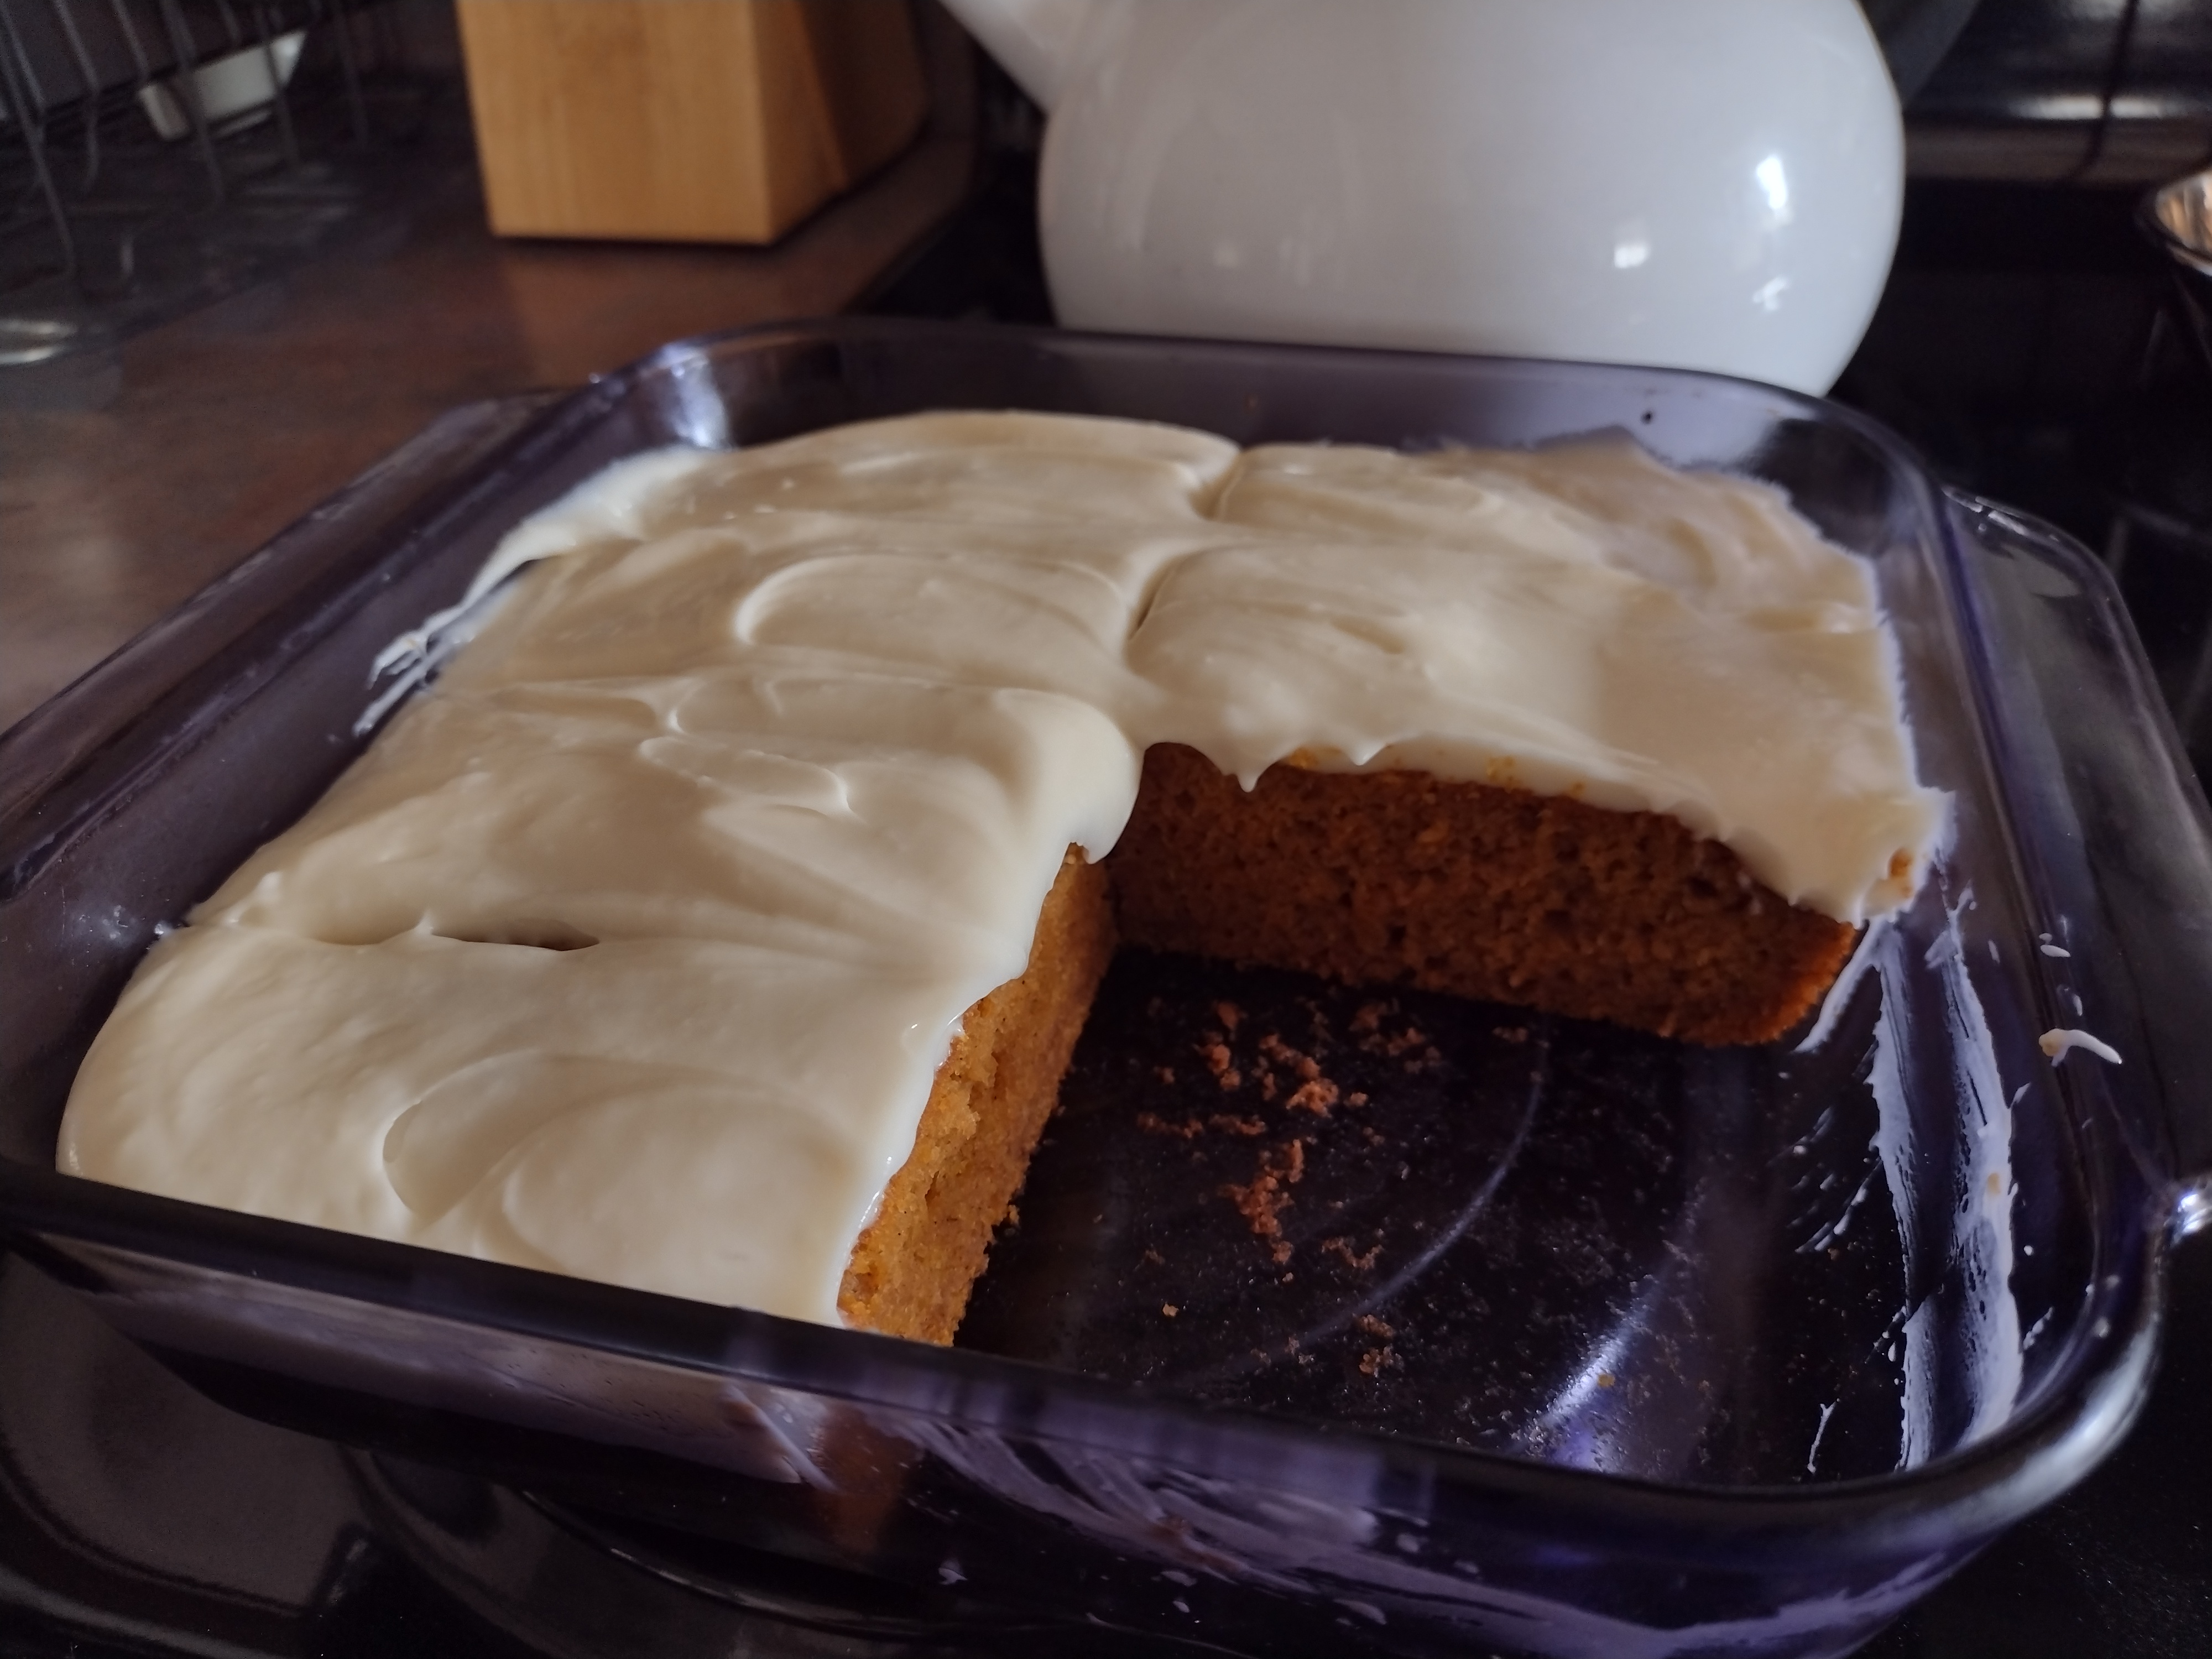
Taste of Fall Pumpkin Cake
- 2 large eggs
- ¾ cup sugar
- 1 cup pumpkin
- 1/3 cup oil
- 2 teas. pumpkin spice
- 1 teas. vanilla
- 1 cup flour (or 1/3 cup whole wheat and 2/3 cups white)
- 1 teas. baking powder
- ½ teas. baking soda
- ½ teas. salt
Mix in order given, bake in greased 9” square pan at 350 for 35 minutes. Frost with cream cheese frosting.

Bio:
A lifelong history geek, Pegg Thomas lives in Michigan’s Upper Peninsula with Michael, her husband of *mumble* years. She creates American stories with real history and fictional characters inspired by her ancestors who immigrated here in the early 1600s. When not working or writing, Pegg can be found in her garden, her kitchen, or sitting at one of her antique spinning wheels creating yarn to turn into her signature wool shawls. https://PeggThomas.com