Chicken Croquettes Recipe

by Sandra Merville Hart

A character in Book 1 of my “Spies of the Civil War” series, Avenue of Betrayal, prepares chicken croquettes for a picnic. She’s a talented cook and everything she makes is a crowd-pleaser. I’ve never made these and it seemed a good idea to try this recipe from an 1877 cookbook, to make them as similar to the way Rebecca, my character, prepared them in the novel.

If you’ve ever tried to follow recipes from 150 years ago, you’re already aware that there’s a lot of guesswork involved. In this particular recipe, it gives the measurement for rice but not the amount of chicken. In fact, the only other hint is that one egg is needed for the actual mixture.

That’s it.

There are actually 2 recipes for chicken croquettes in this book and I studied both of them before creating the following recipe. The original cook for one recipe is Mrs. E. L. Fay, from New York City and the other is anonymous.

Ingredients

1 ½ cups cooked chicken

1 cup cooked rice, white or brown

2 tablespoons butter, melted

3 eggs, separate

¼ cup heavy cream

½ teaspoon salt

¼ teaspoon pepper

½ teaspoon sage

½ – ¾ cup bread crumbs

Shortening

Mince the cooked chicken. Add rice, butter, and cream and stir until moistened. Stir in 1 beaten egg. Season the mixture with sage, salt, and pepper.

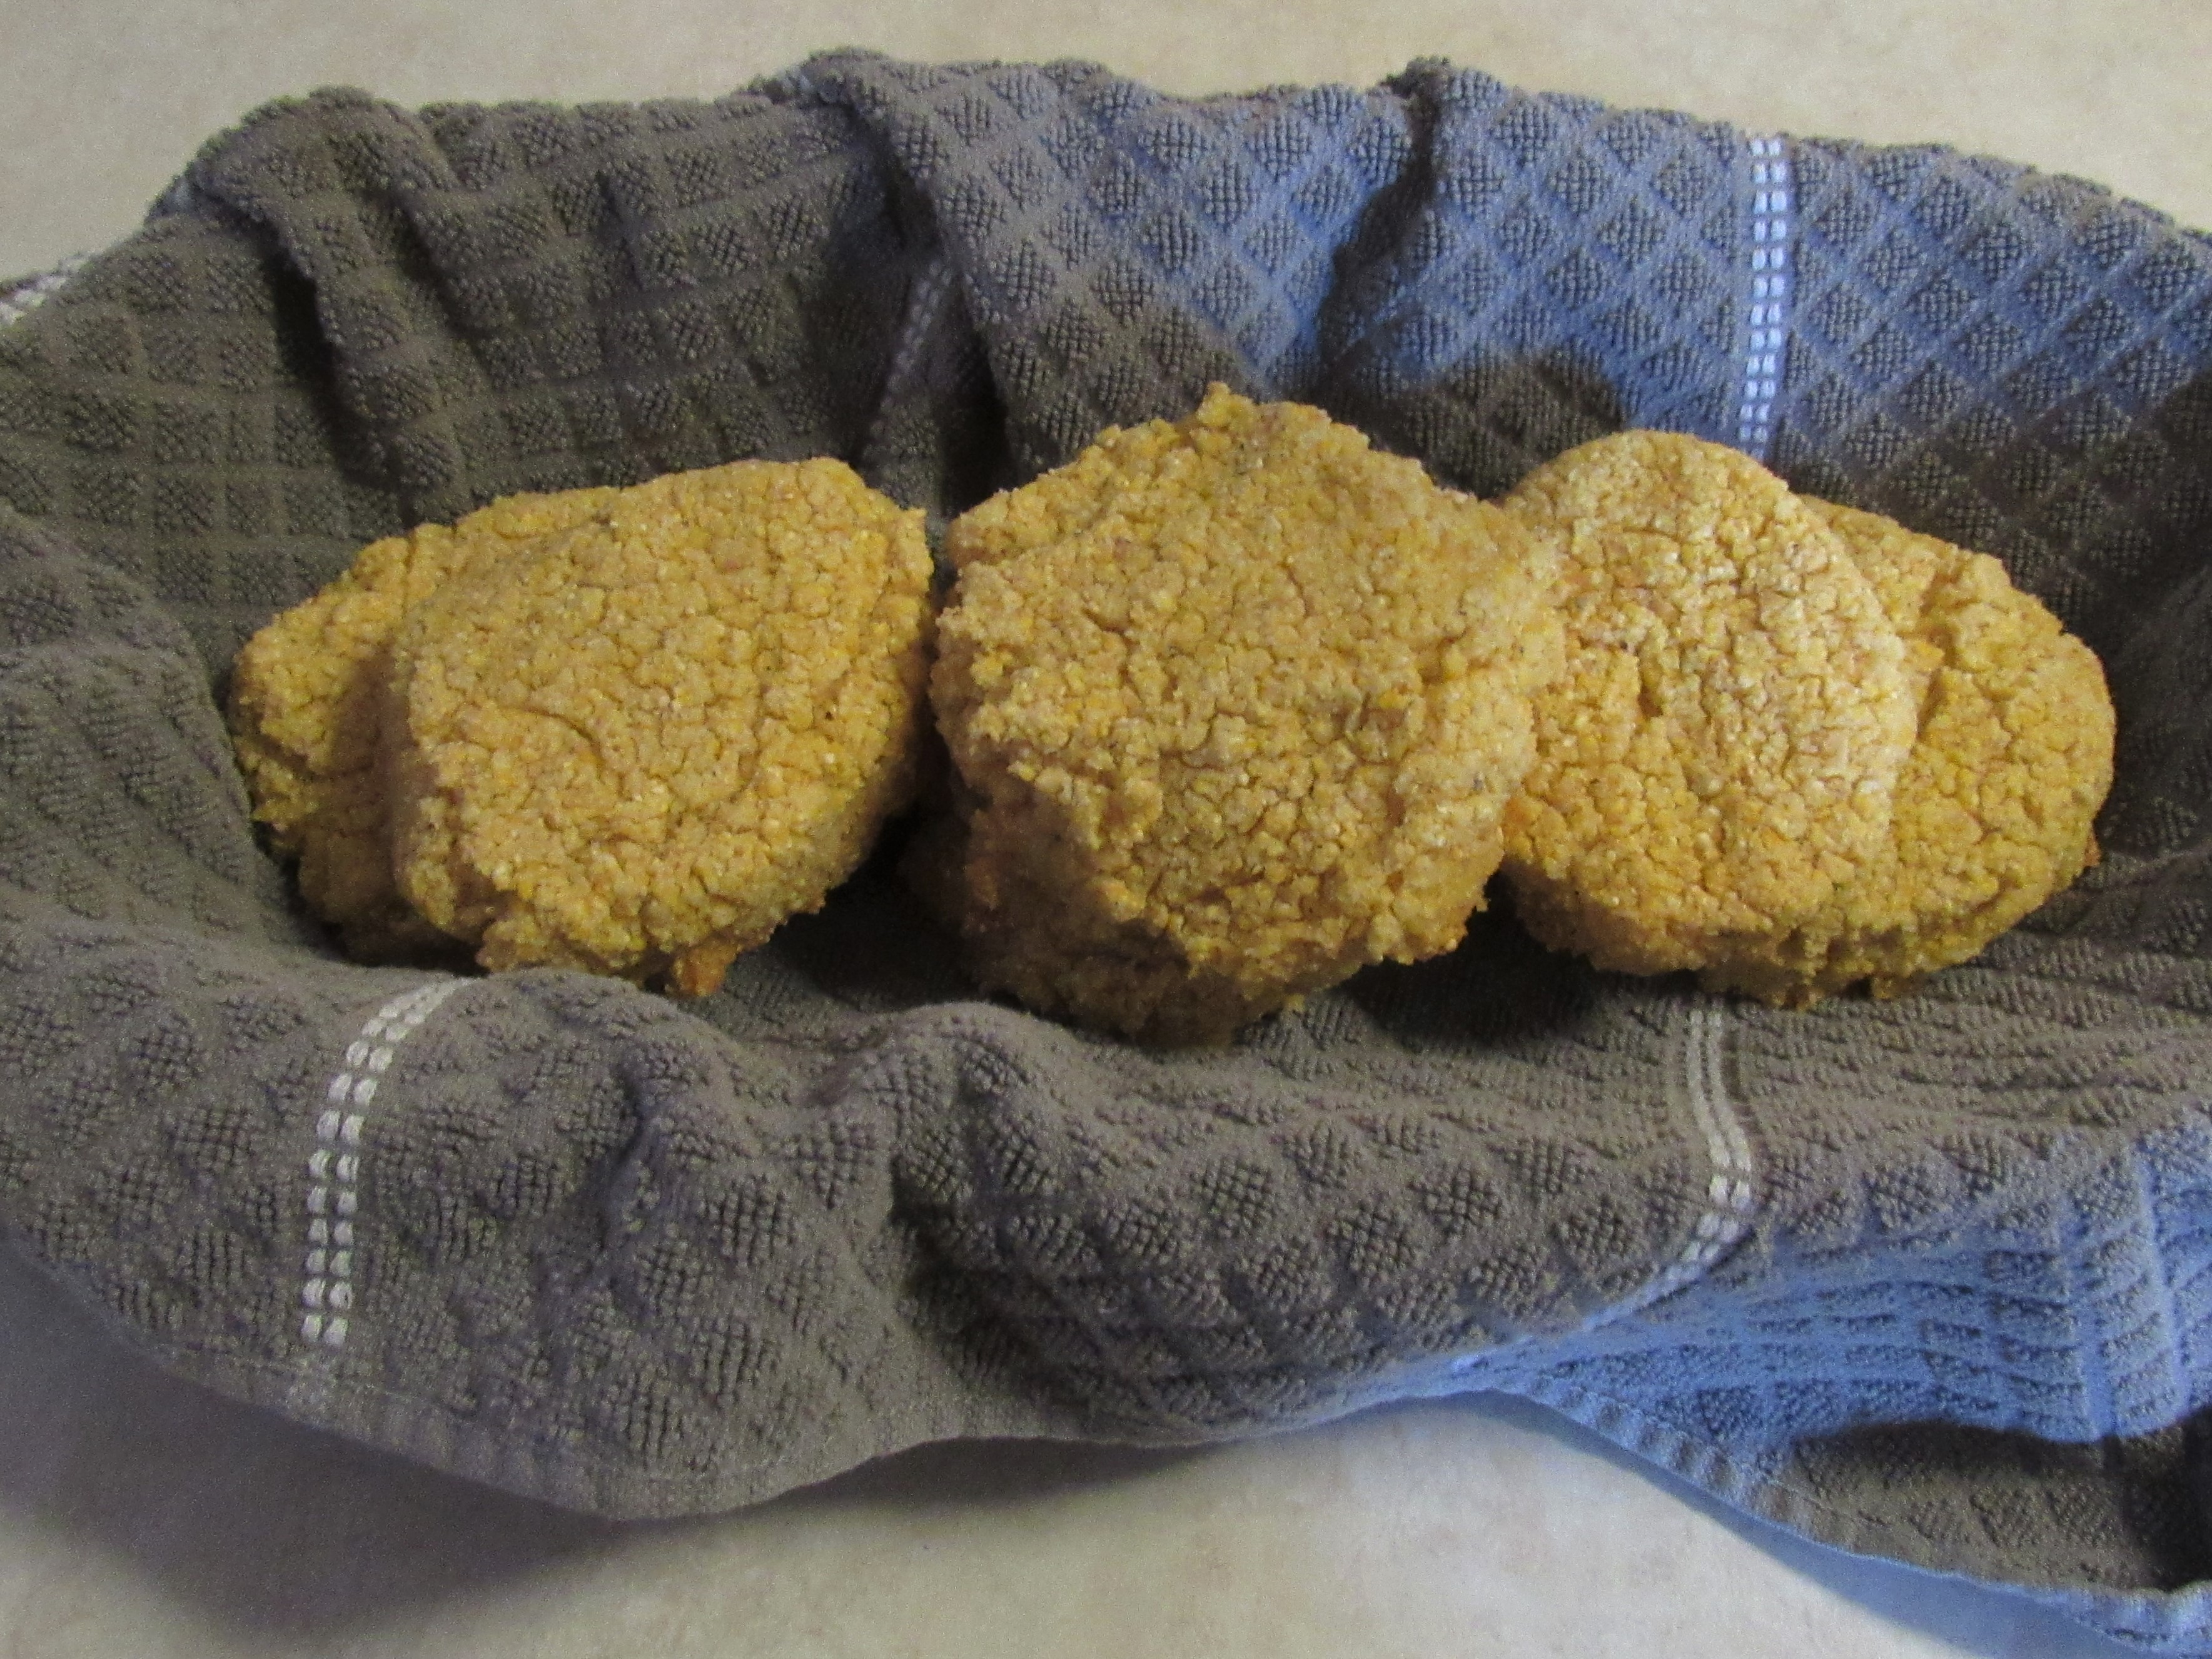
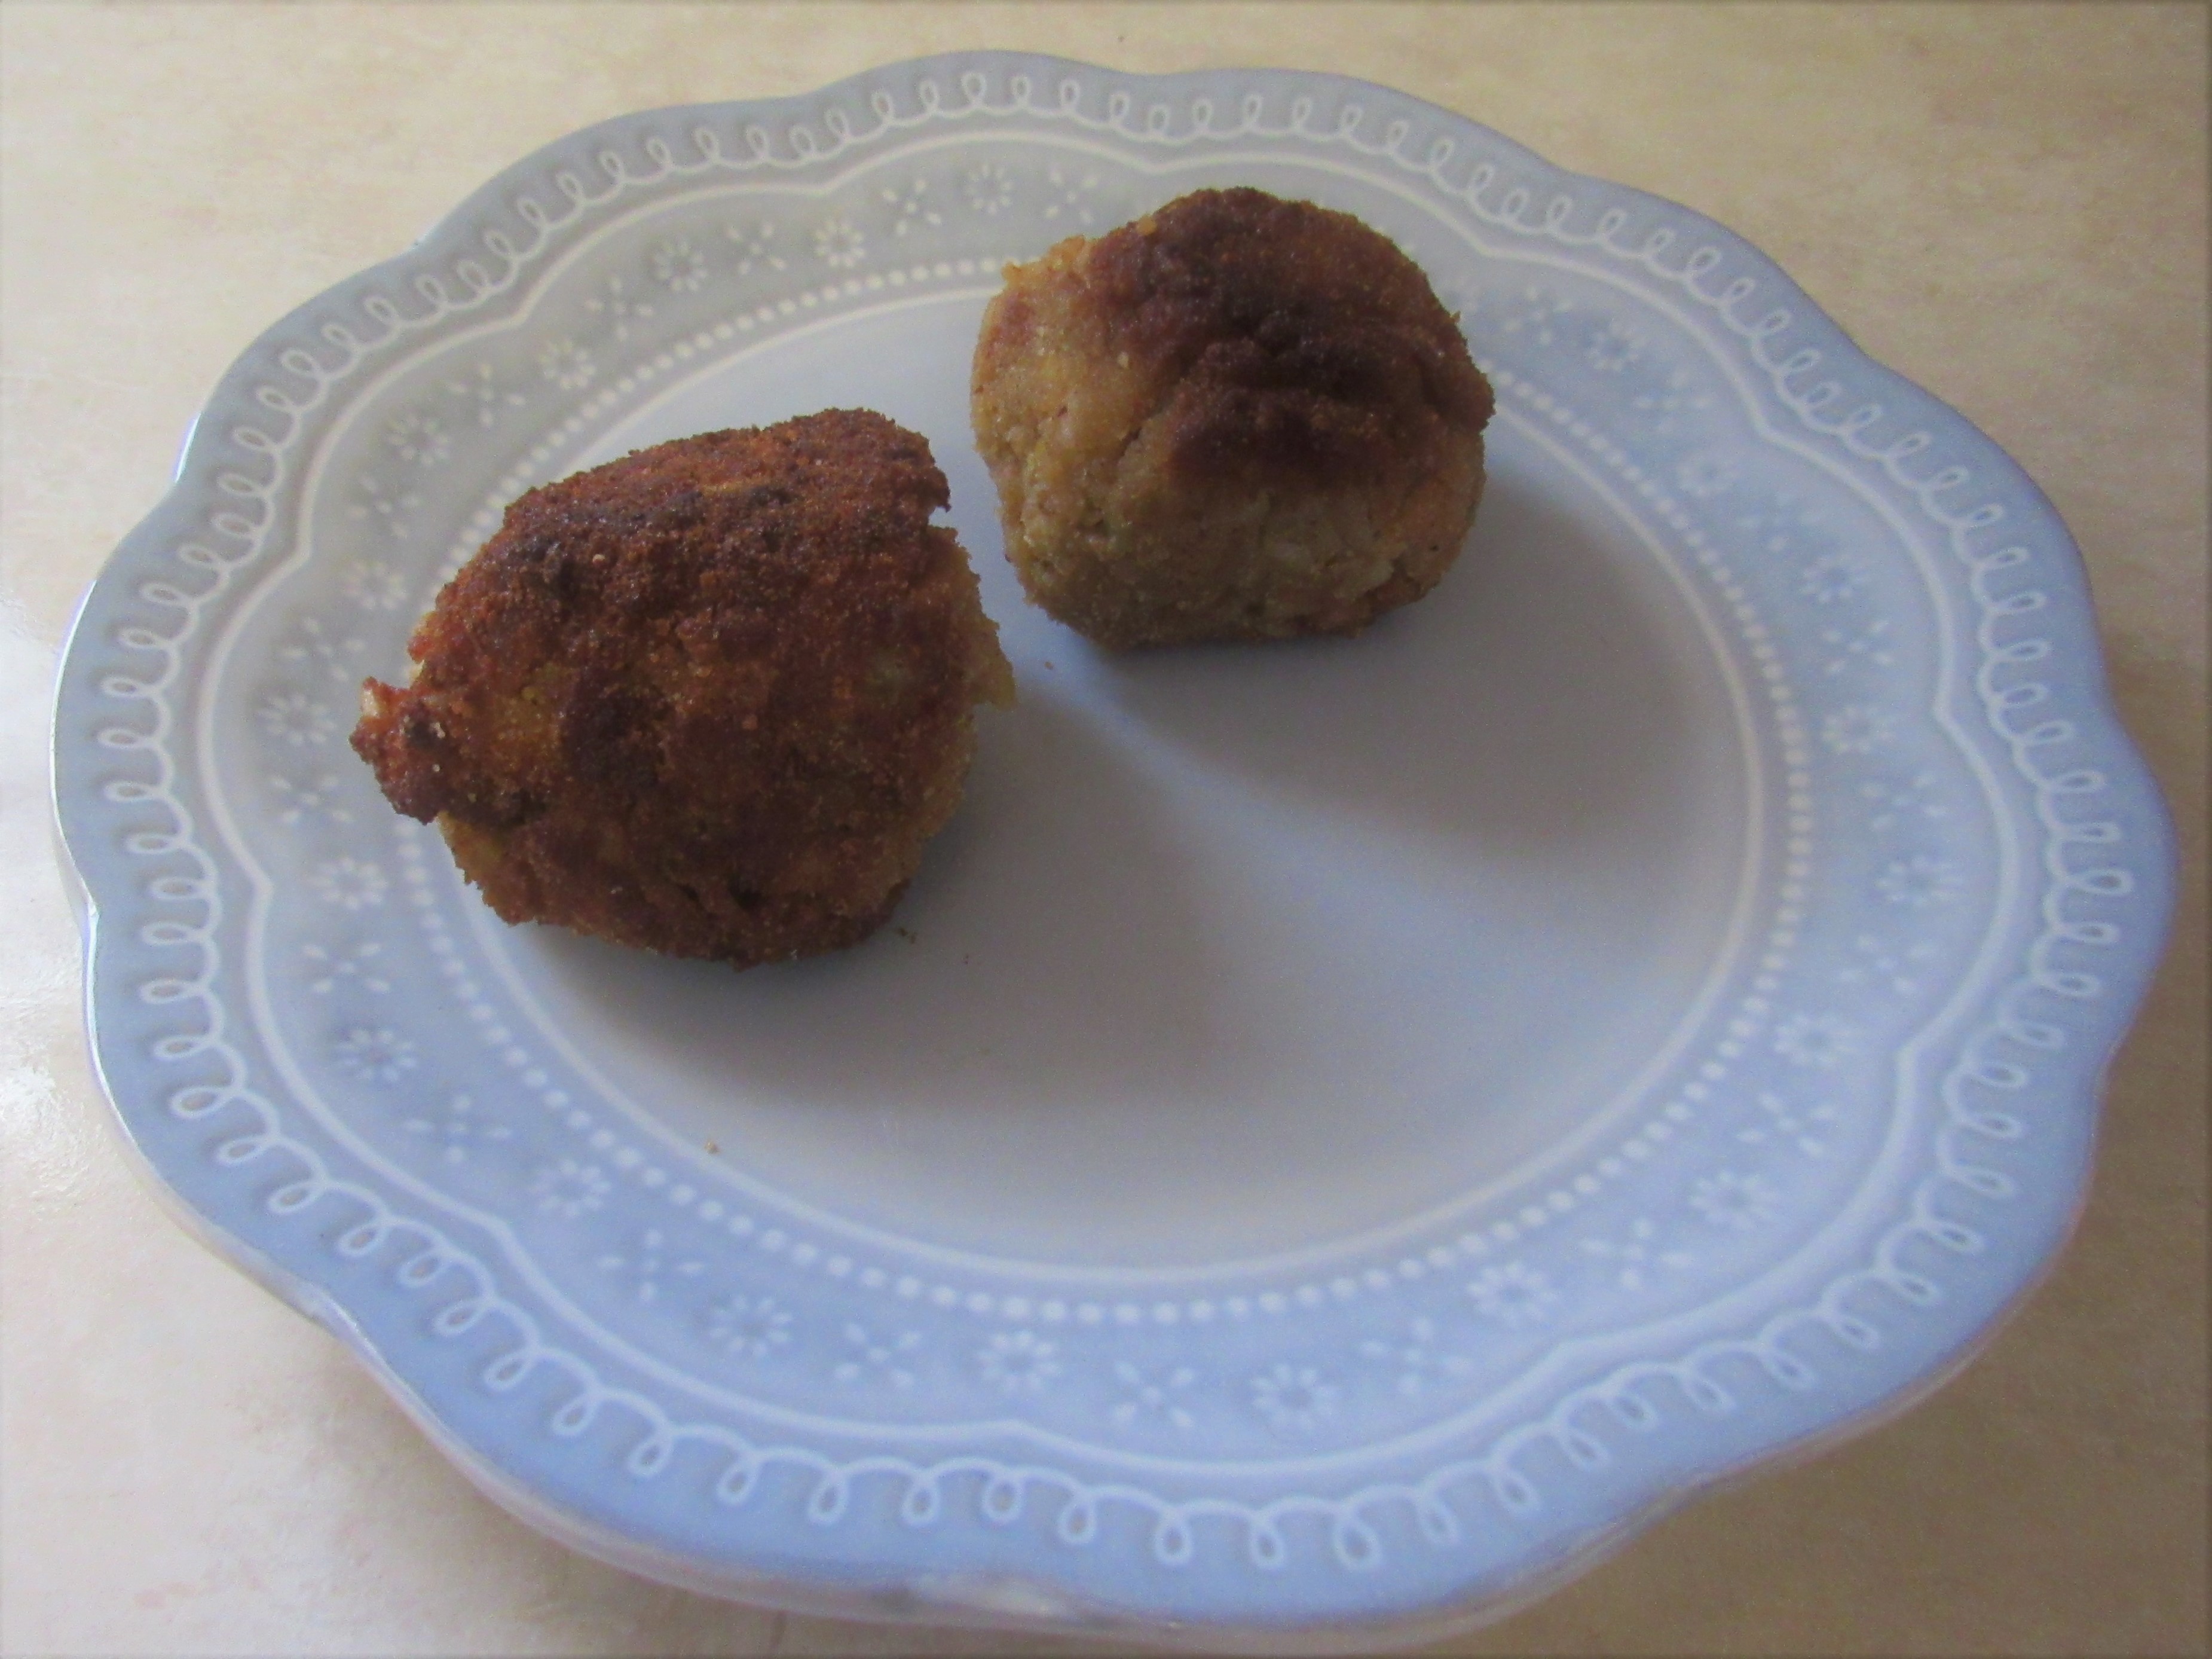
I formed them into balls, but they didn’t hold up well in the skillet. I suggest shaping them into patties.

Beat 2 eggs in a bowl. Place bread crumbs in a separate bowl. Dip croquettes into the egg and then roll them in bread crumbs.

Melt shortening in a skillet over medium – medium high heat. (I used a cast iron skillet which cooks evenly so medium heat worked well for me.)

Frying will take 5 – 10 minutes. Turn croquettes gently to brown on all sides. Wooden spoons worked best for me and 2 croquettes still fell apart. (I suggest patties—and a modification in the recipe that I’ll mention at the end.) This made 8 croquettes. Two were a satisfying lunch for me.

What a great recipe for using leftover chicken!

I liked the croquettes. The sage gave a nice flavor without overpowering the rice and chicken. Rice is a favorite of mine, but this is too much rice for 1 ½ cups of chicken. I’d decrease the amount of cooked rice to ½ cup. I believe they will hold together better.

Also, I’ll add ¼ cup of bread crumbs to the croquette batter next time so that it will hold up better while cooking. The original cooks didn’t do this and I try to follow the historic recipes as closely as I can at first to have the dining experience they had.

-Sandra Merville Hart

Sources

Compiled from Original Recipes. Buckeye Cookery and Practical Housekeeping, Applewood Books, 1877.

Cabbage Lasagna

by Sandra Merville Hart

It’s that time of year when folks are counting their calories and/or carbs. I saw a quick video of a cook making this lasagna and decided to try it with ingredients at hand.

This is a delicious low-carb meal that I’ll make again.

1 head of Cabbage

2 – 3 tablespoons of olive oil

1 lb. ground beef

2 cans crushed or diced tomatoes

1 cup shredded carrots

1 yellow onion, diced

1 tsp. dried oregano

Black pepper to taste

2 garlic cloves, minced

1 cup Ricotta cheese

1 cup mozzarella cheese

1 tsp. dried basil or ¼ cup fresh basil

Salt

1 egg, beaten

First, separate the leaves of an entire head of cabbage into stacks. This may take a few minutes.

Add a teaspoon of salt to a large pot of water and begin to boil.

  1. Pour a thin coat of olive oil in a deep skillet—start with 2 tablespoons and add enough to cover the bottom. Next, sauté the carrots and onions together. I didn’t have shredded carrots so I used sliced baby carrots. I also didn’t have an onion so I substituted diced green onions. If you do this, sauté the carrots alone for about 3 minutes, adding the green onions for about a minute.
  2. Add to this mixture the ground beef, oregano, and black pepper. (I used ½ teaspoon of pepper. Use more or less to your taste.)  Brown this over medium high heat.
  3. Once the meat is browned, add 2 cloves of minced garlic. (I didn’t have garlic on hand, so I skipped this step.)
  4. Add basil and 2 cans of crushed tomatoes. I used diced tomatoes and simply broke them down with a wooden spoon while it cooked. I also added 2 tablespoons of chopped scallions for color and flavor. Lower heat to simmer for 20 – 25 minutes.
  5. As soon as the large pot of water is boiling, cook a few cabbage leaves at a time. Use a slotted spoon to remove them once they soften and set them gently to the side because these are your lasagna noodles. Keep the larger leaves separate because you will use them first. This step took longer than I imagined, so allow at least 20 minutes. Keep the water boiling on high and more water may be needed in the pot as it boils down.
  6. When the meat mixture is done simmering, turn off the heat and stir in the beaten egg.
  7. Choose a deep round or square dish so you can make multiple layers. Spray it lightly with cooking spray.
  8. Now you are ready to assemble the lasagna. Select one large leaf to lay on the bottom center. Next, overlap the largest cabbage leaves from the middle so that they go up the sides of the dish, lining it all around and over the top until the dish is completely covered. (You will tuck the pieces hanging over the top onto the lasagna later.)
  9. Spoon on a layer of meat. The add spoons of ricotta cheese in several spots, but no need to cover the meat. Then sprinkle a layer of mozzarella cheese over the ricotta. Next add a layer of cabbage leaves—no need to go up the sides for this layer.
  10. Repeat step 9 above twice. Make sure that the top pieces of cabbage cover the whole dish well, for when you turn it over after baking, it’s the bottom layer. Then tuck the original cabbage pieces hanging over the sides over it.
  11. Bake at 375 degrees for an hour.
  12. Allow it to cool 5 – 10 minutes before turning it out onto a serving plate.

This was a very tasty meal. I have to admit that I missed the garlic flavor so I’ll add it next time. I will also add an extra teaspoon of oregano when I make it next because it wasn’t a strong enough flavor.

I loved eating this low-carb lasagna and found it a comforting meal. My husband doesn’t eat lasagna so I had leftovers for lunch for a few days. I didn’t get tired of it!

Candied Orange Peel

by Sandra Merville Hart

Like everyone else the past two years, Covid has affected holiday plans—either by cancelling or postponing them. As I write, my son-in-law has Covid and a late Christmas family gathering will be delayed again.

I often try to bring some new holiday recipe to Christmas gatherings. Last year I made a yule log—delicious! This year I had planned to try Candied Orange peel. I decided to make it even though our celebration is delayed.  

I looked at a few different recipes and they were all very similar.

Candied Orange Peel

2 large oranges, cut and peeled into 8 wedges

4 cups sugar, divided

3 cups water

8 oz chocolate, melted (optional—and for later, will use this after the peels dry)

Cut peel and pith (the white part) from orange wedges. Because oranges are a juicy fruit, this part can be messy so cut the oranges over a plate or rimmed dish. (I served the leftover fruit as a packed-with-Vitamin-C snack for the children in my home. 😊)

Next, slice the peel wedges into 3 strips each. Boil a large pot of water and then add strips. Cook for 15 – 20 minutes. Peels will be soft. Drain in a colander. Rinse and then drain again.

Place 3 cups of sugar in 2 cups of water in a medium saucepan. Stir to dissolve sugar and then leave it alone, bringing it to a boil over medium heat. Add the orange and allow the syrup to return to a boil and then reduce heat so that the mixture gently simmers for about 45 minutes, until peel is very soft. Remove the peel with a slotted spoon.

Hint: Save the orange syrup for another recipe or serve it on pancakes for a different flavor.

Place a cup of sugar in a mixing bowl and coat the peel. You may need another 1/3 cup of sugar to coat all the slices—at least I did, with the help of a preschooler and a kindergartner. 😊

Set aside the peel to dry on a sheet of parchment paper. I set mine on a lined baking sheet and it took 2 days for them to dry.

Optional—not optional for the chocolate lover in me!—melt 8 ounces of chocolate and dip the slices halfway into the melted chocolate. Delicious! I love the combination of orange paired with chocolate.

Store the dried peel in an airtight container. It should keep up to two months.

My family ate these without chocolate too and asked for more. It’s a different yet delicious orange treat, packed with vitamin C in this cold and flu season—a win-win!

I will look for ways to use this orange peel in recipes. I’ve already steeped a slice in my tea for a hint of orange—and added vitamin C!

Yule Log Cake

by Sandra Merville Hart

Burning large yule logs for the entire Twelve Days of Christmas celebrations is a centuries-old tradition. A recipe for a sweet dessert by that name was first published in The English Huswife by Gervase Markham in 1615.

The yule log (also called buche de Noel) is a traditional Christmas cake filled and rolled into the shape of a log. French bakers began to place intricate decorations on the buche de Noel cakes in the 1800s. The cakes became a popular dessert that was served after Christmas Eve midnight mass.

Yule logs are usually made of sponge cake that is baked in a shallow Swiss roll pan. A creamy filling is rolled inside the cake before it is rolled into a log shape. The outside is typically iced with buttercream or ganache.

Decorations vary for the yule logs. Christmas decorations like holly leaves or Christmas trees make a festive holiday dessert. Yule logs are often decorated with marzipan or meringue objects one finds in the forest such as mushrooms.

I decided to make a yule log cake for the first time. I found a wonderful recipe on Life, Love and Sugar that included some helpful hints.

I followed this recipe and took the yule log dessert to a family gathering. It was a big hit! Everyone loved it.

Though the chocolate cake had a delicious cocoa flavor, the cream filling was the star of the dessert for me. It wasn’t too sweet. The mascarpone cheese wasn’t too heavy for the whipped cream filling. I splurged and ate a piece for breakfast the next morning. Delicious!

Sources

Butler, Stephanie. “The Delicious Tradition of the Yule Log,” History, 2020/12/21 https://www.history.com/news/the-delicious-history-of-the-yule-log.

Collins, Ace. Stories Behind the Great Traditions of Christmas, Zondervan, 2003.

“Yule Log Cake (Buche De Noel),” Life, Love, and Sugar, 2020/12/21 https://www.lifeloveandsugar.com/yule-log-cake-buche-de-noel/.

“Yule Log Cake,” Wikipedia, 2020/12/21 https://en.wikipedia.org/wiki/Yule_log_(cake).


https://www.amazon.com/Sandra-Merville-Hart/e/B00OBSJ3PU/

Reindeer Cupcakes

by Sandra Merville Hart

Are you looking for a fun treat to make with the children in your life? These reindeer cupcakes are a lot of fun to create. My two-year-old granddaughter decorated several. For her, getting the nose, eyes, antlers and mouth somewhere on the cupcake spelled success. Her older brother, after making a few with facial features in the proper spots, had a lot of fun making “silly” faces.

Making this a successful adventure required advance preparation. You can do this and have a blast yourself if you plan ahead.

  • If you have young children, make the cupcakes ahead of time. I followed my mom’s yellow cake recipe. Children in elementary school will probably want to help with all of it. Get yourself into the mindset that this will be messy. You can clean up later. Now is the time for organized fun.
  • While the baked cupcakes are cooling, prepare the reindeer “antlers” and “mouth.” Pretzels (I bought festive iced pretzels but the plain ones look more like reindeer) work great for these. Break them into pieces that resemble reindeer antlers and mouths. Older children will probably want to do this for you.
  • Candy eyes are often available at grocery stores. Red imperials cinnamon flavored candies, M&Ms, or chocolate chips make good noses.
  • Prepare icing or buy it. To keep things easy, I bought icing. White icing shows up really well but Christmas colors are also fun.
  • Once the cupcakes cool (I kept them in the fridge for about thirty minutes to make them easier to frost) gather the decorations and the children. Older children will want to frost the cupcakes while the younger ones will likely need adults to do it.
  • Frost the cupcakes one at a time and then decorate immediately. Demonstrate the first one so everyone knows what to do. After that, supervise as needed.

Learn to be flexible with the child’s own creative spirit. They’ll have more fun … and so will you.

What a fun activity for the children in your life! Maybe it will become a family tradition.

Traditional Sugar Cookies

by Sandra Merville Hart

Holiday traditions are a fun part of the season for so many of us. I had been doing different Christmas activities with my preschool and toddler grandchildren. They helped “build” our artificial Christmas tree. They decorated the house with us. We’d watched some holiday shows together and lit Christmas scented candles.

It was time to make Christmas cookies. I made the dough ahead of time from a trusted recipe in my Betty Crocker’s Cookbook.

Traditional Sugar Cookies

¾ cup shortening (I use butter, softened)

1 cup sugar

2 eggs

1 teaspoon vanilla

2 ½ cups all-purpose flour

1 teaspoon baking powder

1 teaspoon salt

Sift together the flour, baking powder, and salt in a separate bowl and set aside.

Blend the butter and sugar together with a pastry blender until thoroughly combined. Add beaten eggs and vanilla until mixed. Blend in the flour mixture.

Cover and refrigerate for at least an hour.

Preheat the oven to 400 degrees. Lightly flour the surface and roll out the dough. Cut into desired shapes. Place on ungreased baking sheet and bake 6 – 8 minutes or until lightly browned.

I selected some cookie cutters that don’t have lots of nooks and crannies for the dough to get stuck in and gave them their choice from those shapes. I demonstrated cutting out the cookies. They did a great job and had lots of fun with this part.

After the cookies baked and cooled, I showed them an easy way to decorate. At 4 and 2, they did a great job. What fun for all of us! Taking turns made it easier to monitor and keep the mess to a minimum.

Of course, they sampled their handiwork and we saved their very first cookies as a treat for Mom and Dad.

Delicious, light cookies made a wonderful Christmas cookie.

What a sweet adventure and hopefully a fun memory for both children.

Sources

Betty Crocker’s Cookbook, General Mills, 1969.

Stew – the Mainstay of Homesteaders

Cindy Ervin Huff, fellow author in “The Cowboys,” shares a recipe from her new historical romance book release. Welcome back to Historical Nibbles, Cindy!

by Cindy Ervin Huff

Stew was a mainstay in the diet of most pioneers and homesteaders. It can be easily stretched to feed a large group of people. And reheated stew has even more flavor than the first day it was served. Because homesteaders had a busy life, it was often easier to set a pot of stew to cook slowly while the womenfolk tended to other chores, such as sewing or doing laundry.

Cooks on cattle drives often made stew. The chuck wagon traveled to the campsite for the day and arrived hours before the drovers. Cooking a large pot of stew over a campfire ensured the crew had a hearty meal at the end of the day.

Stew might consist of a variety of meat such as chicken, beef, lamb, venison and even softened jerky. And any vegetable or herb would be added. Spices might be interchanged due to what was available in the area and the nationality of the homesteader.

Stew was also a mainstay for work crews such as lumber jacks, railroaders, and construction crews. In my newest release, Angelina’s Resolve, the entire community shares a tent kitchen. Buffalo that wasn’t smoked or salted became stew for the week.

Stew has held a prominent place in the culinary history of America even today. Below is a stew recipe that can be modified based on what is on hand.

Drop biscuits were more common than cut ones on a busy day. A drop biscuit is the same recipe as any other biscuit, except the biscuit dough is dropped from a spoon on the baking sheet or cast-iron pot and baked. The shapes are irregular but the flavor is the same. Stew is usually served with some type of bread. Biscuits like stew were the go-to preference for getting a meal out quickly. Especially on the trail.

Meat Stew

Choose any type of meat available, such as chicken, beef, lamb, or wild game. Cut meat into pieces and dredge in flour. Then in a Dutch oven or other large pot, cook the meat in lard until browned on all sides.

Then add water, enough to cover the meat but not to the rim of the pan. Add salt if meat is not already salted. Chop your choice of vegetables into small pieces.  Once the water is boiling, add the vegetables, then push the pot to the back of the stove to slowly cook. Stir occasionally to prevent burning to the bottom of the pan. The more people you are serving, the more vegetables you should add to stretch the stew. Add water as needed. Season with any herbs you like. This stew can be cooked in a shorter time by leaving it on the hotter part of the stove or over a campfire. Stew is done when vegetables are soft. Serve with bread, biscuits or cornbread.

About Cindy

Cindy Ervin Huff is an Award-winning author of Historical and Contemporary Romance. She loves infusing hope into her stories of broken people. She’s addicted to reading and chocolate. Her idea of a vacation is visiting historical sites and an ideal date with her hubby of almost fifty years would be a live theater performance. Visit her on her website or on Facebook.

Angelina’s Resolve

Architect Angelina DuBois is determined to prove her worth in a male-dominated profession by building a town run by women, where everyone is equal, and temperance is in the by-laws. Contractor Edward Pritchard must guard his heart as he works with the beautiful, strong-willed yet naïve Angelina. He appreciates her ability as an architect, but she frustrates him at every turn with her leadership style. When the project is completed, will it open doors for more work or make him a laughingstock? Can two strong-will people appreciate their differences and embrace their attraction as they work together on to build their town?

A Humble Thanksgiving Meal for the Ingalls

by Sandra Merville Hart

I recently read On the Banks of Plum Creek by Laura Ingalls Wilder. Her family moved to Minnesota when she was seven and first stayed in a sod house built into the creek bank. The details of everyday life in the 1870s fascinated me.

The Ingalls family was very poor. They had moved into the sod house too late to plant crops so finances were tight. The author described the family’s Thanksgiving meal.

Cooking was challenging because there wasn’t a fireplace in the sod home. Their small stove didn’t have an oven.

Her pa had shot a wild goose for their supper that her ma cooked into a stew. She also made dumplings that were cooked in the gravy.

The family ate mashed potatoes and corn dodgers (hearty cornmeal bread similar to corn muffins) served with butter and stewed dried plums. Milk was their beverage.

What grabbed my attention is what they did to remember the humble meal of the Pilgrims before the Native Americans helped them.

Three grains of parched corns sat beside each tin plate, a tradition that reminded them that’s all the Pilgrims had to eat on the long-ago day. How their new neighbors changed the course of their lives that day! There was much to be grateful for.

Laura considered the corn a treat as she thought of the Pilgrims. It was crunchy and brown. The sweet taste crackled on her tongue as she ate it.

I love learning about long-forgotten holiday traditions. Some of them find a home in my historical novels. 😊

Sources

Wilder, Laura Ingalls. On the Banks of Plum Creek, HarperTrophy, 1971.

Corn Dodgers Recipe

by Sandra Merville Hart

I recently read On the Banks of Plum Creek by Laura Ingalls Wilder. Her family moved to Minnesota when she was seven and first stayed in a sod house built into the creek bank. The details of everyday life in the 1870s fascinated me.

The Ingalls family was very poor and often ate corn dodgers. In fact, the author mentioned them so often that I searched for a recipe.

As I suspected, they are similar—yet different—to corn muffins. These are baked on a cookie sheet in mounds.

I had some coarse ground cornmeal that I used to make this recipe, which I believe is more authentic to the times than the finely ground cornmeal we all know.

Preheat oven to 400 degrees.

Mix together 2 cups cornmeal, 1 teaspoon of salt, and a tablespoon of lard (I used vegetable shortening.)

Pour 2 cups of boiling water into the cornmeal mixture and stir well. The batter is thick but if you have trouble stirring it, add a little more water.

Prepare a cookie sheet, well-greased with shortening or butter or use cooking spray.

Scoop the batter into mounds on the cookie sheet. The center of the dodgers is “quite high.”

I used 1/3 cup of batter for each one to make 6 dodgers.

Bake about 25 minutes until lightly browned.

I really liked these dodgers. They’re heartier than corn muffins and more filling. We ate them as a side with soup for supper. It was a nice change from cornbread and biscuits.

These took only about five minutes to put together—and most of that was waiting for the water to boil! It’s quick and easy and a bit of a novelty because, well, I’ve never eaten one before. Maybe it’s a new recipe for you, too!

Sources

Compiled from Original Recipes. Buckeye Cookery and Practical Housekeeping, Applewood Books, 1877.

Mom’s Macaroni Salad Recipe

by Sandra Merville Hart

Sometimes I long for my mother’s cooking. In the summer she often made macaroni salad. She served it in a special, tall glass bowl that was only used for this salad.

The recipe is easy and no one ever wrote it down to my knowledge so I’m sharing it here.

We attended a family reunion where my aunt brought macaroni salad. As I went back for another spoonful, I asked my aunt what made it taste so delicious. She leaned over and whispered, “I put cucumber in mine.”

So, when I made it over the summer, I included her secret ingredient. Amazing tip! It adds another layer of flavor and crunch.

16 Ounces elbow macaroni

½ – 1 green pepper

1 large tomato

1 medium onion

1 large cucumber

1 ¼ – 1 ½ cups mayo

Salt

Cook the macaroni until tender. Drain and set aside to cool. Hint: Stir it a couple of times to release trapped heat and steam.

Chop the vegetables. I only used one half of a green pepper but a whole one doesn’t overpower the salad because there are several vegetables.

I like a lot of tomato in this salad. A large tomato was enough to add vibrant color and flavor.

Once the cooked macaroni begins to cool, stir in the chopped vegetables.

I never measure the mayo when making this salad but I did it this time to tell you. Cooked macaroni tends to absorb the mayo. After adding a cup of it, I spooned it in a bit at a time until it reached the desired creamy texture.

Delicious! The different soft and crunchy textures were even tastier than I remembered.

It may have something to do with my aunt’s secret ingredient. 😊