by Sandra Merville Hart
I was looking for a new dessert or snack to take to a family reunion. An easy-to-hold dessert is the one most folks tend to grab at picnics. Pies and cakes are delicious but don’t fit this description. Cookies are my old standby so I wanted to steer away from them.
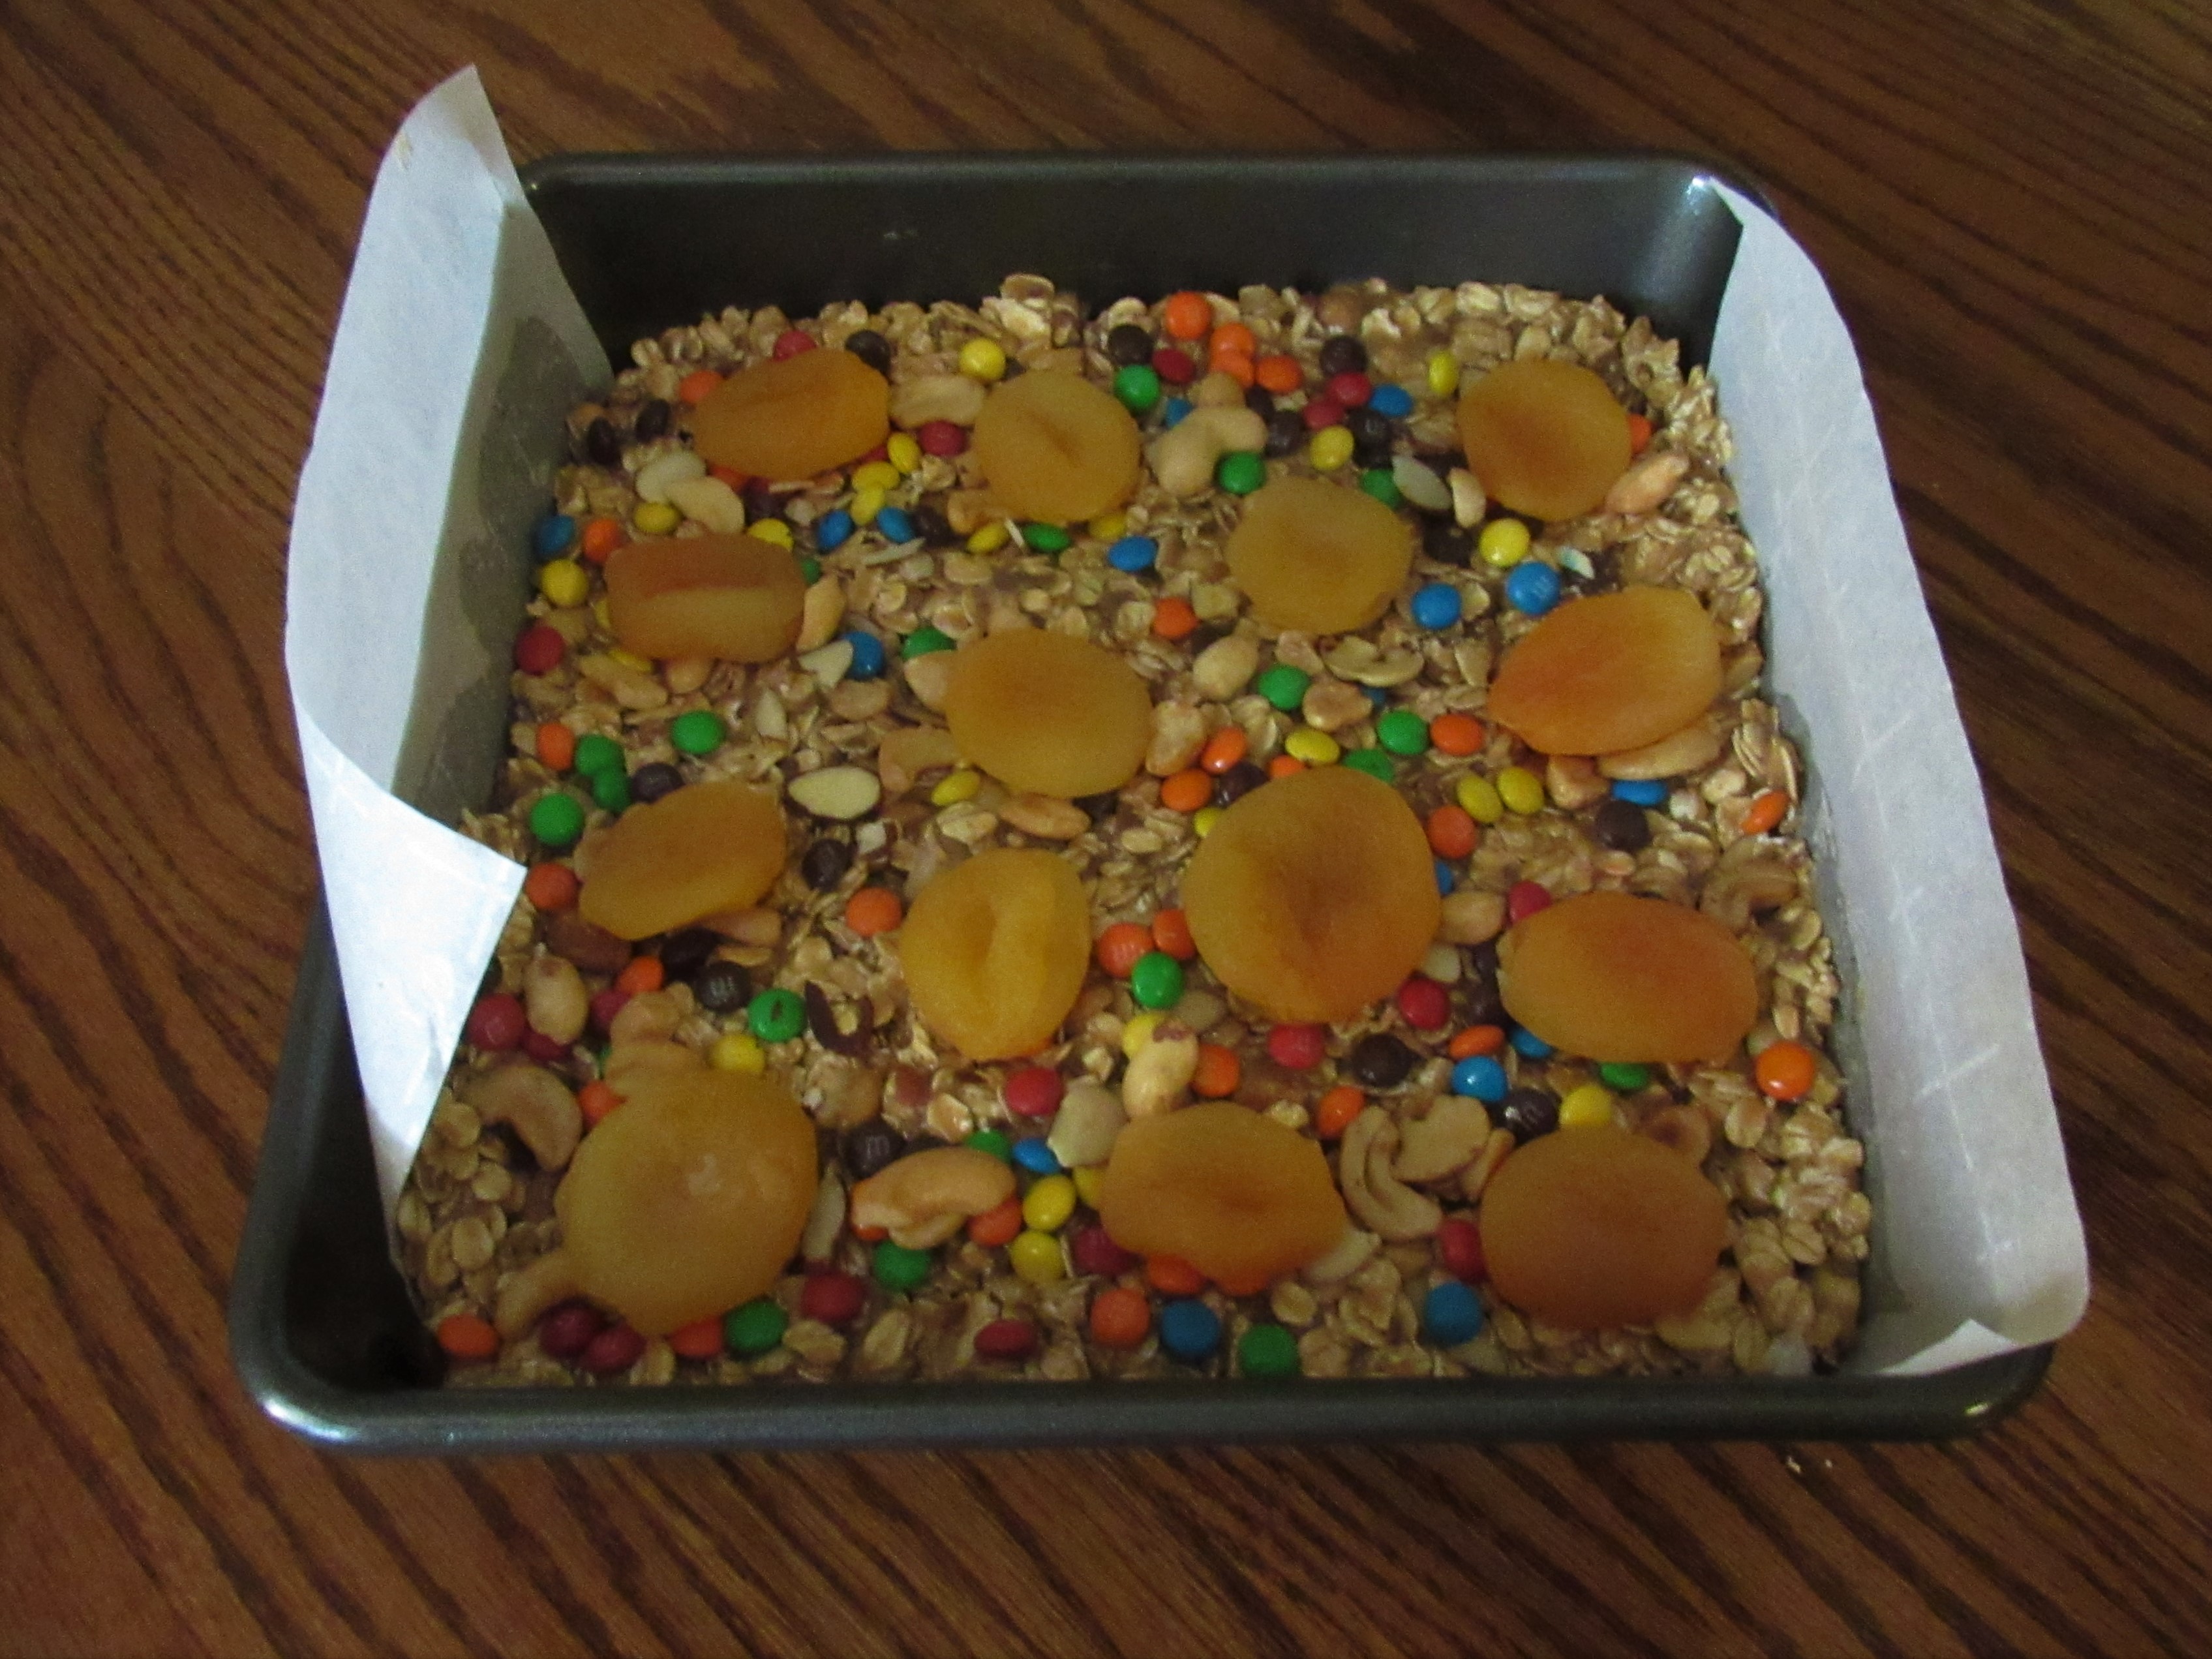
Then I discovered a recipe on the Food Network for homemade granola bar treats from Molly Yeh. I enjoy watching her show “Girl Meets Farm” and was excited to try it.
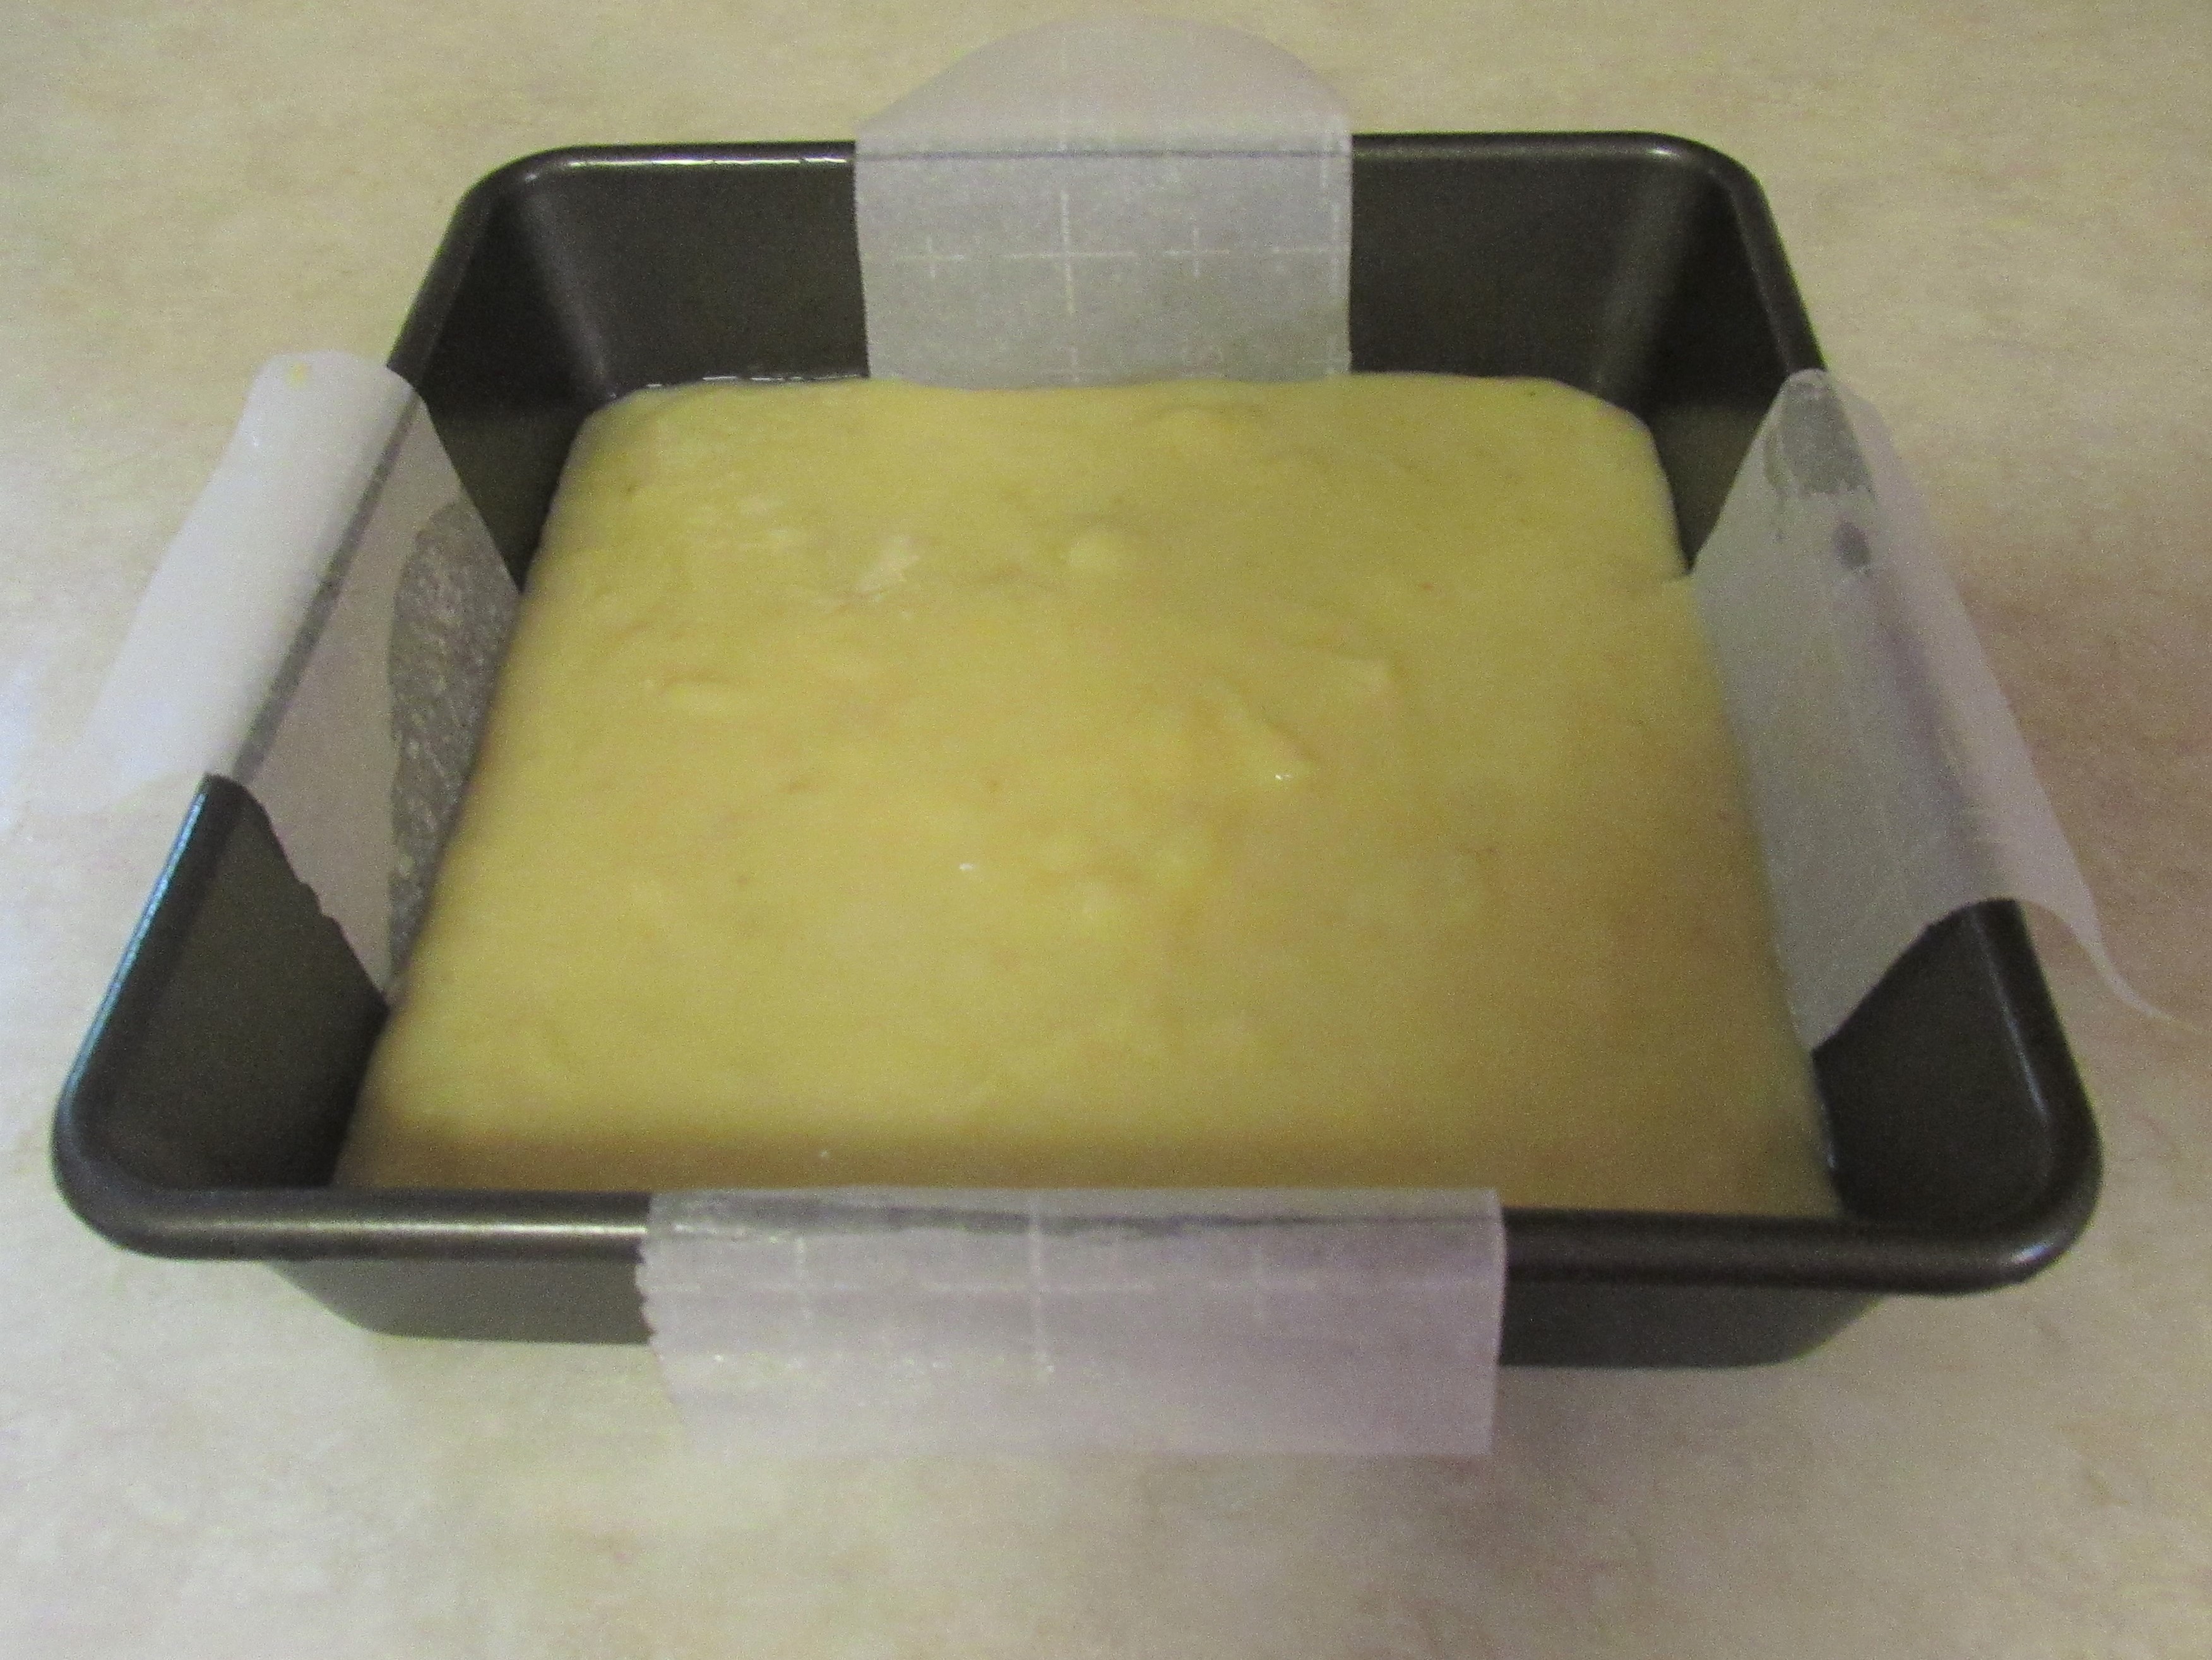
I followed the recipe that included some choices. I chose sweetened condensed milk over coconut milk.
Molly leaves the nut or seed butter up to the cook but has her preferences. I used almond butter instead of cashew butter or tahini—a delicious choice!
Her recipe calls for quick-cooking oats. I had the old-fashioned whole grain oats in my pantry so I used those.
I used roasted cashews, almonds, and peanuts.
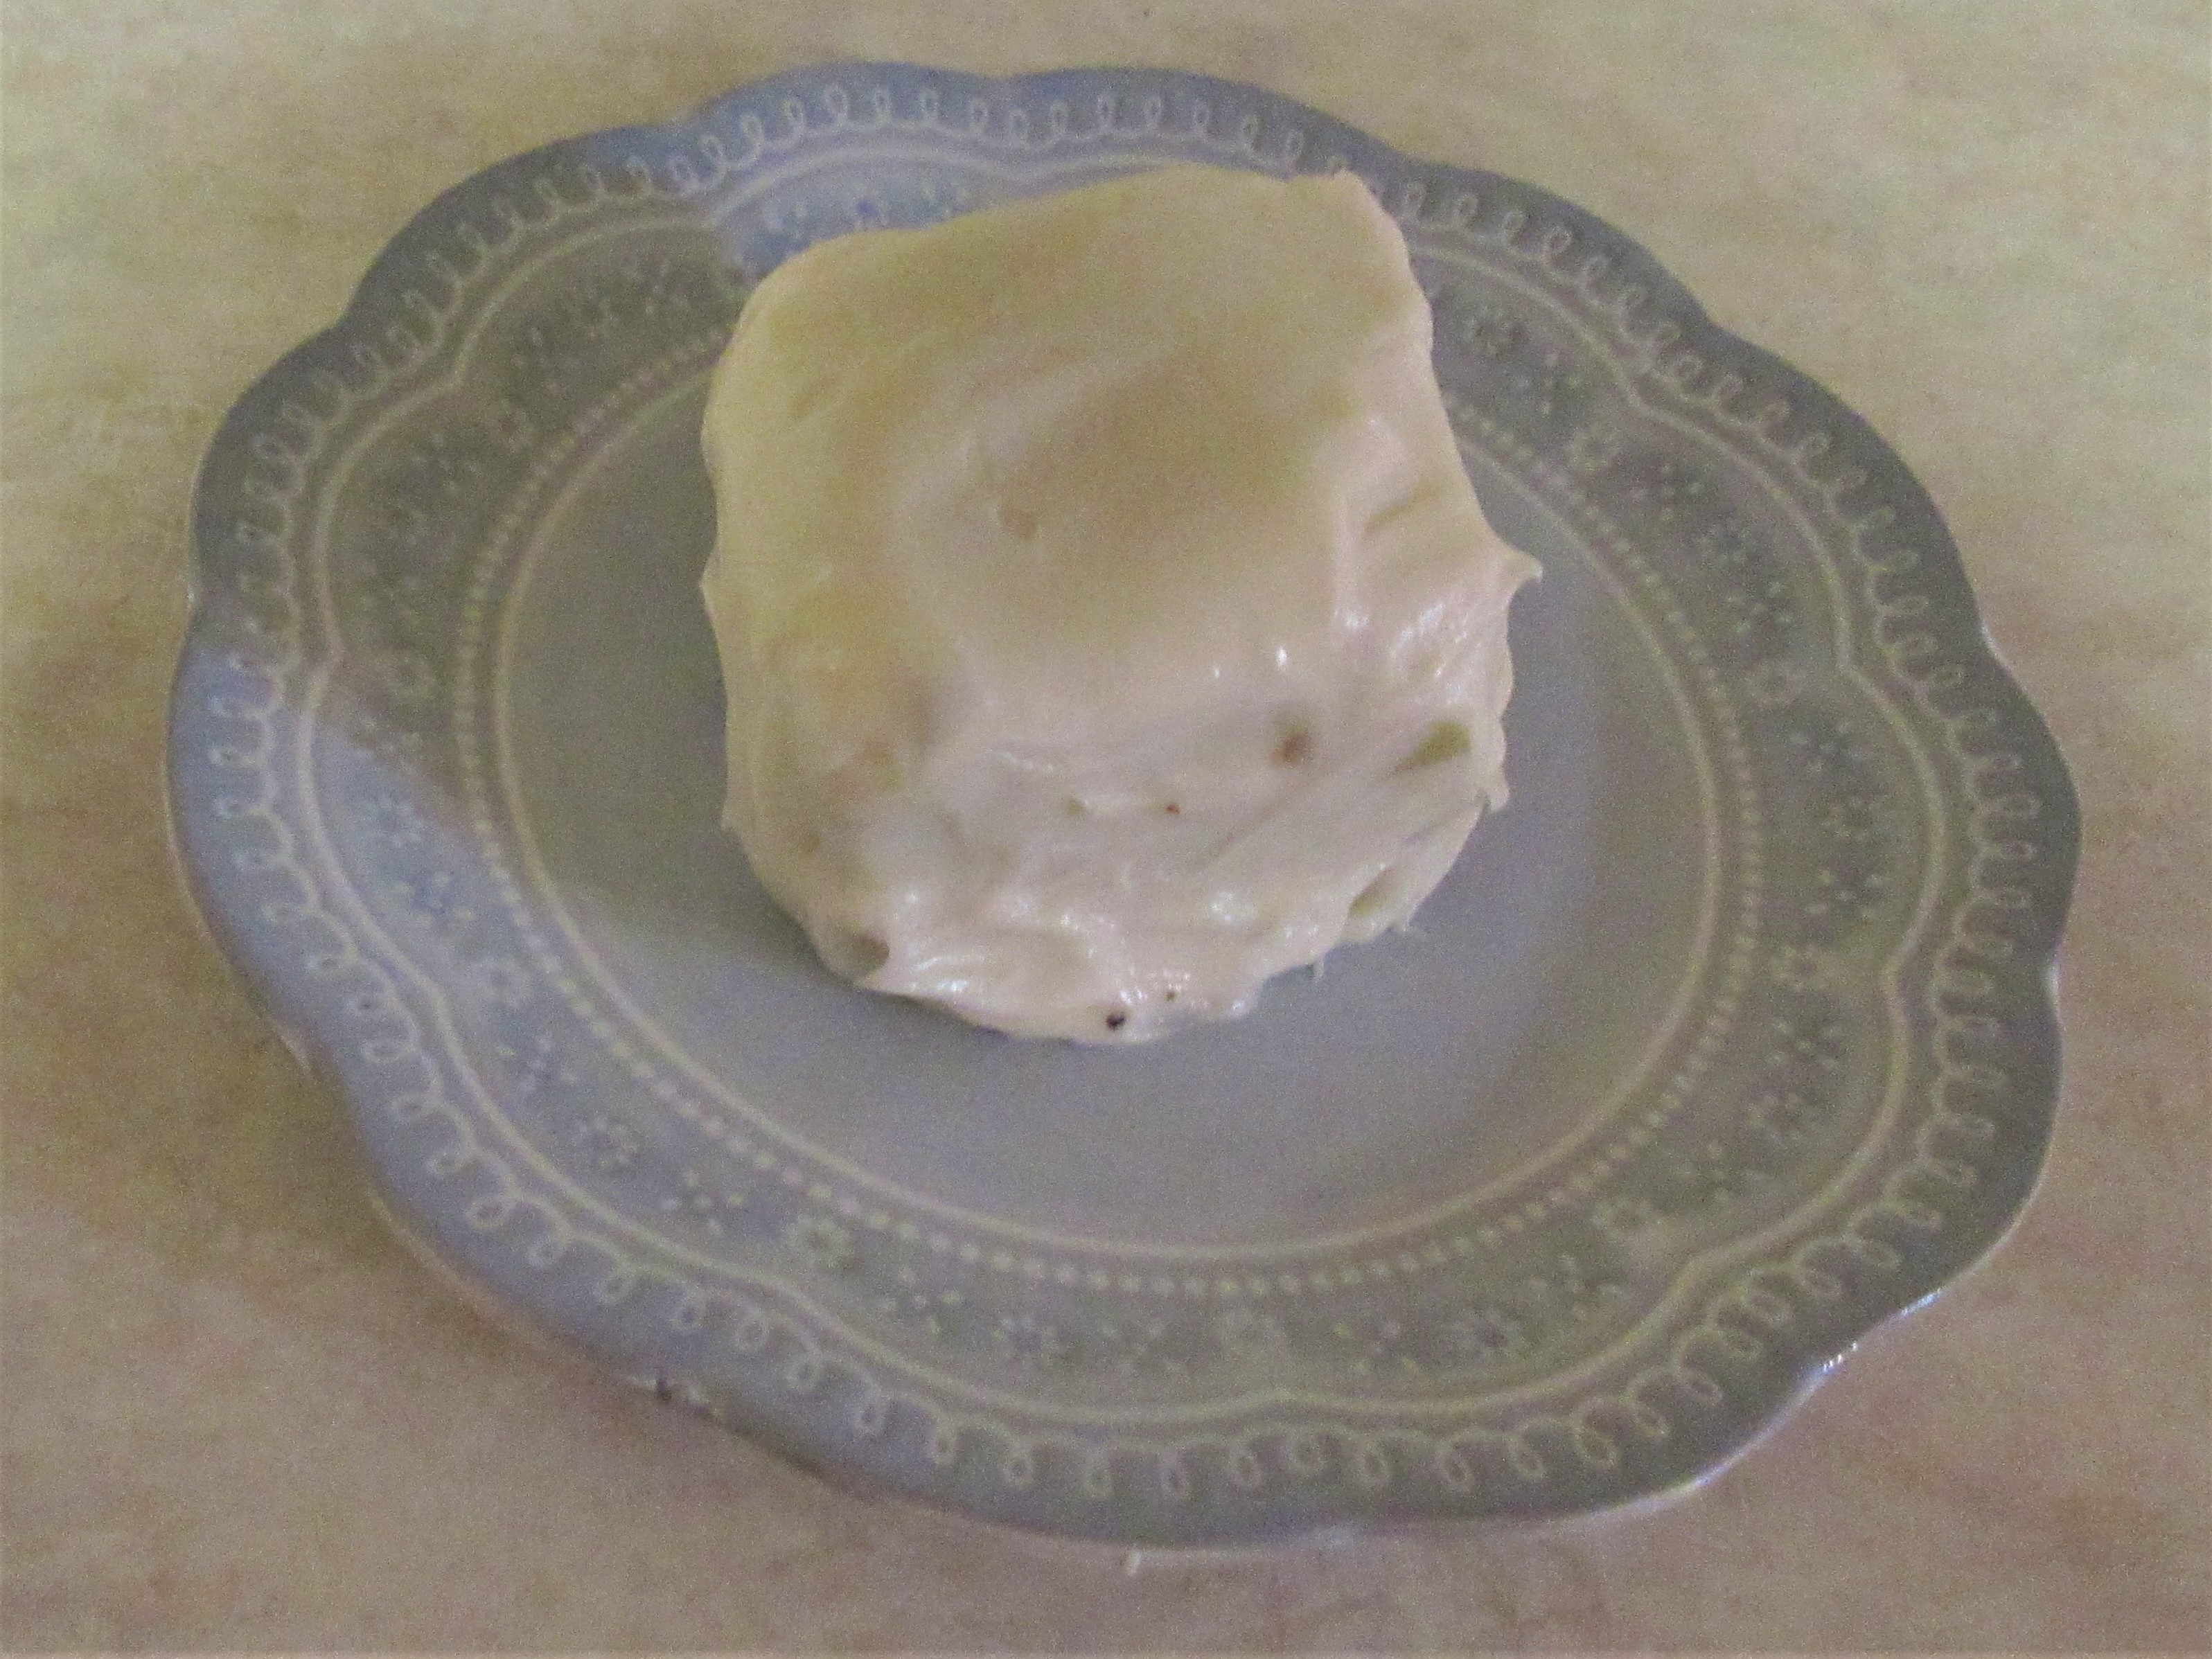
These are delicious! Chewy. Packed with healthy ingredients. Filling—one bar is all you need.
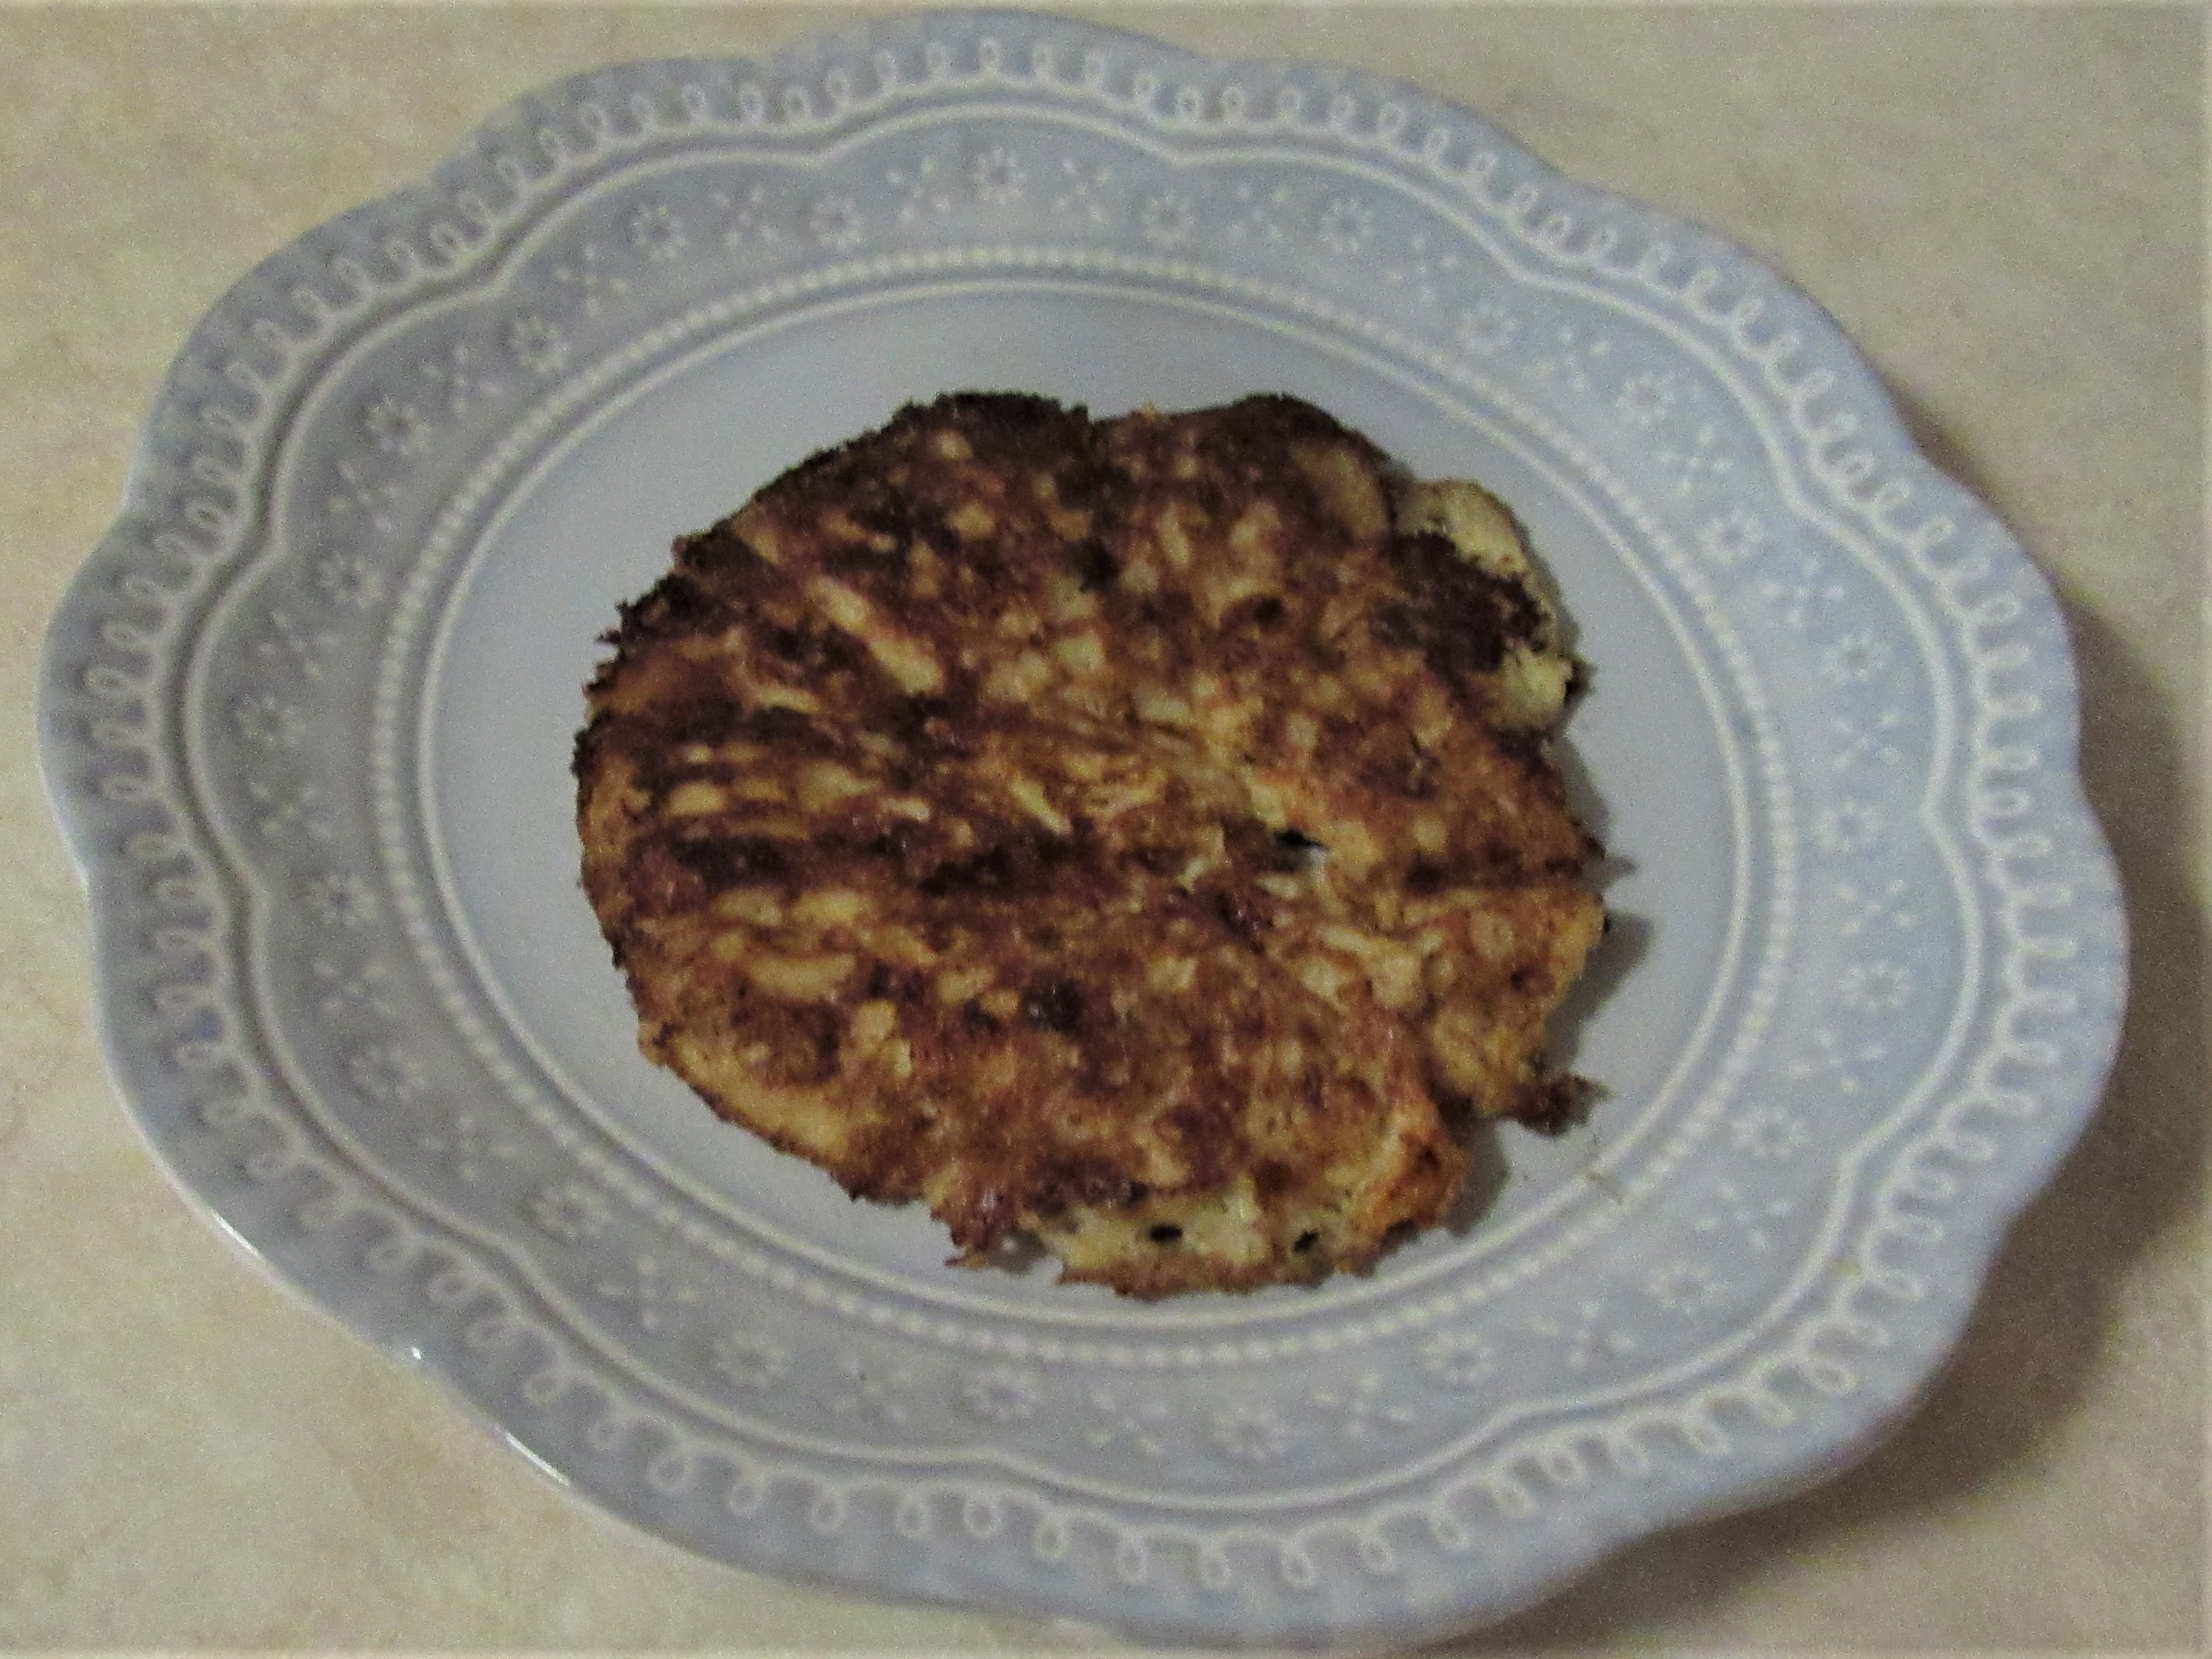
This was the first time I made these treats. Next time I will give the cashews a quick chop before adding them. I’ll also try the quick-cooking oats, which I believe will hold together better.
I will definitely make these again. Enjoy!
Sources
Yeh, Molly. “Homemade Granola Bar Treats,” Food Network, 2021/08/20 https://www.foodnetwork.com/recipes/homemade-granola-bar-treats-8032610.