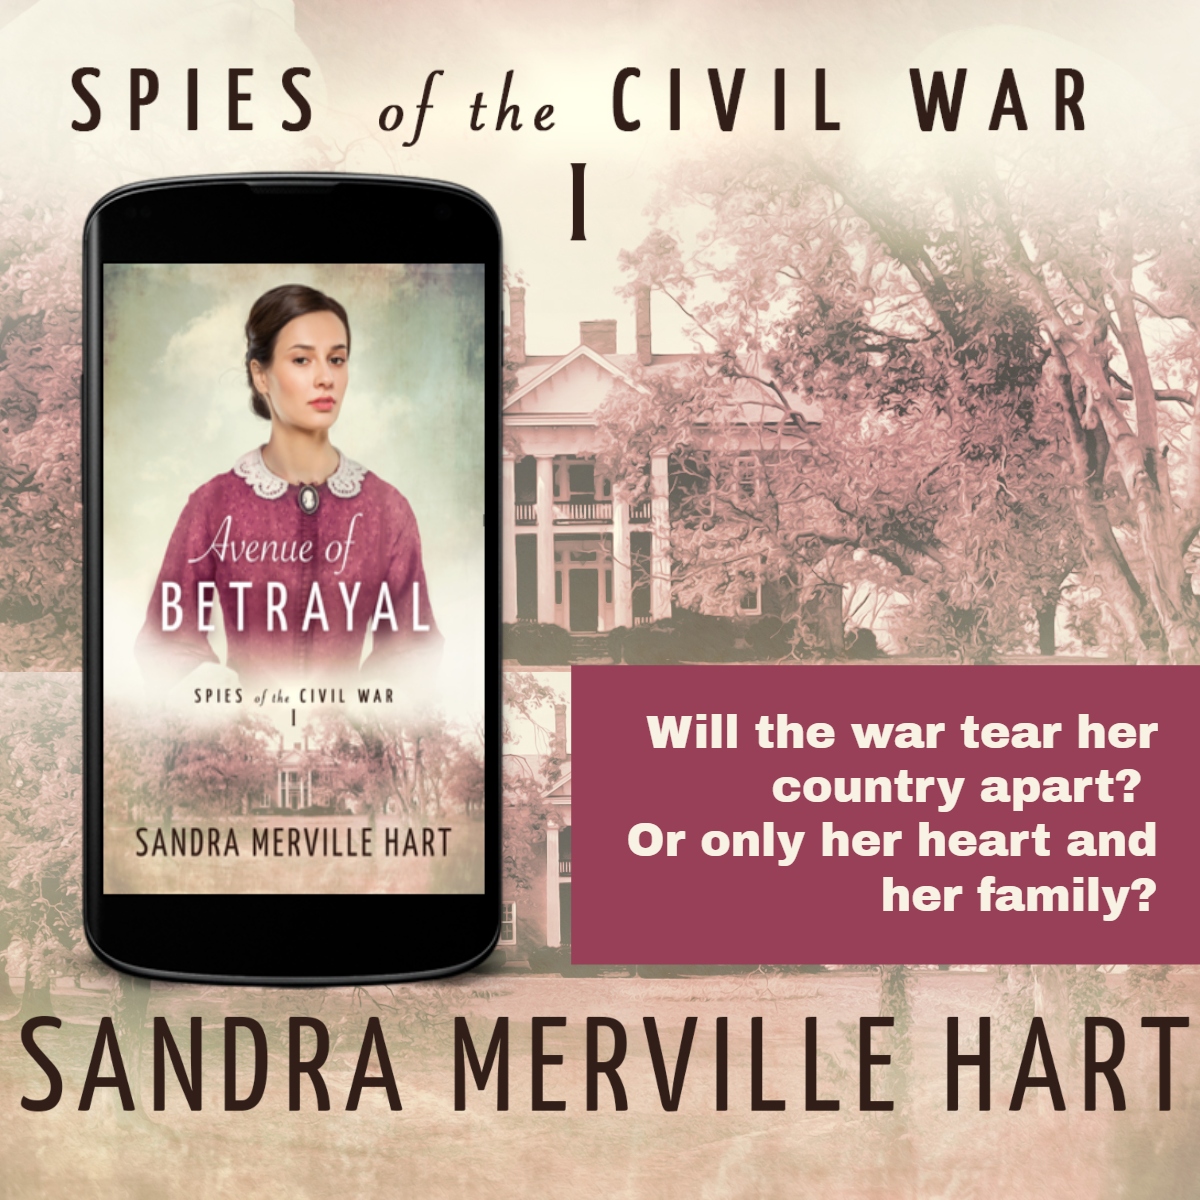
by Sandra Merville Hart
The family cook in my latest release, Boulevard of Confusion, Book 2 in my “Spies of the Civil War” series, was also a talented baker. She bakes pies, cakes, and cobblers that no one turns down. Writing these scenes made me nostalgic for my grandmother’s cobblers. She was always too impatient to teach her daughters and granddaughters her recipes. Sadly, those cobbler recipe secrets died with her.
The next best thing was searching my 1877 cookbook. I found one for plum cobbler. Miss S. Alice Melching, who wrote the recipe, noted that it worked for any canned fruit.
Preheat the oven to 375 degrees.
For the peach filling:
Stir in ¾ cup sugar (Miss Alice’s recipe calls for a coffee-cup of sugar and I guessed that to be about ¾ cup) into 2 large cans sliced peaches (29 oz. each.) Canned peaches come with light or heavy syrup. I used a little of the syrup with the filling, since Miss Alice left out a lot of details. I didn’t measure it, but it was probably about ½ cup.
For the pie crust and lattice top layer:
Melt 4 tablespoons lard (I used shortening.) Sift together 4 cups of flour, ½ teaspoon salt, and 2 teaspoons of baking powder. Add the melted shortening. Stir in 2/3 cup milk or water. (I chose milk.) After watching my grandmother cook with her hands instead of a spoon all those years, I like to mix the dough with my hands too. Knead it until it holds together.
Sprinkle flour lightly over a table or counter. Divide the dough in half. Roll the dough thinly for the bottom layer. Then arrange it in your baking dish. I used an 8 x 8 pan for mine but a pie pan will work fine.
Hint: To prevent fruit juices from soaking into the pie crust, Miss Alice suggests mixing 3 tablespoons flour with 2 tablespoons sugar and sprinkling it over the bottom crust.
Add the filling onto the pie crust.
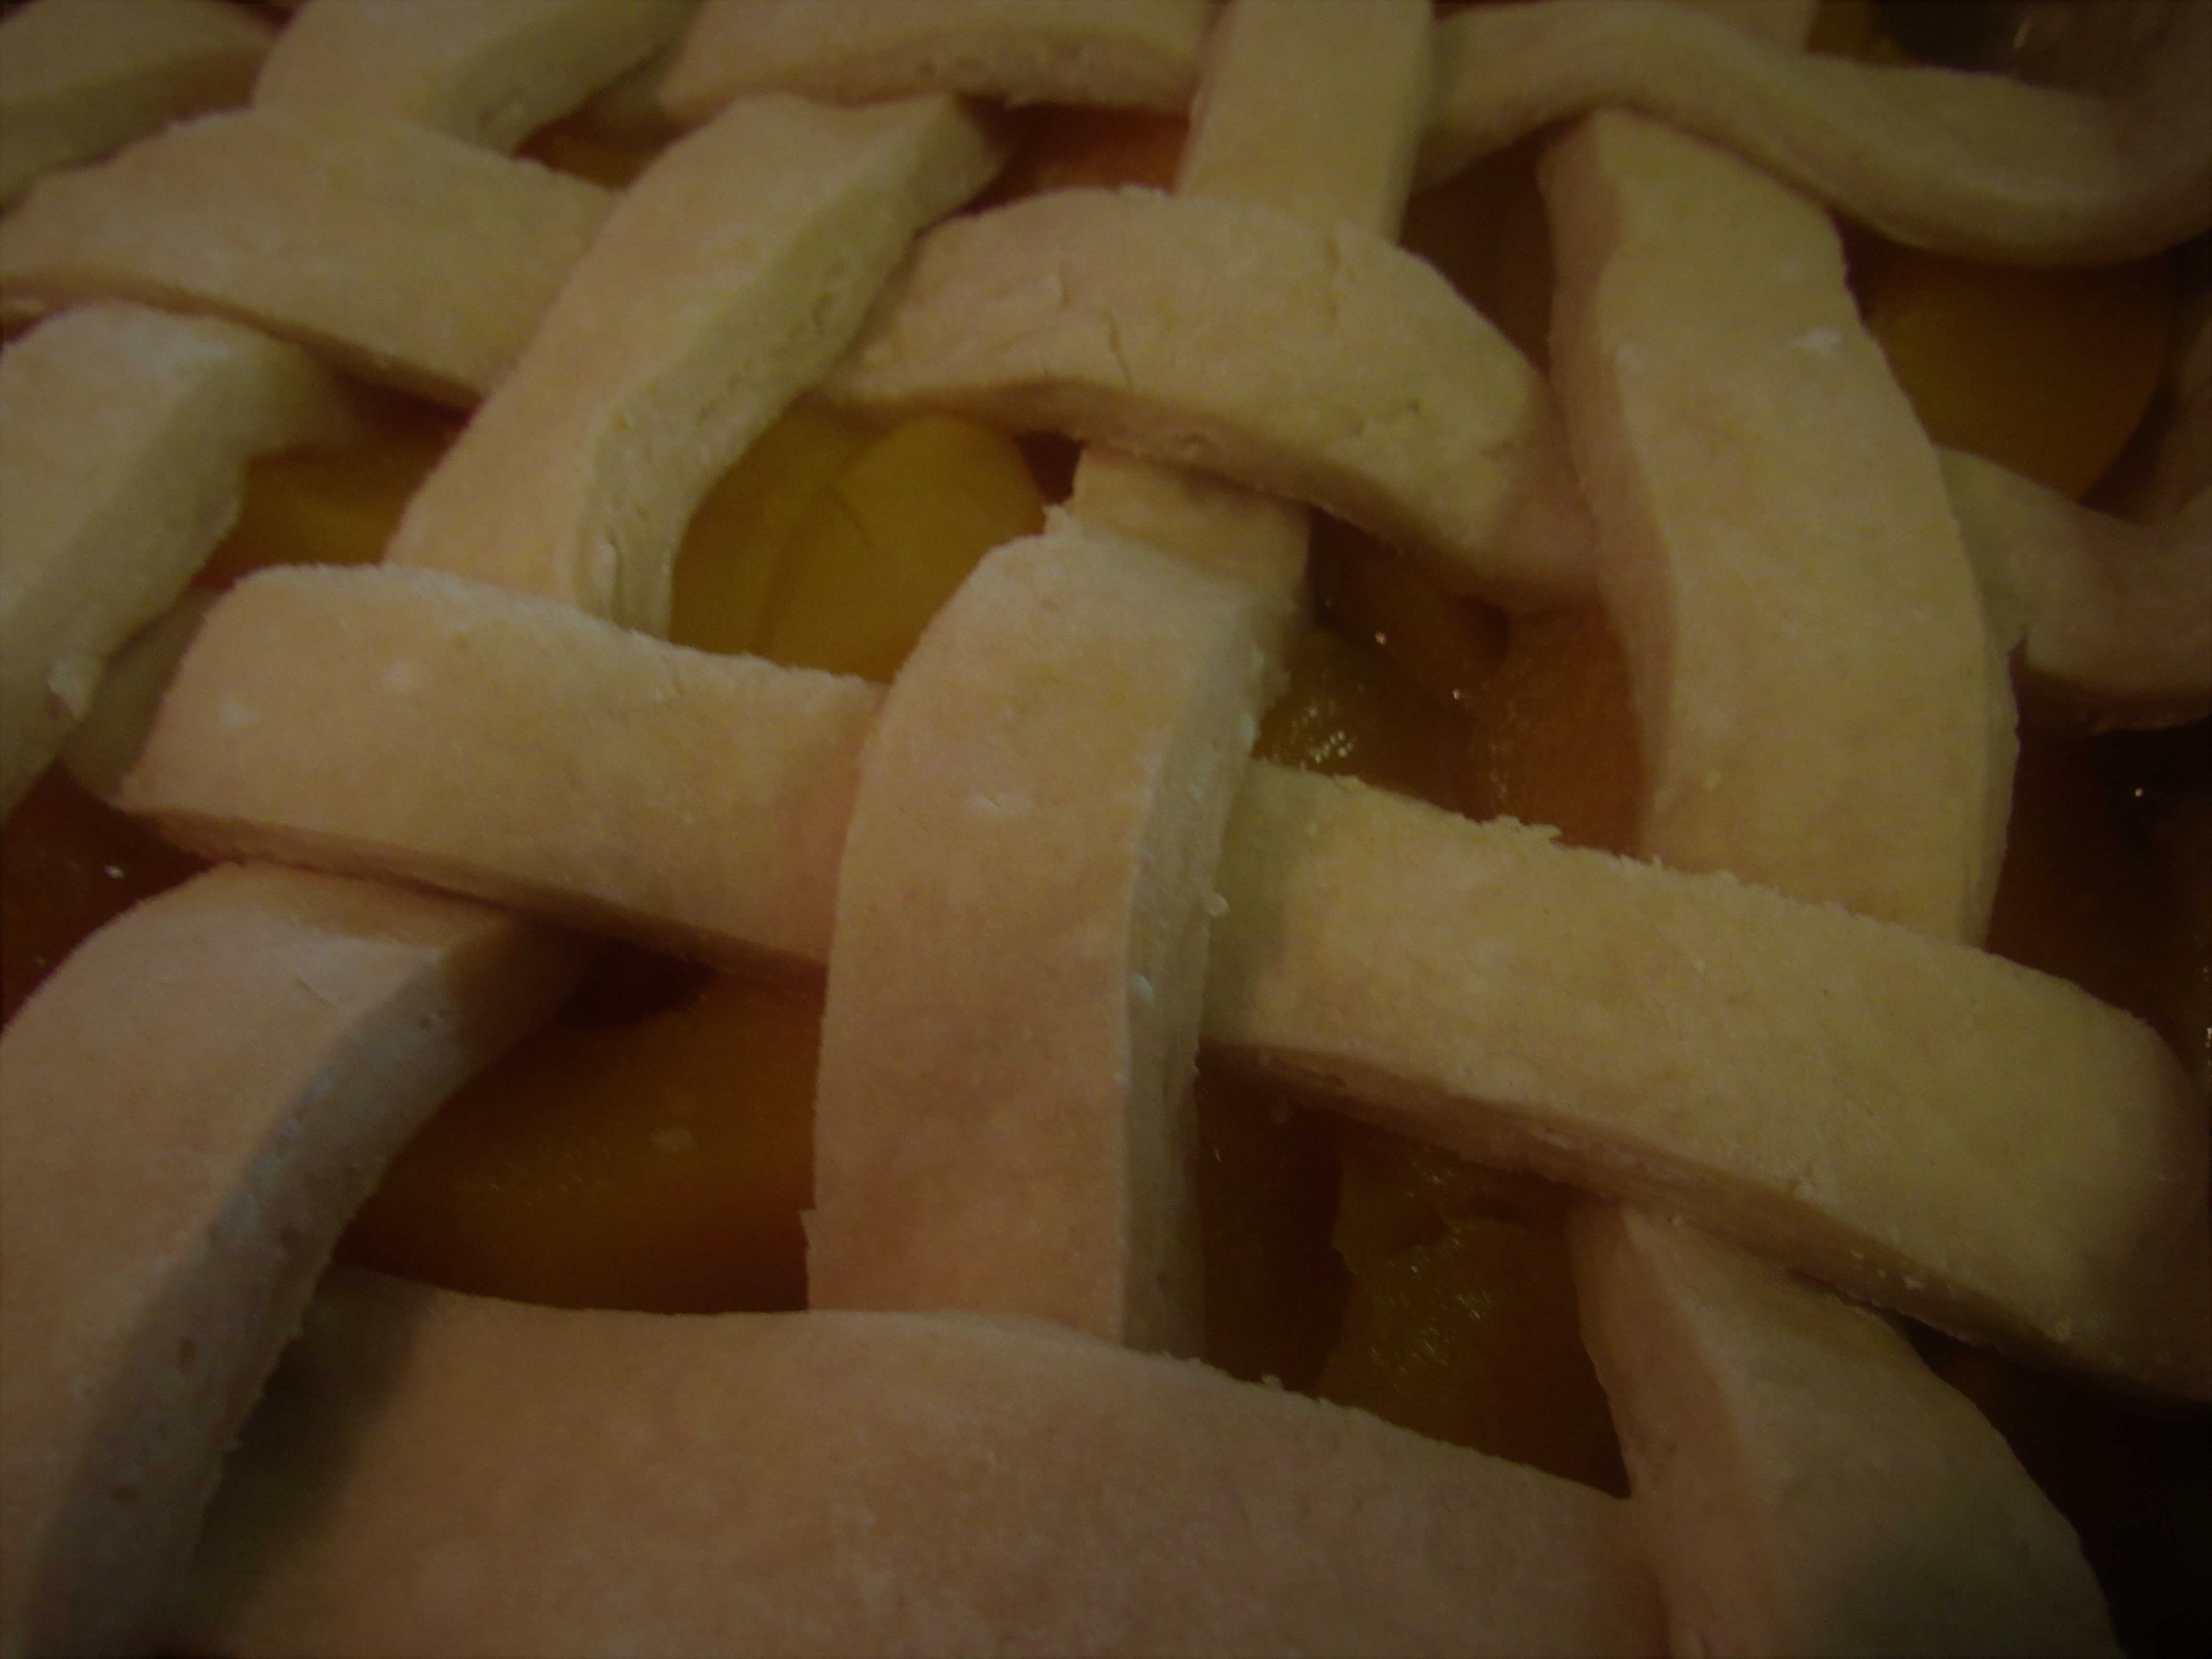
Take the other half of dough and roll it. Slice it into ½ inch strips and arrange these strips into a lattice top.
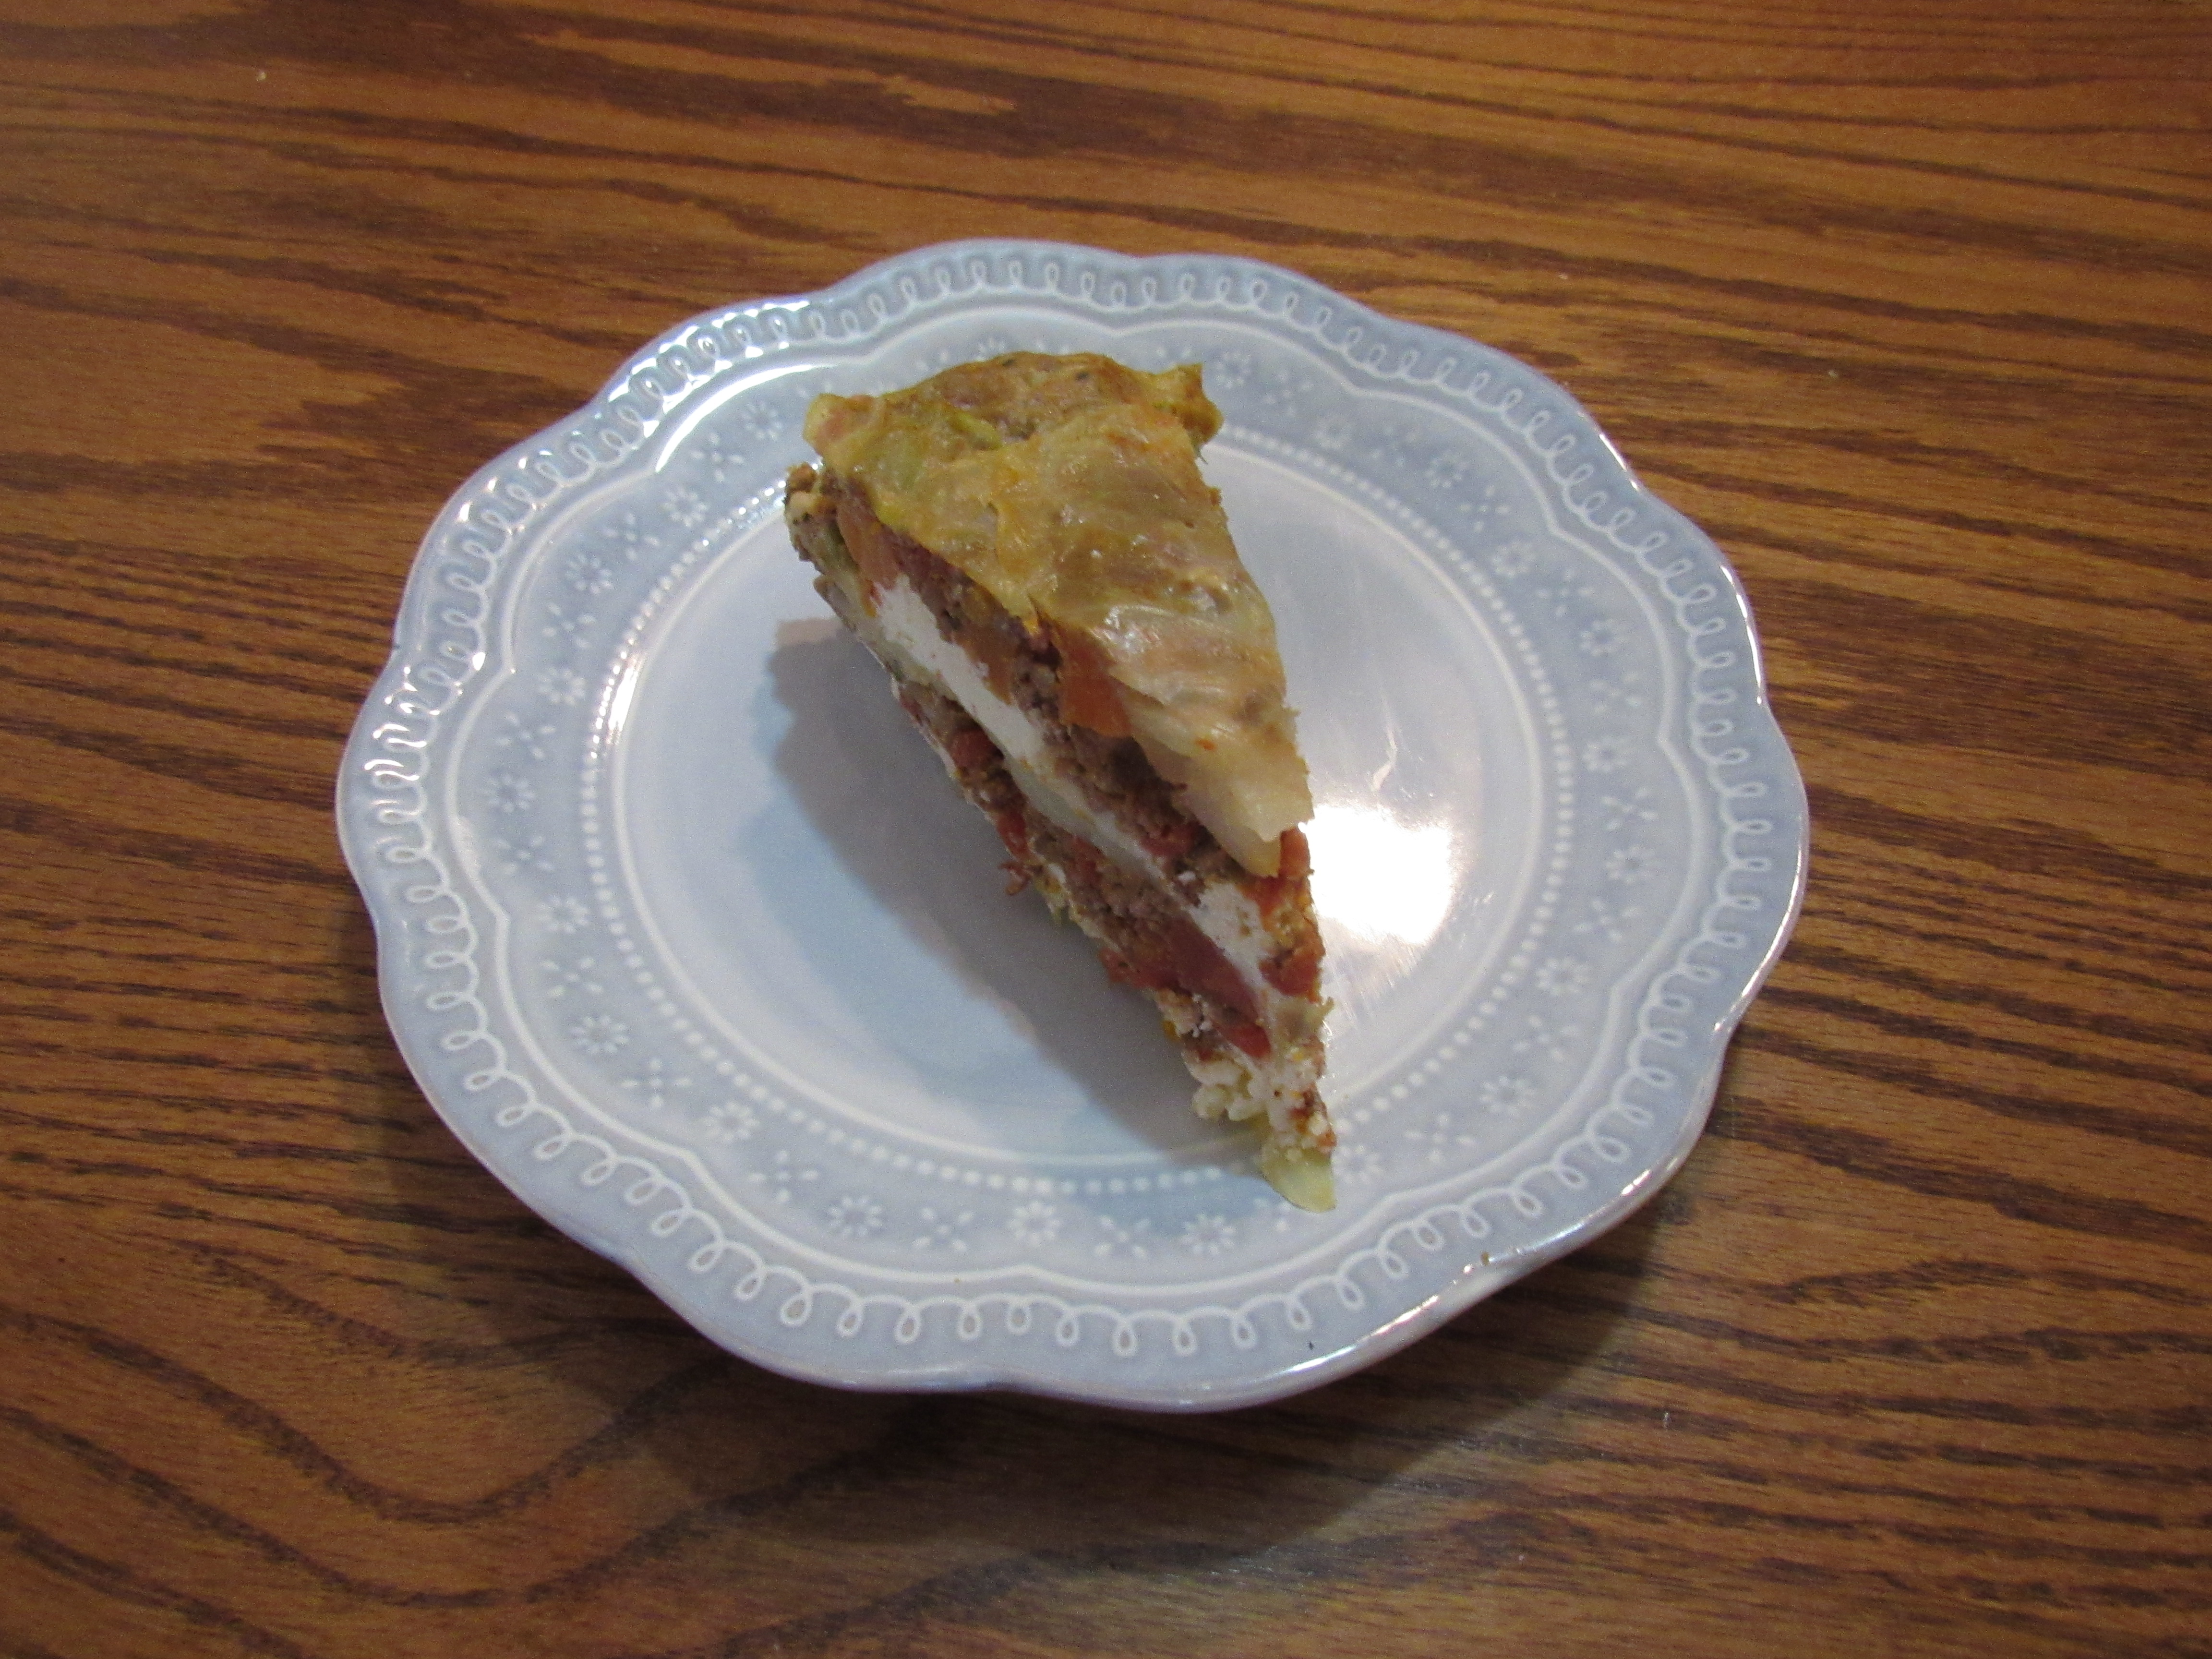
Bake 25 – 30 minutes or until the crust is lightly browned. This makes 10 – 12 servings.
The aroma took me back to childhood memories of my grandmother’s cooking.
I couldn’t wait to try it so I ate a piece warm from the oven. It was a delicious treat after lunch. My husband and I enjoyed it as dessert after supper. He liked it and is looking forward to another serving peach cobbler. (I’m writing this before daylight. I think it might be my breakfast. 😊)
I’d love to hear if you try it.
Sources
Compiled from Original Recipes. Buckeye Cookery and Practical Housekeeping, Applewood Books, 1877.