Traditional New Mexican Biscochitos

Norma Gail, fellow author and friend, returns to Historical Nibbles to share a delicious cookie recipe from her upcoming release. Welcome back, Norma!

Biscochitos or biscochitos in Northern New Mexico Spanish, means “little cakes” or “bizcochos”. They are the official state cookie, and one of the favorites of Bonny MacDonell, the heroine in my novels, Land of My Dreams and the newest, Within Golden Bands, releasing on May 19th. At one point, she escapes the constraints of her new husband’s Scottish sheep farm, under attack from a mysterious stalker, and flees to a spot overlooking the islands at the east end of Loch Garry. Her lunch consists of a sandwich with turkey and green chili and biscochitos.

Simple to make, the cookies consist mainly of shortening and flour, flavored with anise and a little brandy, and generously coated in a cinnamon-sugar mixture. Known as far back as the culture of Santa Fé de Nuevo México in the 1500’s, they were traditionally shaped like a fleur-de-lis, though round is more frequent today. They probably originated in Spain or Mexico. A Christmas favorite, they are also seen at weddings, baptisms, and other celebrations, and are delicious with hot chocolate.

Here’s my favorite recipe:

2 cups lard or vegetable shortening

¼ tsp salt

3 tsp baking powder

6 cups flour

2 tsp anise seeds

2 eggs

¼ cup brandy or sweet wine

¼ cup sugar

1 tbsp cinnamon

Sift flour. Cream lard with sugar, anise seeds, baking powder, and salt until fluffy. Beat in eggs one at a time. Add brandy. Mix in flour gradually, stopping when dough reaches the right consistency for rolling. Turn out on a floured surface and roll to ¼ – ½ inch thick. Cut into shapes. Dust liberally with cinnamon/sugar mixture. Bake at 350 degrees for 10 minutes or until lightly browned.

Makes 3-4 dozen cookies.

-Norma Gail

About Norma Gail:

Norma Gail’s debut novel, Land of My Dreams, won the 2016 Bookvana Religious Fiction Award. Within Golden Bands releases May 19th. A women’s Bible study leader for over 21 years, her devotionals have appeared in several publications. She lives in New Mexico with her husband of 44 years.


Book Blurb for Within Golden Bands:

Newlyweds Bonny and Kieran MacDonell grieve the loss of her miracle pregnancy while struggling to discover the identity of the man who left Kieran beaten and unconscious. Reeling from the threat to her husband and loss of their child, Bonny fights to hold her marriage together as danger destroys the peace of their sheep farm on the banks of Loch Garry, Scotland. Will they choose to trust God when his ways are impossible to fathom?

Buy Link:  Amazon


Easy Chicken Noodle Soup Recipe

My daughter and son-in-law caught a bad cold about a month ago. They both missed two days of work. I watched my toddler grandchildren while they recuperated. I asked my daughter if there was anything she needed from the store and one of the main items was chicken noodle soup. She wanted something warm and soothing on her throat.

I was surprised that only three small cans were left at the grocery store. (This was right before the virus-rush binge shopping.) She appreciated the soup.

A few days ago, a local pantry reported an urgent need for food. One of the specific items requested was chicken noodle soup. My sister was headed to one of the grocery stores that sell in large quantities.

She told me, “Yeah, good luck finding soup.” Yet she found a 12-pack of chicken soup. I asked her to buy it for me for the pantry.

With soups like this in short supply, I thought I’d share my chicken noodle soup recipe.

Easy Chicken Noodle Soup

1/2 to 1 cup chicken

4 cups chicken stock or chicken broth

2 cups water

2 cups egg noodles

2 carrots

1 bay leaf

Pepper

Cook desired amount of chicken in chicken stock or chicken broth if you have it on hand. (I used broth.) If not, you can use water and add 2 chicken bouillon cubes to enhance the flavor. I also added 2 cups of water to increase the amount of soup broth.

Cook chicken, covered, on medium heat for a simmering boil until done. Larger pieces take longer to cook. I cooked tenderloin-sized chicken for 40-45 minutes.

Slice the carrots and set aside.

Remove the chicken from the broth with tongs. Add carrots to the simmering broth along with a bay leaf.

Shred the chicken once it cools a bit—maybe 5 minutes. Then add it to the broth. Stir in the egg noodles and cover. Cook about 10 minutes or until the noodles are desired texture. Pepper to taste. Remove the bay leaf and serve.

This makes 4 servings.

My husband loves meaty soups so I used 1 cup of chicken. A half cup of meat is plenty for me. He’s a plain eater, so I keep the ingredients simple. Add more egg noodles, broth, or water to stretch the number of servings.

You can sauté onion in butter and cook this in the soup. Celery and garlic are also flavorful additions. Modify it to your taste—that’s the great thing about soup!

If the shelves continue to be empty of soup, here are some other soup recipes: Chicken Gumbo Soup, Meatless Tomato Soup, Mulligan Stew, Cream of Cucumber Soup, Cream of Asparagus Soup, and Cream of Carrot Soup.

Enjoy!

-Sandra Merville Hart


Traditional New Mexican Red Chile Enchiladas

Today’s recipe has been written by Norma Gail, fellow author and friend. She shares a recipe from her upcoming release. I can’t wait to try it. Welcome back to Historical Nibbles, Norma!

Bonny Bryant, the main character in my novels, Land of My Dreams and Within Golden Bands, is a New Mexico native transplanted to Scotland. She introduces handsome Scottish sheep farmer, Kieran MacDonell, to New Mexican food and he is soon hooked. Bonny loves to cook, and her friends in the mountains outside Albuquerque keep her supplied with the chile she craves. New Mexican food is a great way to warm up on a dreich and drookit day in Scotland or anywhere else. One of my favorites and Bonny’s are traditional red chile enchiladas.

Enchiladas originated in old Mexico. New Mexico was part of the land ceded to the U.S. by the Treaty of Guadalupe Hidalgo in 1848 following the Mexican-American War. One of the rich traditions that has endured is the food. New Mexico chilies were first grown by the Pueblo Indians and have a rich, piquant aroma, varying in sweetness and heat. Both red and green varieties were quickly adapted as a sauce for enchiladas by Spanish explorers seeking the fabled Seven Cities of Gold, including Hernán Cortés.

Enchiladas, a combination of corn tortillas, chile sauce, and meat, are either rolled or served flat and filled. They can be topped with cheese, onion, lettuce, and tomatoes.

1 lb. of hamburger

Diced onion

Minced garlic

Corn tortillas (about 3 per person)

2 tbsp. butter, melted

2 tbsp. flour

2 – 8 oz. cans of tomato sauce

Red chile powder

Grated cheddar cheese

Fried eggs

Brown 1 lb. of hamburger or shredded chicken with diced onion and garlic.

Fry tortillas until almost crisp.

Make a sauce by melting 2 tbsp. of butter and whisking in 2 tbsp of flour, 2 – 8 oz. cans of tomato sauce, red chile powder to taste, and enough water to make it the desired consistency. Bring to a boil while stirring.

Stack tortillas, filling between with meat mixture and chile sauce. Top with a fried egg, grated cheese, and serve with a side of lettuce and tomato.

Makes 3-4 servings.

About Norma Gail:

Norma Gail’s debut novel, Land of My Dreams, won the 2016 Bookvana Religious Fiction Award. Within Golden Bands releases May 19th. A women’s Bible study leader for over 21 years, her devotionals have appeared in several publications. She lives in New Mexico with her husband of 44 years.

Book Blurb for Within Golden Bands

Newlyweds Bonny and Kieran MacDonell grieve the loss of her miracle pregnancy while struggling to discover the identity of the man who left Kieran beaten and unconscious. Reeling from the threat to her husband and loss of their child, Bonny fights to hold her marriage together as danger destroys the peace of their sheep farm on the banks of Loch Garry, Scotland. Will they choose to trust God when his ways are impossible to fathom?

Amazon

Written on His Hand

“See I have engraved you on the palms of my hands.”   Isaiah 49:16a

“Mom, do you know what this word says?” my teenaged daughter asked me, revealing a Hebrew word on her upturned palm.

I shook my head.

“It’s God’s name.  He wrote my name on His hand, so I wrote His name on mine.”  She explained that while on a retreat, she and the other girls put Yahweh on their hands using a henna, a kind of temporary tattoo.

My daughter inspired me. I thought about God’s huge hand that measured the waters of the earth (Isaiah 40: 12).  Surely the hand that marked off the Heavens could hold a vast number of names–that includes yours and mine!

Just like my daughter, it gives me a special feeling to know that my Heavenly Father thinks so highly of me that He etched my name on the palm of His hand.  It’s a constant reminder of how greatly God cherishes His children.

If we could grasp how precious we are to God, I think it would alter the way we view ourselves forever.  We are of great worth to God.

My daughter definitely understood that having her name engraved on God’s Hand makes her special in His eyes.  As I watch her faith grow, my own faith deepens.  As precious as she is to me, she is even more precious to God.

The current craze of tattoos has people placing symbols on themselves that are meaningful to them.  It seems God thought of this first.  His loved ones are written on the palm of His hand.

-Sandra Merville Hart

Milk Shake Recipe

Spring is in the air—at least, I hope so!—and I’m looking forward to warmer weather, walks in the park, and picnics.

I found this recipe for milk shakes that is easy to vary. If you have a blender, you can make this.

I had chocolate truffle ice cream in my freezer. The recipe calls for 1 – 2 scoops—I used 2 scoops for a single 16-ounce serving.

Pour ¾ cup of milk into the blender. Add ice cream. Next, the recipe calls for 2 teaspoons of vanilla extract (or 2 tablespoons of your choice of syrup.) I love the vanilla flavor so I chose the vanilla extract.

Replace blender lid and blend a few seconds or until desired consistency.

I put a dollop of whipped cream for my husband, which he appreciated.

The shake turned out smooth and creamy. I liked it, yet 2 teaspoons of extract overpowered the flavor. All I tasted was vanilla. I’d cut the amount of extract at least in half. For a single serving, ½ teaspoon extract should be sufficient to flavor the drink without overpowering the ice cream. I’m thinking that orange extract with vanilla ice cream would be delicious!

Also, there are many syrups that you could try instead—chocolate, caramel, coffee, peppermint, strawberry, and raspberry to name a few. Varying the syrups and the ice cream flavor will make this a fun summer treat for your child’s parties, picnics, and family gatherings.

Enjoy!

-Sandra Merville Hart

Sources

Revised by Cunningham, Marion and Laber, Jeri. The Fannie Farmer Cookbook, Alfred A Knopf Inc., 1983.


10 Family-Friendly Things to do During our Stay-At-Home

Many of us are staying at home right now. We are working from home while our children are off from school.

In thinking of positive things to do during this time, I’ve already washed my curtains and plan to do some spring cleaning as time allows, but let’s have fun with our loved ones while soccer practices and dance lessons are cancelled.

Here are a few ideas:

1) Movie night

Take turns selecting movies so that everyone gets into the fun while making sure that the show is appropriate for each person in the room. Don’t forget the popcorn!

2) Themed dinner nights such as:

Meatloaf Monday or burgers

Taco Tuesday

Wacky Wednesday can be hodge-podge meal of menu items that don’t normally go together like Spaghetti and peanut butter sandwiches. Ask your children for ideas—they’ll be creative!

Thermal Thursday—spicy dishes or soup and sandwiches

Fish Friday

3) Puzzles

Put up your card table, if possible, so that you can leave the puzzle out for a few days depending on how fast you work.

4) If your budget allows, order carryout meals for your family. Pizza, chicken, burgers, wings, and sandwiches will be a treat and will also help our favorite restaurants make it through these challenging times.
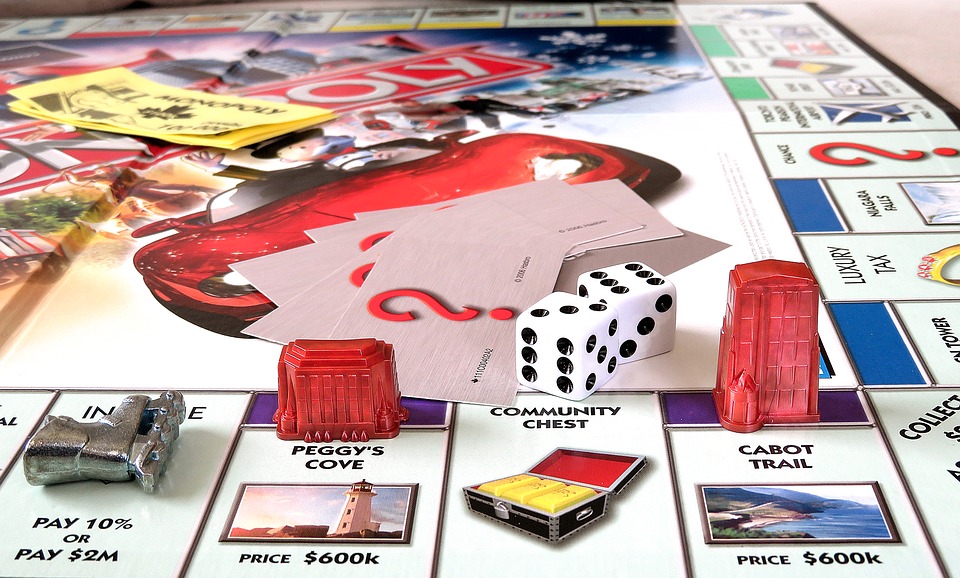
5) Board game night

Many of us have a few board games on a shelf. Dust them off and plan a fun game night. Take turns allowing each person—no matter their age—to select the next game. Doing this helps with grumbling because each one knows their turn is coming to select a game.

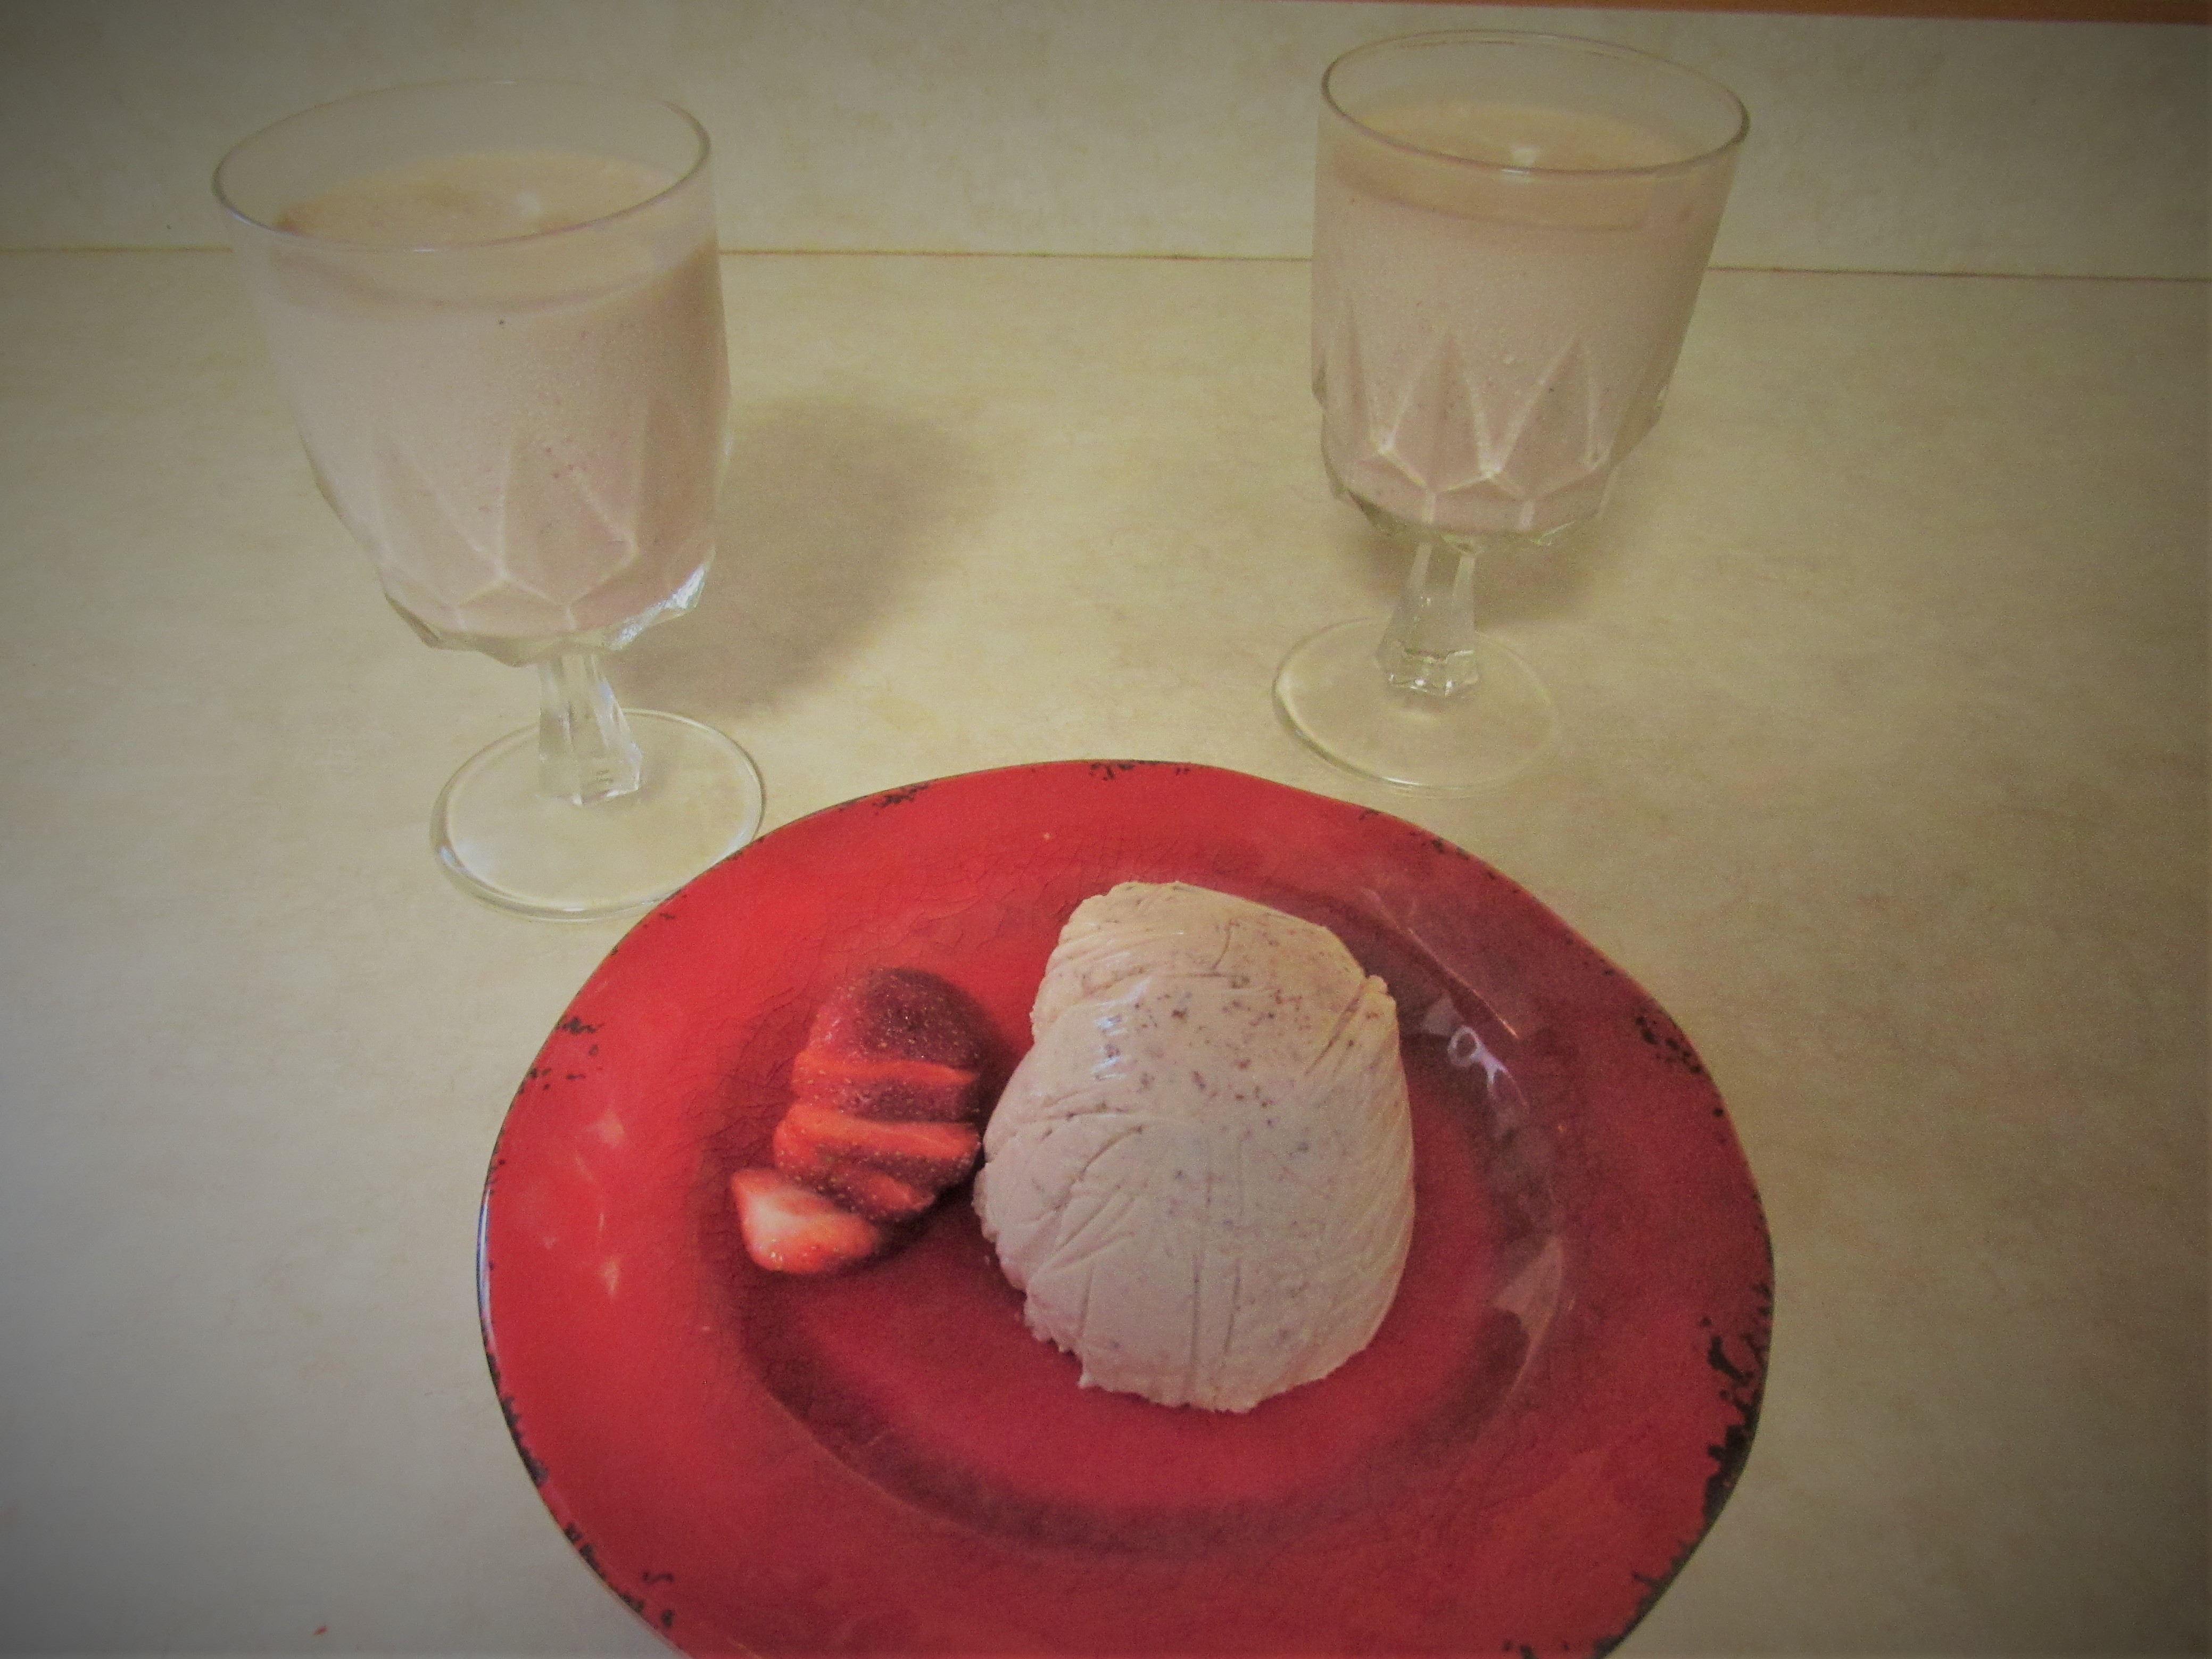
6) Make dessert together.

Do you have a delicious chocolate cake recipe? Does you banana bread always get compliments? Do your children love your chocolate chip cookies? Invite them to bake a batch with you. It may be messy but messes can be cleaned. The fun your children have creating their favorite dessert is worth biting your tongue and keeping the atmosphere light and happy.

7) Video game night

Remember those video games in your cabinet? Why not use them in that gaming system none of you have thought of for months? Take turns playing each one’s favorites.

8) Silly Saturday—have some silly fun with your family!

a. Wear pajamas all day

b. Eat breakfast food for supper

c, Crazy hair day—on purpose!

d. Ask your children for silly ideas and select one.

9) Stay active!

a. Enjoy some fresh air and sunshine. If possible, play in the yard. Sit on your balcony or porch. Walk in the park if it’s open, maintaining social distance.

b. Create dance steps to your favorite song. Involve as many family members as possible. Consider input from everyone in the home. Practice the steps and then take a video. Share it if you like. Your video will encourage others.

c. Many of us have exercise DVDs tucked away in the cabinet. Pull them out and do one daily.

10) Read a book!

This is the perfect time to curl up with a good book. If you want new selections, it’s very easy to buy print books and eBooks. Authors are small businesses too.


Many churches are live-streaming worship services so this will help us stay connected to others too.

I hope this list sparked ideas for fun activities with your family. I’d love to hear about it if you’d like to share.

I am saying a prayer for the health and safety for all my loved ones. If you’re reading this, you’re included! Stay safe and healthy. Love to all.

-Sandra Merville Hart

Ways to Keep Eggs Fresh without Refrigeration

Have you ever wondered how pioneers kept food fresh in the days before refrigeration? I have. I’m sure that part of my curiosity stems from writing historical novels, but that’s not the only reason. I love history!

These methods are from an 1877 cookbook.

Mrs. H.S. Huntington suggests several methods—yet they all start with the using fresh eggs.

  • Place 2 inches of salt in a stone jar. Add a layer of eggs with the small end pointed down. Then another layer of salt and then eggs until the jar is almost full. The final layer is salt. Cover and store in a cool place not cold enough to freeze the eggs.
  • Dip the eggs in melted wax.
  • Dip the eggs in a weak solution of gum.
  • Dip the eggs in flaxseed oil. (Wax, gum, and flaxseed oil make the shell air-resistant.) Using flaxseed oil was the best method, in Mrs. Huntington’s opinion, yet it discolors the eggs.
  • To prepare eggs for winter: Boil water in a large pot. Arrange eggs in a wire basket and lower them slowly into the water for a count of ten. Then remove the basket from the water slowly to avoid crackage. After this, pack them in salt as described above.

Mrs. Henry Ward Beecher (yes, this is likely the wife of the famous minister) shared another method of preserving eggs.

Slake (combine) a pound of stone lime in 2 gallons of water. Allow it to chill. Then stir in a pint of salt and let it settle until clear.

Select a keg, half-barrel, or stone pot for storage. Pack eggs carefully inside with the small end down. Remove any eggs that crack because even one cracked egg will ruin the whole batch.

Once eggs are packed close together, pour lime water gently over them “without disturbing the sediment” and cover completely. Wait a few minutes and add more water so the eggs are thoroughly covered.

Close the jar. Don’t open until the eggs are needed.

Have you learned of other methods?

-Sandra Merville Hart

Sources

Buckeye Cookery and Practical Housekeeping, Applewood Books, 1877.


Boiled Eggs

From deviled eggs to coloring eggs, I’ve boiled hundreds of eggs in my lifetime and I suspect you’ve made your share as well. However, I learned a couple of useful tips from The Fannie Farmer Cookbook. Perhaps these will also be helpful to you.

Firstly, for any boiled egg, piercing the large end of the egg before cooking releases the pressure that can crack the shell. You can pierce this with an egg piercer or use a needle. I don’t own an egg piercer so I used a needle.

Unfortunately, the hard-boiled egg still cracked a little.

Secondly, adding the egg to the water varies between soft-boiled, medium-boiled, and hard-boiled eggs. I had always placed the eggs in cold water and then turned on the burner.

Thirdly, fill the kettle with enough water to cover the egg.


For soft-boiled eggs—Wait until the water is gently simmering to add the egg on a tablespoon. The recipe calls for cooking the egg 3 – 4 minutes for softly-set whites and runny yolks. I cooked mine for 3½ minutes and then submerged it in cold water to halt the cooking process. It was very hard to peel against the very soft egg whites and the yolk quickly ran over the plate.

For coddled or medium-boiled eggs—Wait until the water is gently boiling to add the egg on a tablespoon. The recipe calls for cooking the egg 4 – 5 minutes for firm opaque whites and soft yolks. I cooked mine for 4½ minutes and then submerged it in cold water to halt the cooking process. It was still hard to peel against the soft egg whites and the yolk was runny not soft.

For hard-boiled eggs—Place the egg in enough water to cover it and then bring it to a boil. Simmer for 12 minutes. Immediately submerge it in cold water. Overcooked eggs, though fine to eat, develop an unappetizing dark ring that diners will see instead of a pretty yellow yolk. As noted above, piercing the shell didn’t prevent small cracks on this one yet it peeled easily. It gave the firm yolks and whites that signify a hard-boiled egg.

For my taste and preference, I’d cook the medium-boiled eggs about a minute longer and it’d be just about perfect.

Enjoy!

-Sandra Merville Hart

Sources

Revised by Cunningham, Marion and Laber, Jeri. The Fannie Farmer Cookbook, Alfred A Knopf Inc., 1983.


Storing Eggs

Have you ever thrown away leftover egg whites because a pie or cake recipe required only yolks? Or have egg yolks ended up in the garbage because you only needed egg whites to make meringue?

That’s happened to me as well.

I found some guidelines in The Fannie Farmer Cookbook for storing eggs that have been separated.

Uncooked yolks may be stored in the fridge for 2 – 3 days. Cover them a thin layer of cold water. Cover the bowl with plastic until ready to use in a sauce. You may also add the yolks when cooking scrambled eggs to enrich the flavor.

Leftover egg whites will last a few days in the fridge if stored in a covered container.

Unbeaten egg whites can be frozen.

When freezing egg yolks or whole eggs that have been removed from the shell, salt or sugar must be added. If saving the eggs for a dessert, add sugar, using 1 teaspoon per 6 yolks. When the frozen eggs will be used in egg dishes or sauces, add ½ teaspoon of salt per 6 yolks.

-Sandra Merville Hart

Sources

Revised by Cunningham, Marion and Laber, Jeri. The Fannie Farmer Cookbook, Alfred A Knopf Inc., 1983.


Poached Eggs Recipe

I have been on a low-carb diet for a few weeks. Since eggs are on the diet, I’ve been looking for new ways to fix them.

When I was a child, my grandmother had an egg poacher pan. It was a single-serving pan about the size of a man’s doubled fist. She used it to make a poached egg for my grandfather on rare occasions. Sadly, that pan is long gone and I’ve never seen another like it. Yet it stirred an interest in poached eggs so I thought I’d share this simple recipe with you.

I made a single serving with one egg.

When poaching 3 – 4 eggs, choose a nonstick 10 – 12-inch skillet. Since I made 1 egg, I chose a smaller nonstick skillet. Nonstick is important because you don’t want the eggs to stick to the pan.

Fill the skillet with water until 2/3 full. Add 1 teaspoon of vinegar, which helps keep the egg together while it cooks.

Add ½ teaspoon of salt or salt to taste. Heat the water to simmering.

Crack an egg and place it on a plate. When the water starts to simmer, slide the egg gently off the plate into the water. (If cooking 3 or 4 eggs, use separate plates so you can arrange them around the pan in a 3:00, 6:00, 9:00, 12:00 pattern.)

Turn off the heat. Cover the skillet and allow the egg to stand for 5 – 6 minutes. The whites are opaque when done.

Remove from the water with a slotted spoon. These eggs are delicious on toast, on hash, or on an English muffin.

I served mine on lettuce and ate it as a wrap. Delicious! I prefer my egg yolks slightly runny so I cooked it 5 minutes.

Enjoy!

-Sandra Merville Hart

Sources

Revised by Cunningham, Marion and Laber, Jeri. The Fannie Farmer Cookbook, Alfred A Knopf Inc., 1983.