Tomatoes are among my favorite foods so I was happy to find a recipe for meatless tomato soup in an 1877 cookbook. The original cook was Mrs. D.C. Conkey of Minneapolis, Minnesota.
I’ve learned to modify recipes for smaller portions so the ingredients were halved and made about 5 one-cup servings. Double the ingredients if feeding a larger family.
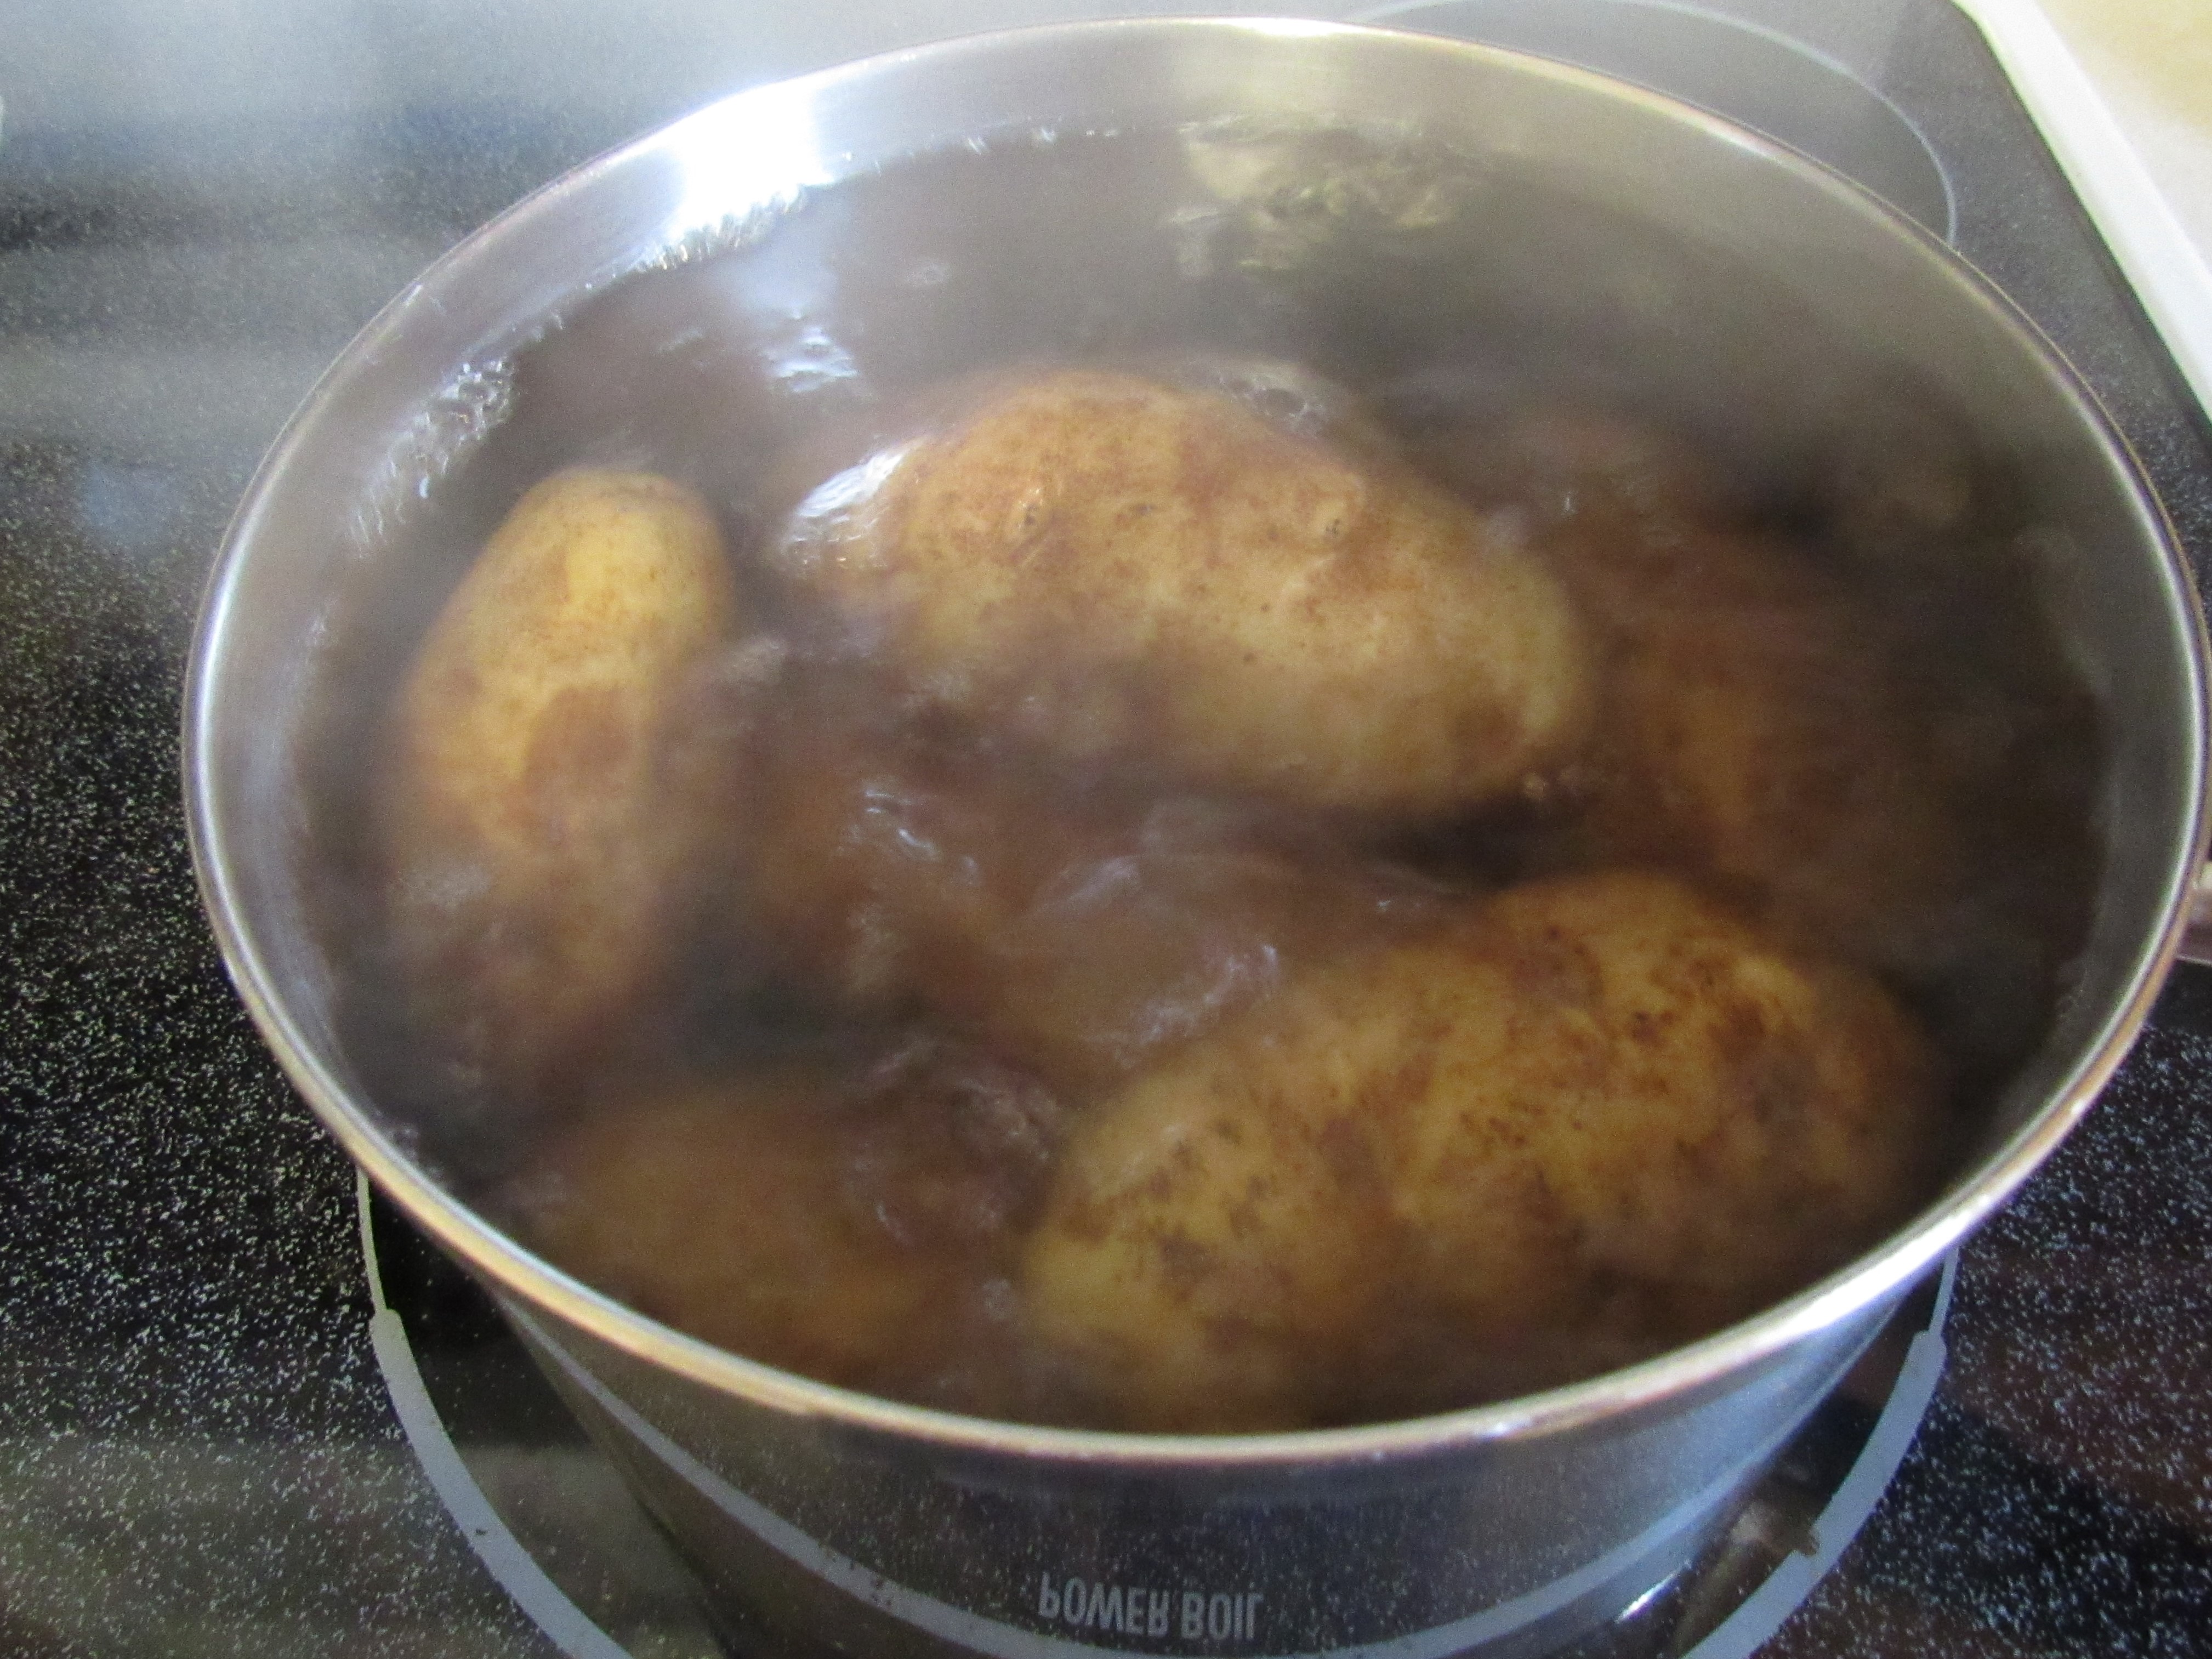
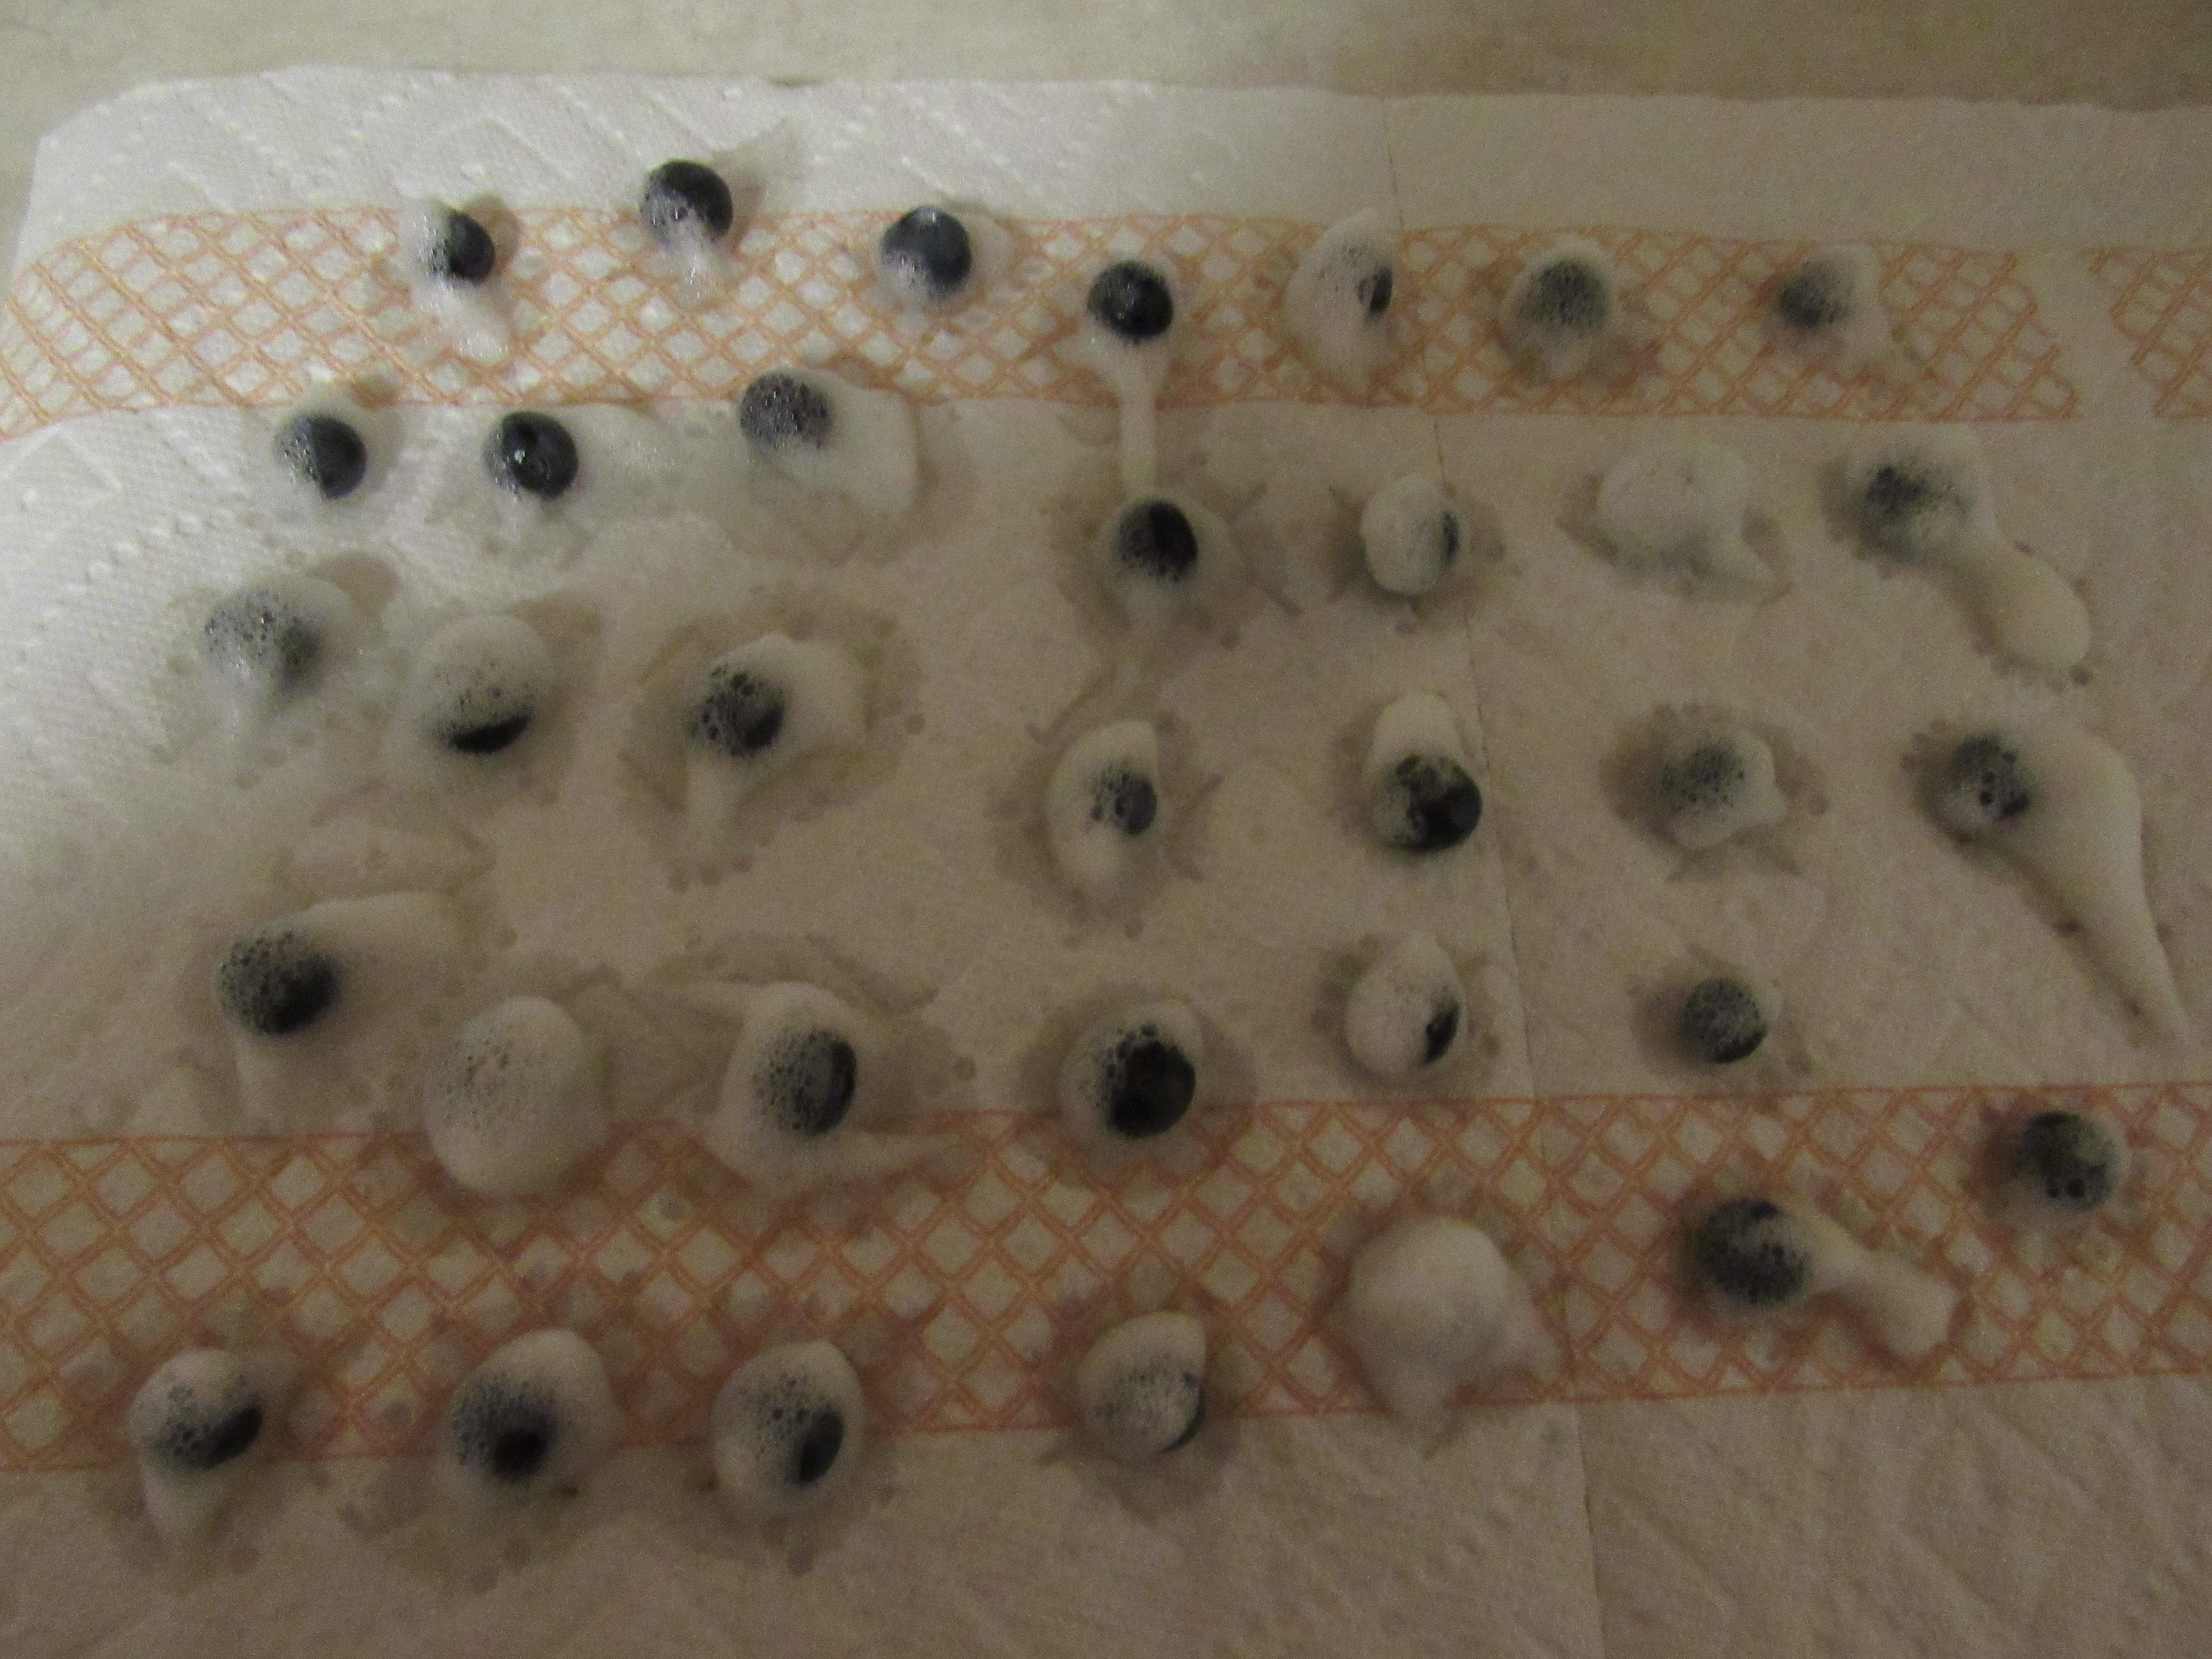
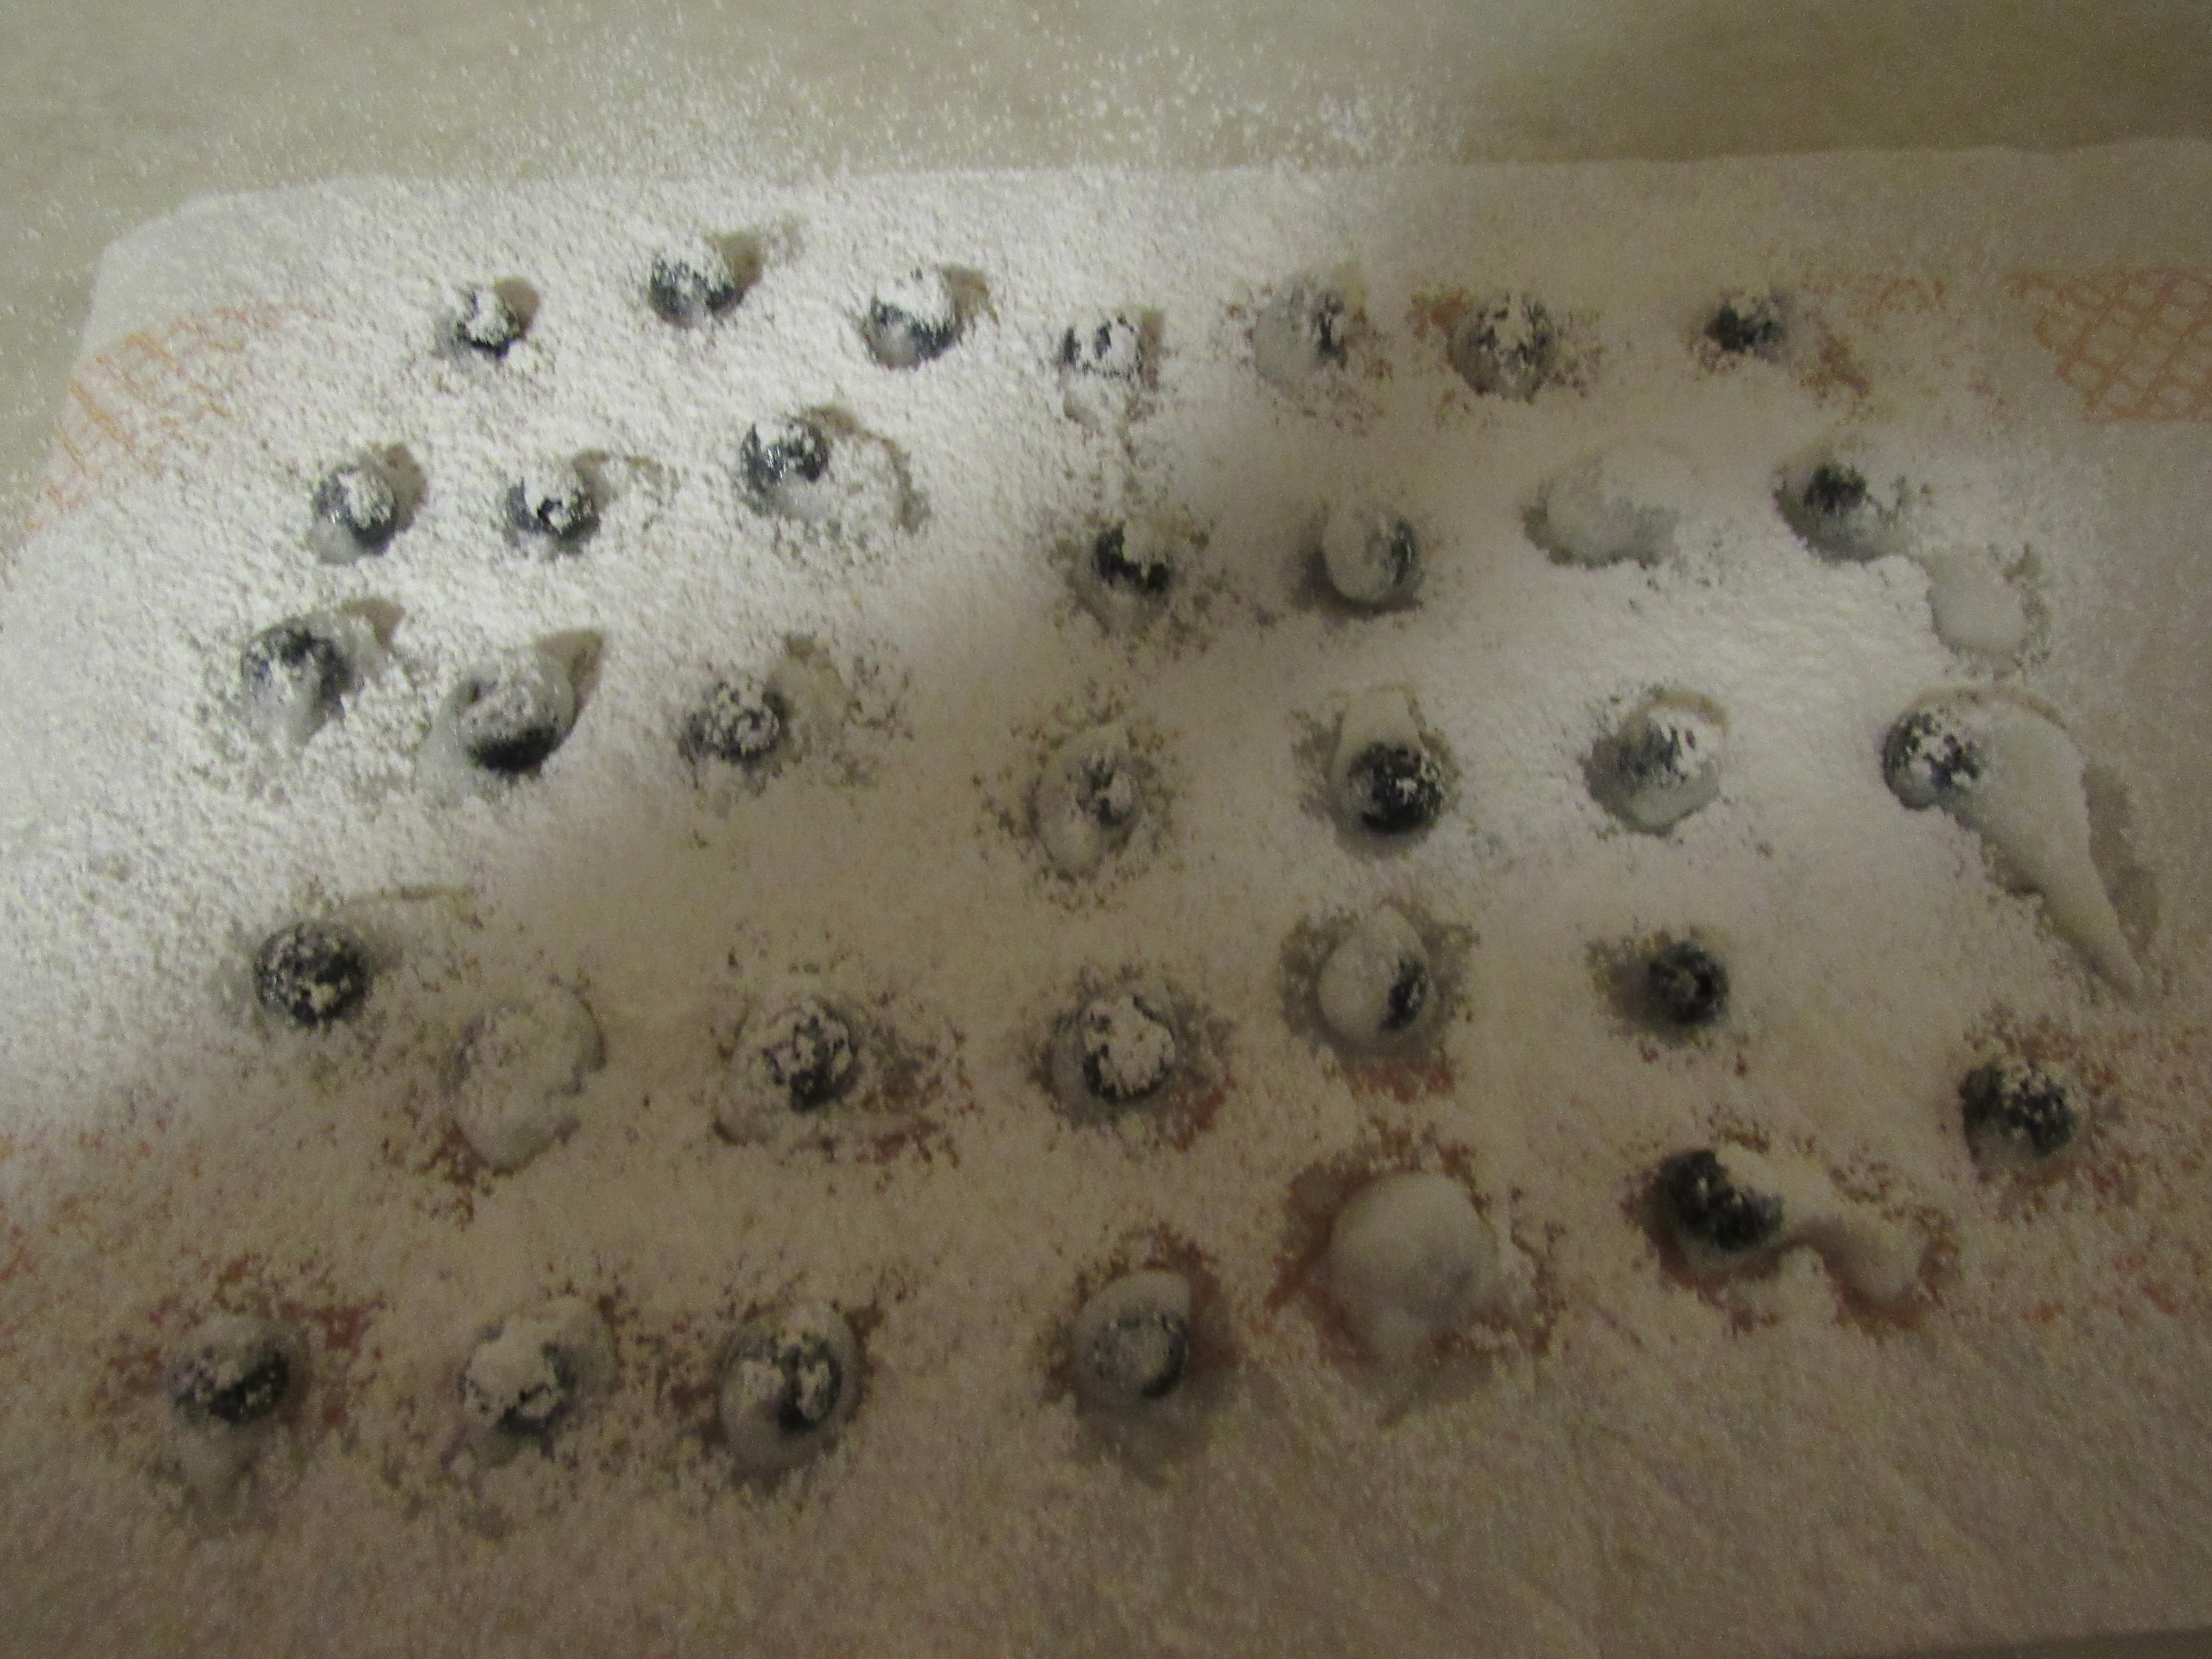
 Peel and roughly chop two large tomatoes for a pint. This gave me about 1/3 to ½ cup more than strictly needed, but it worked out fine.
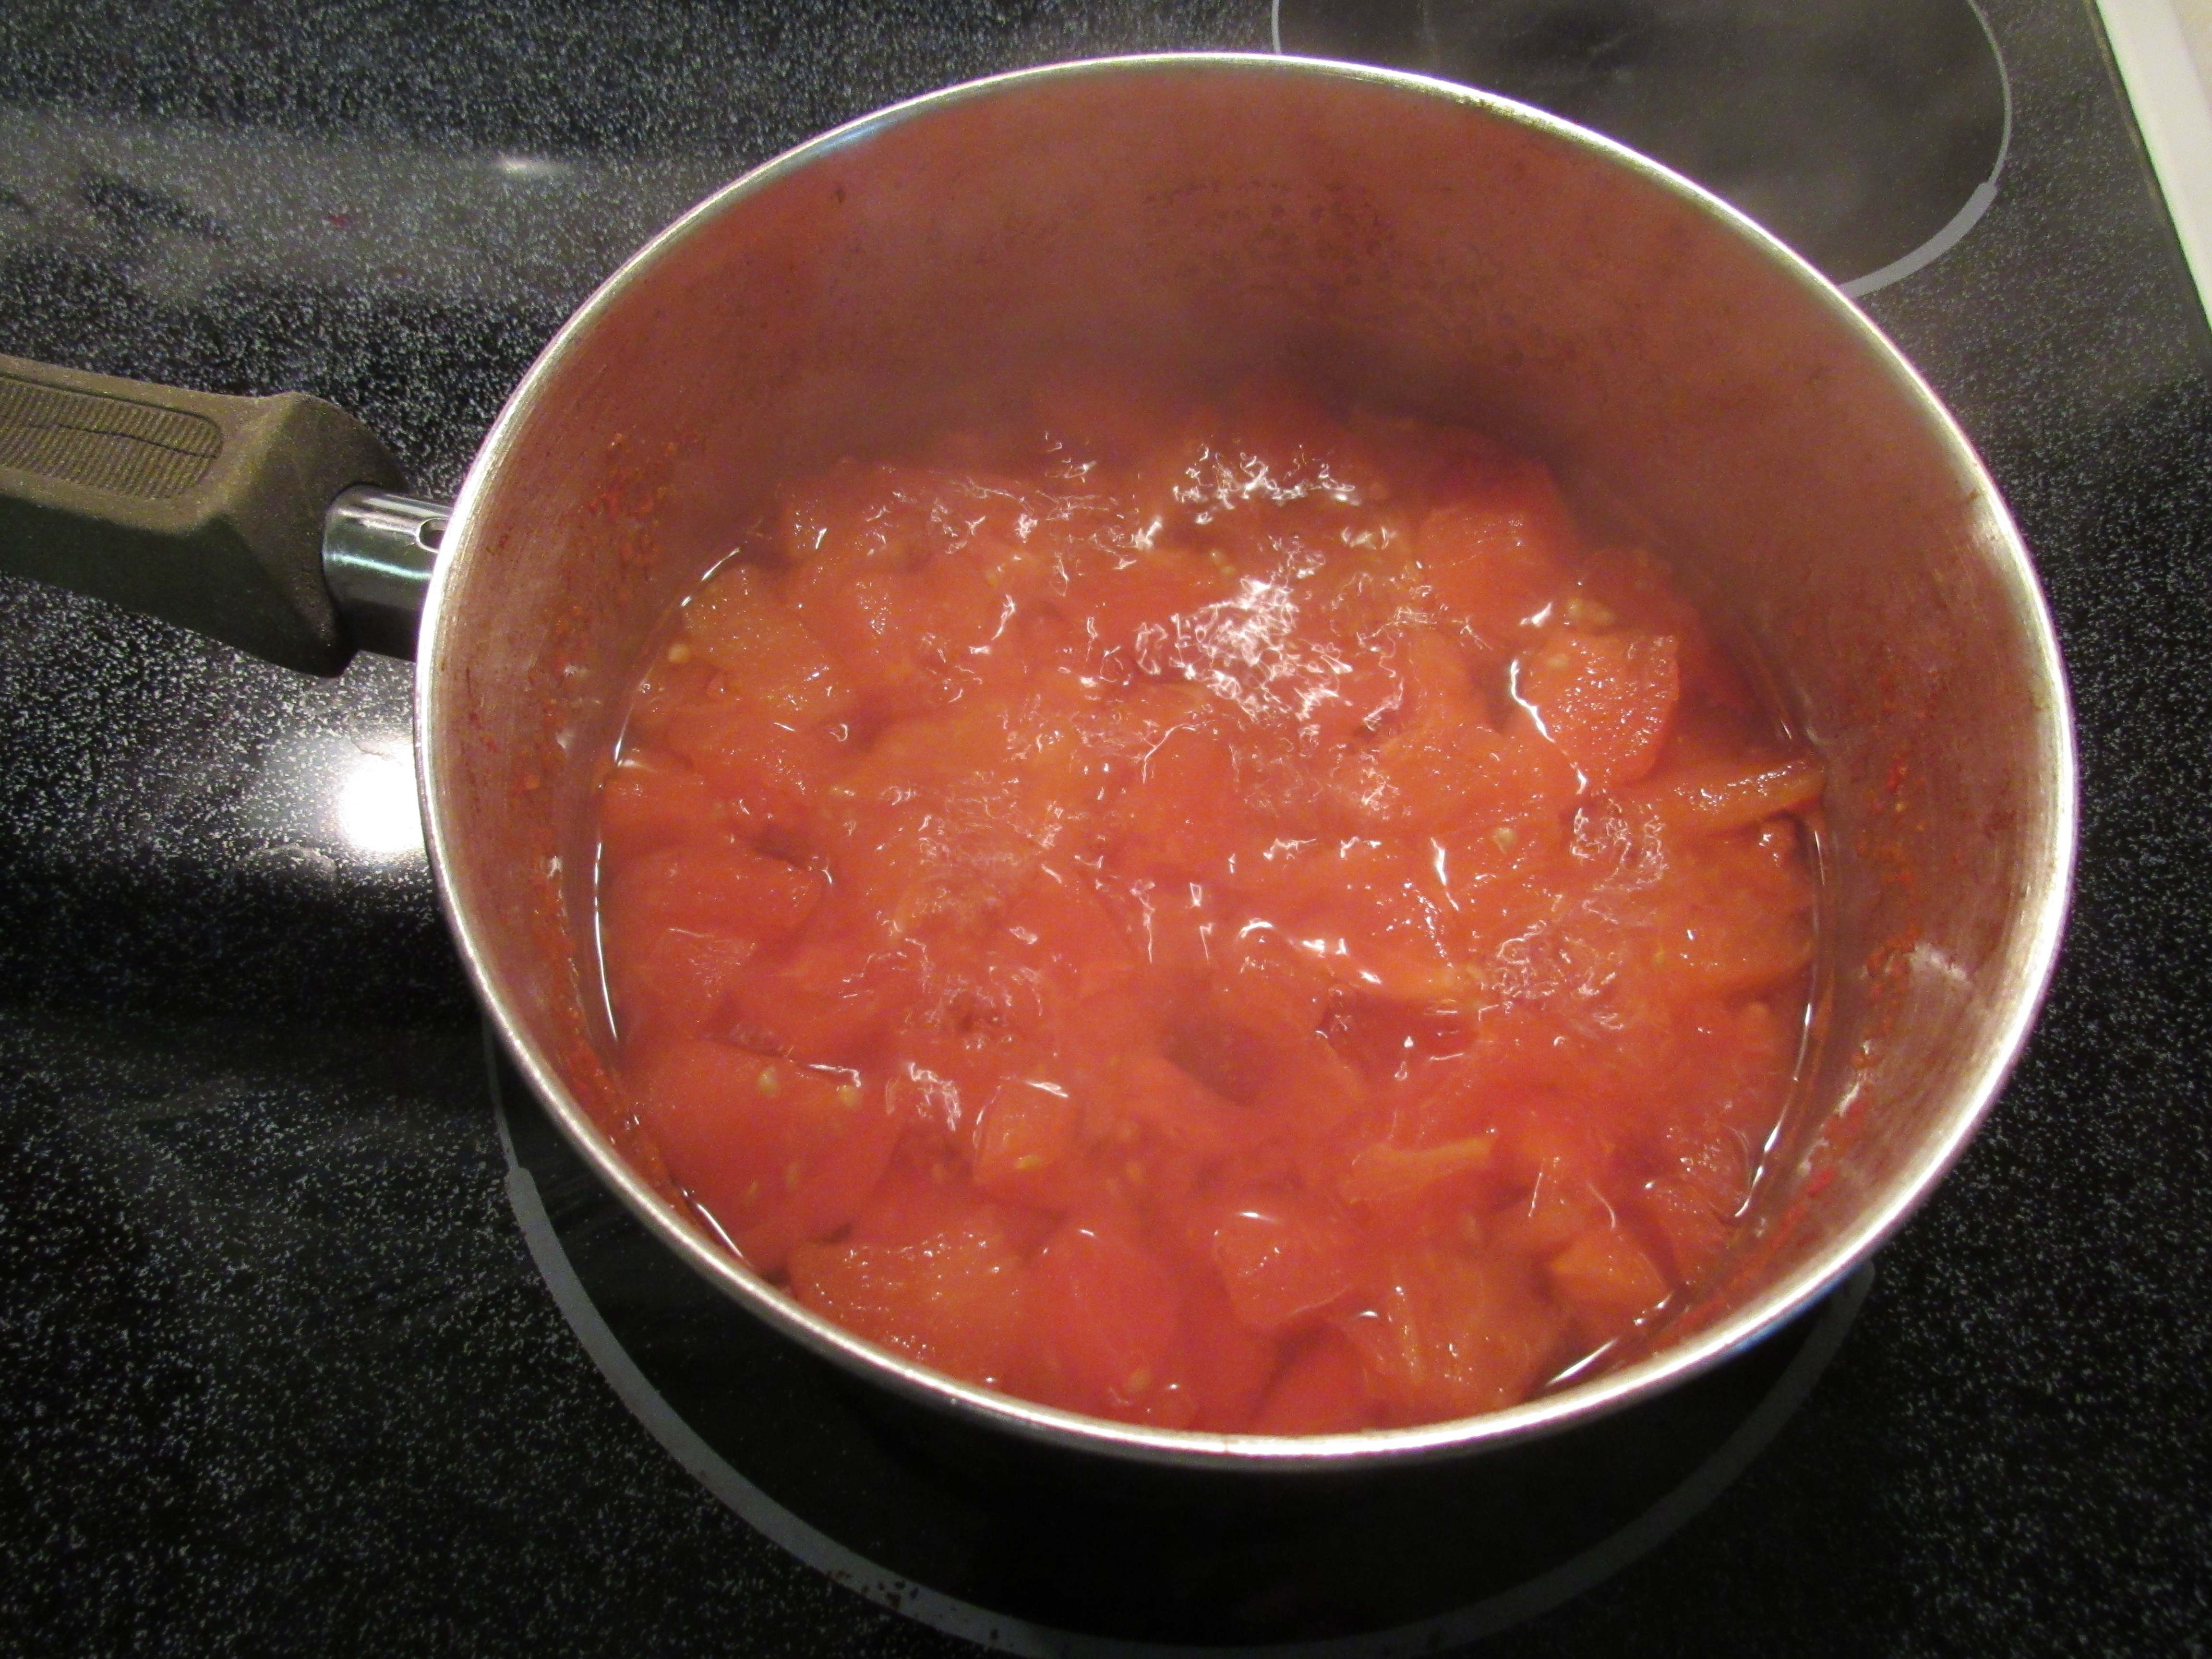
Stew the tomatoes in 2 cups of water on medium high heat until soft, about 25 minutes. Use a medium to large kettle.
Boil 2 cups of milk.
 Lower the heat to medium. Add 1 teaspoon of baking soda. It begins to bubble immediately, reaching the kettle’s rim in seconds. Remove from heat before it boils over. Stir and return to the heat, allowing it to cook a minute or two. (I’d never used baking soda this way before and was amazed that it pureed the stewed tomatoes!)
Add the boiling milk and stir. This tones down the bubbling a bit.
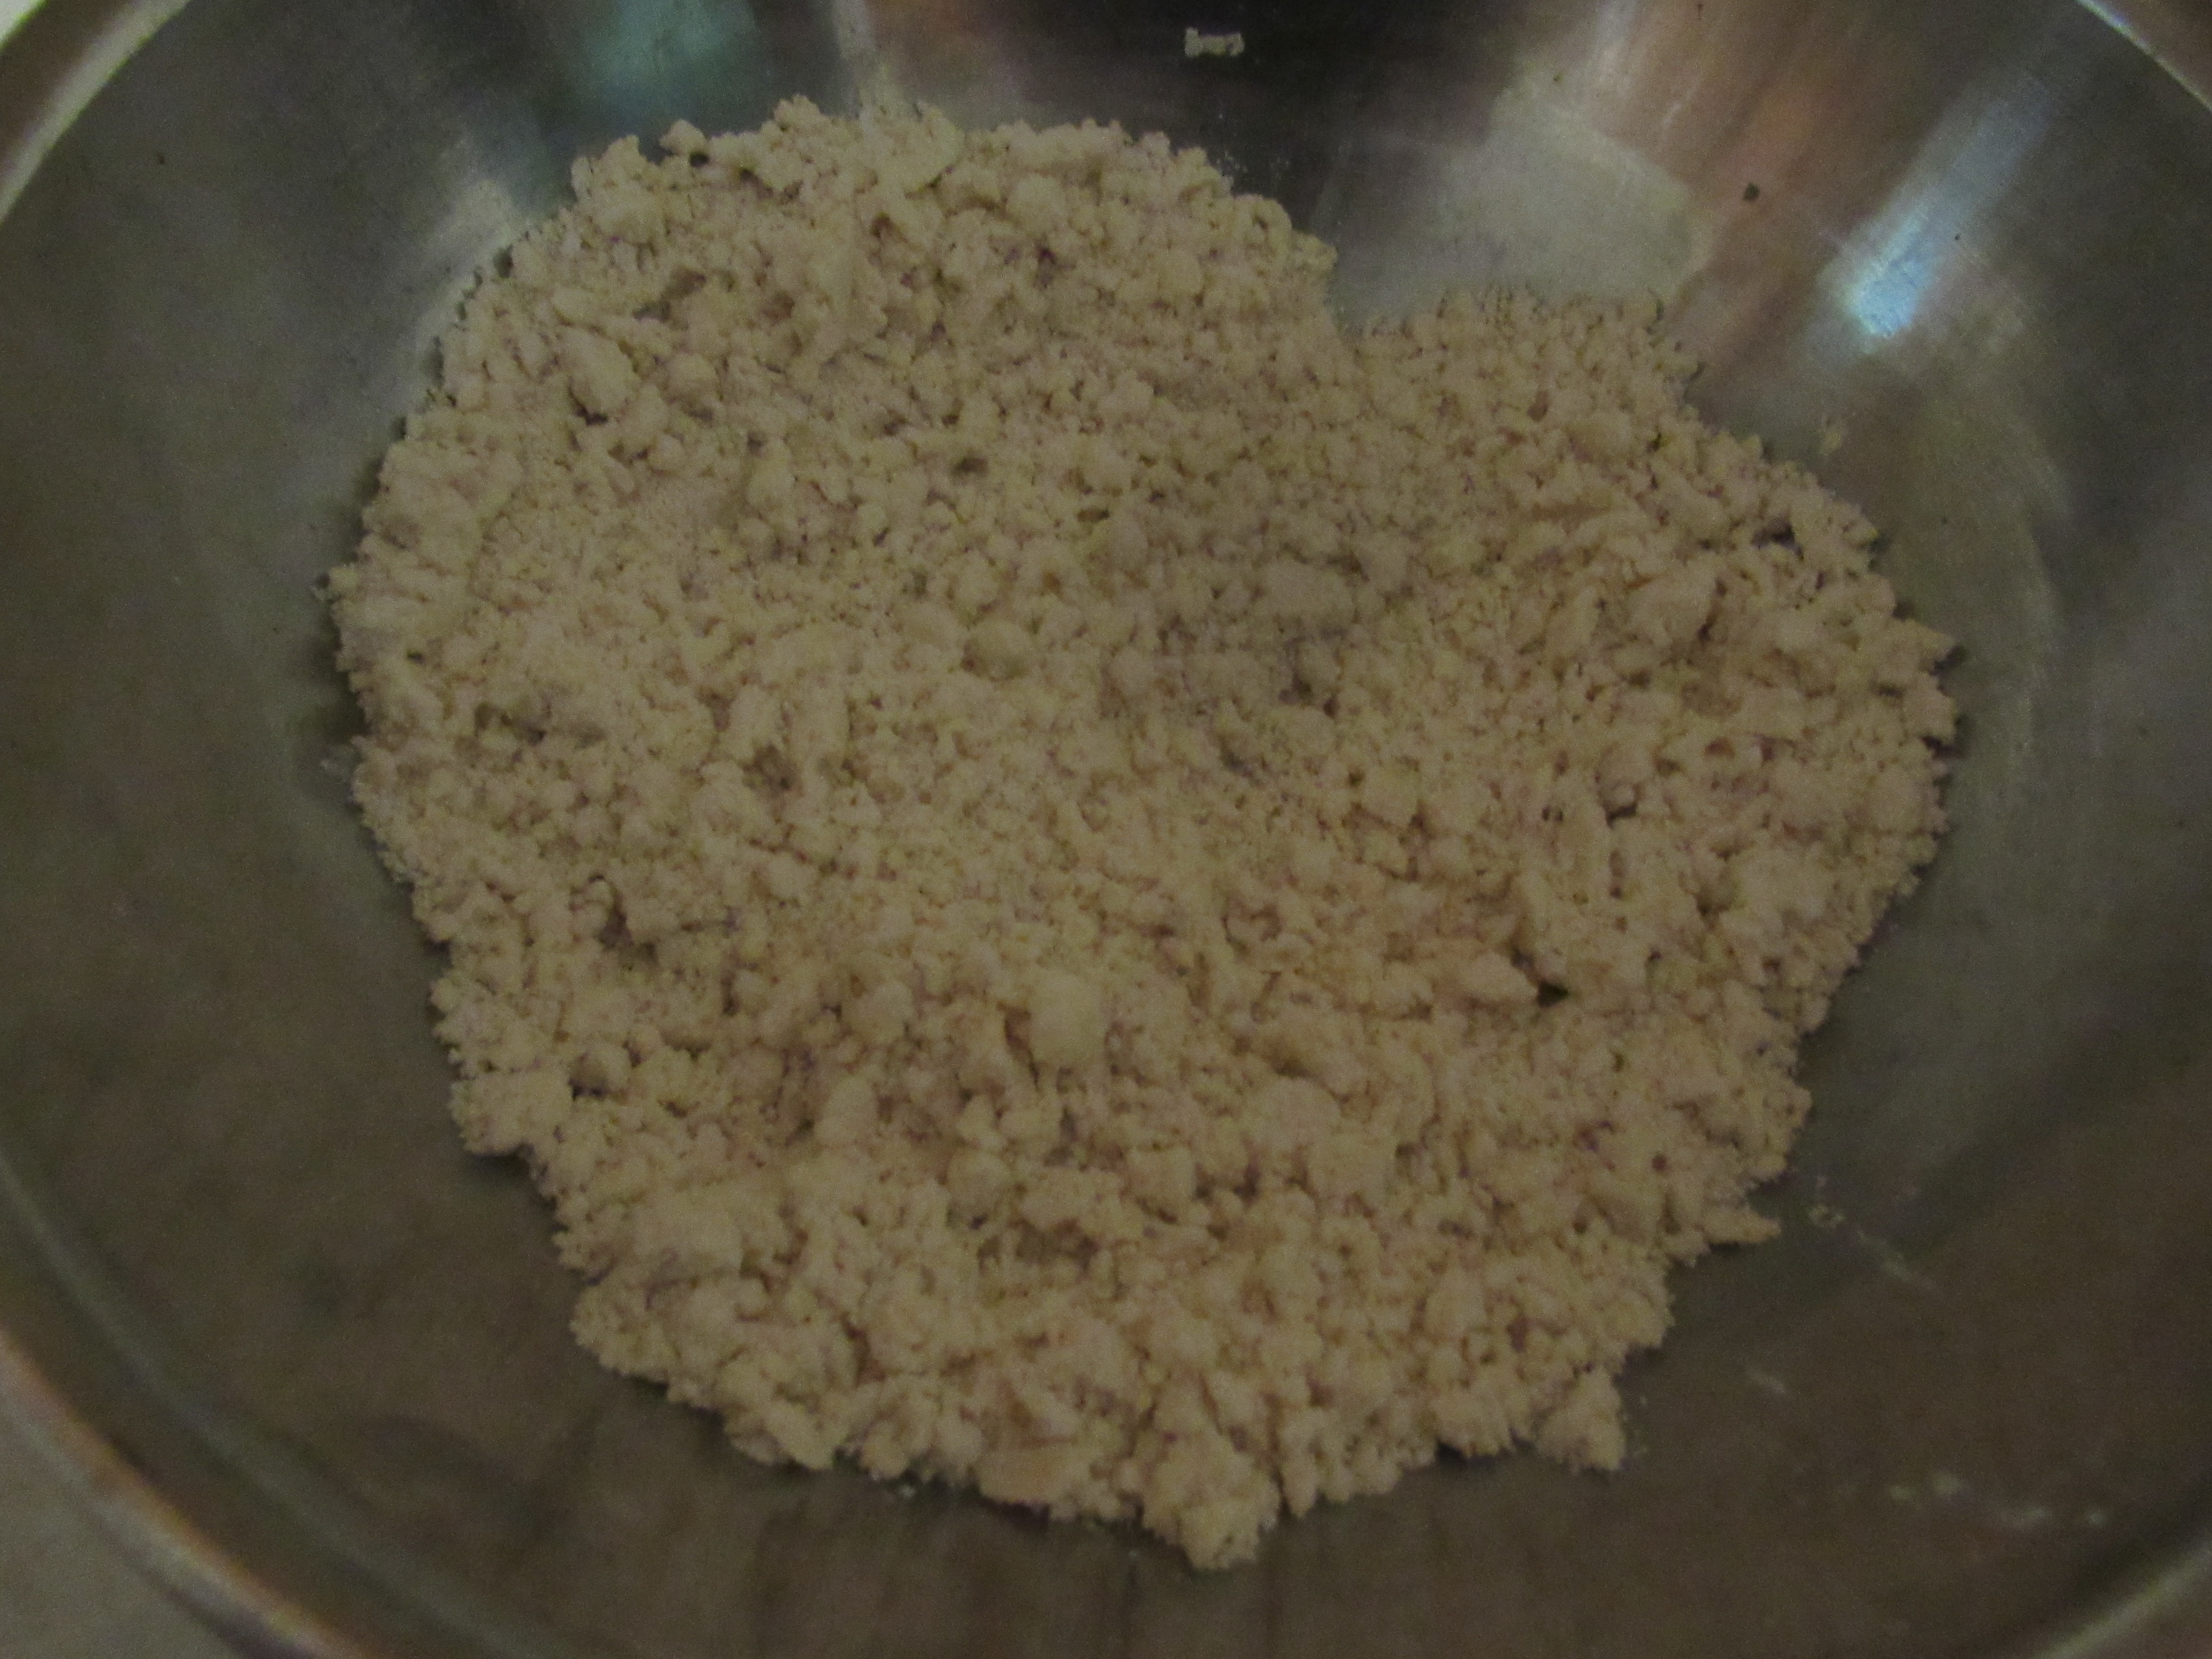
Mrs. Conkey then directs us to salt, pepper, and butter “to taste, with a little rolled cracker.” Due to experiences with other recipes in this book, I took that to mean combine cracker with melted butter. I crumbled two squares of crackers and stirred in melted butter. This went into the lightly boiling soup. I added ½ teaspoon salt and ¼ teaspoon pepper.
The soup cooked on a gentle boil another 10 minutes.
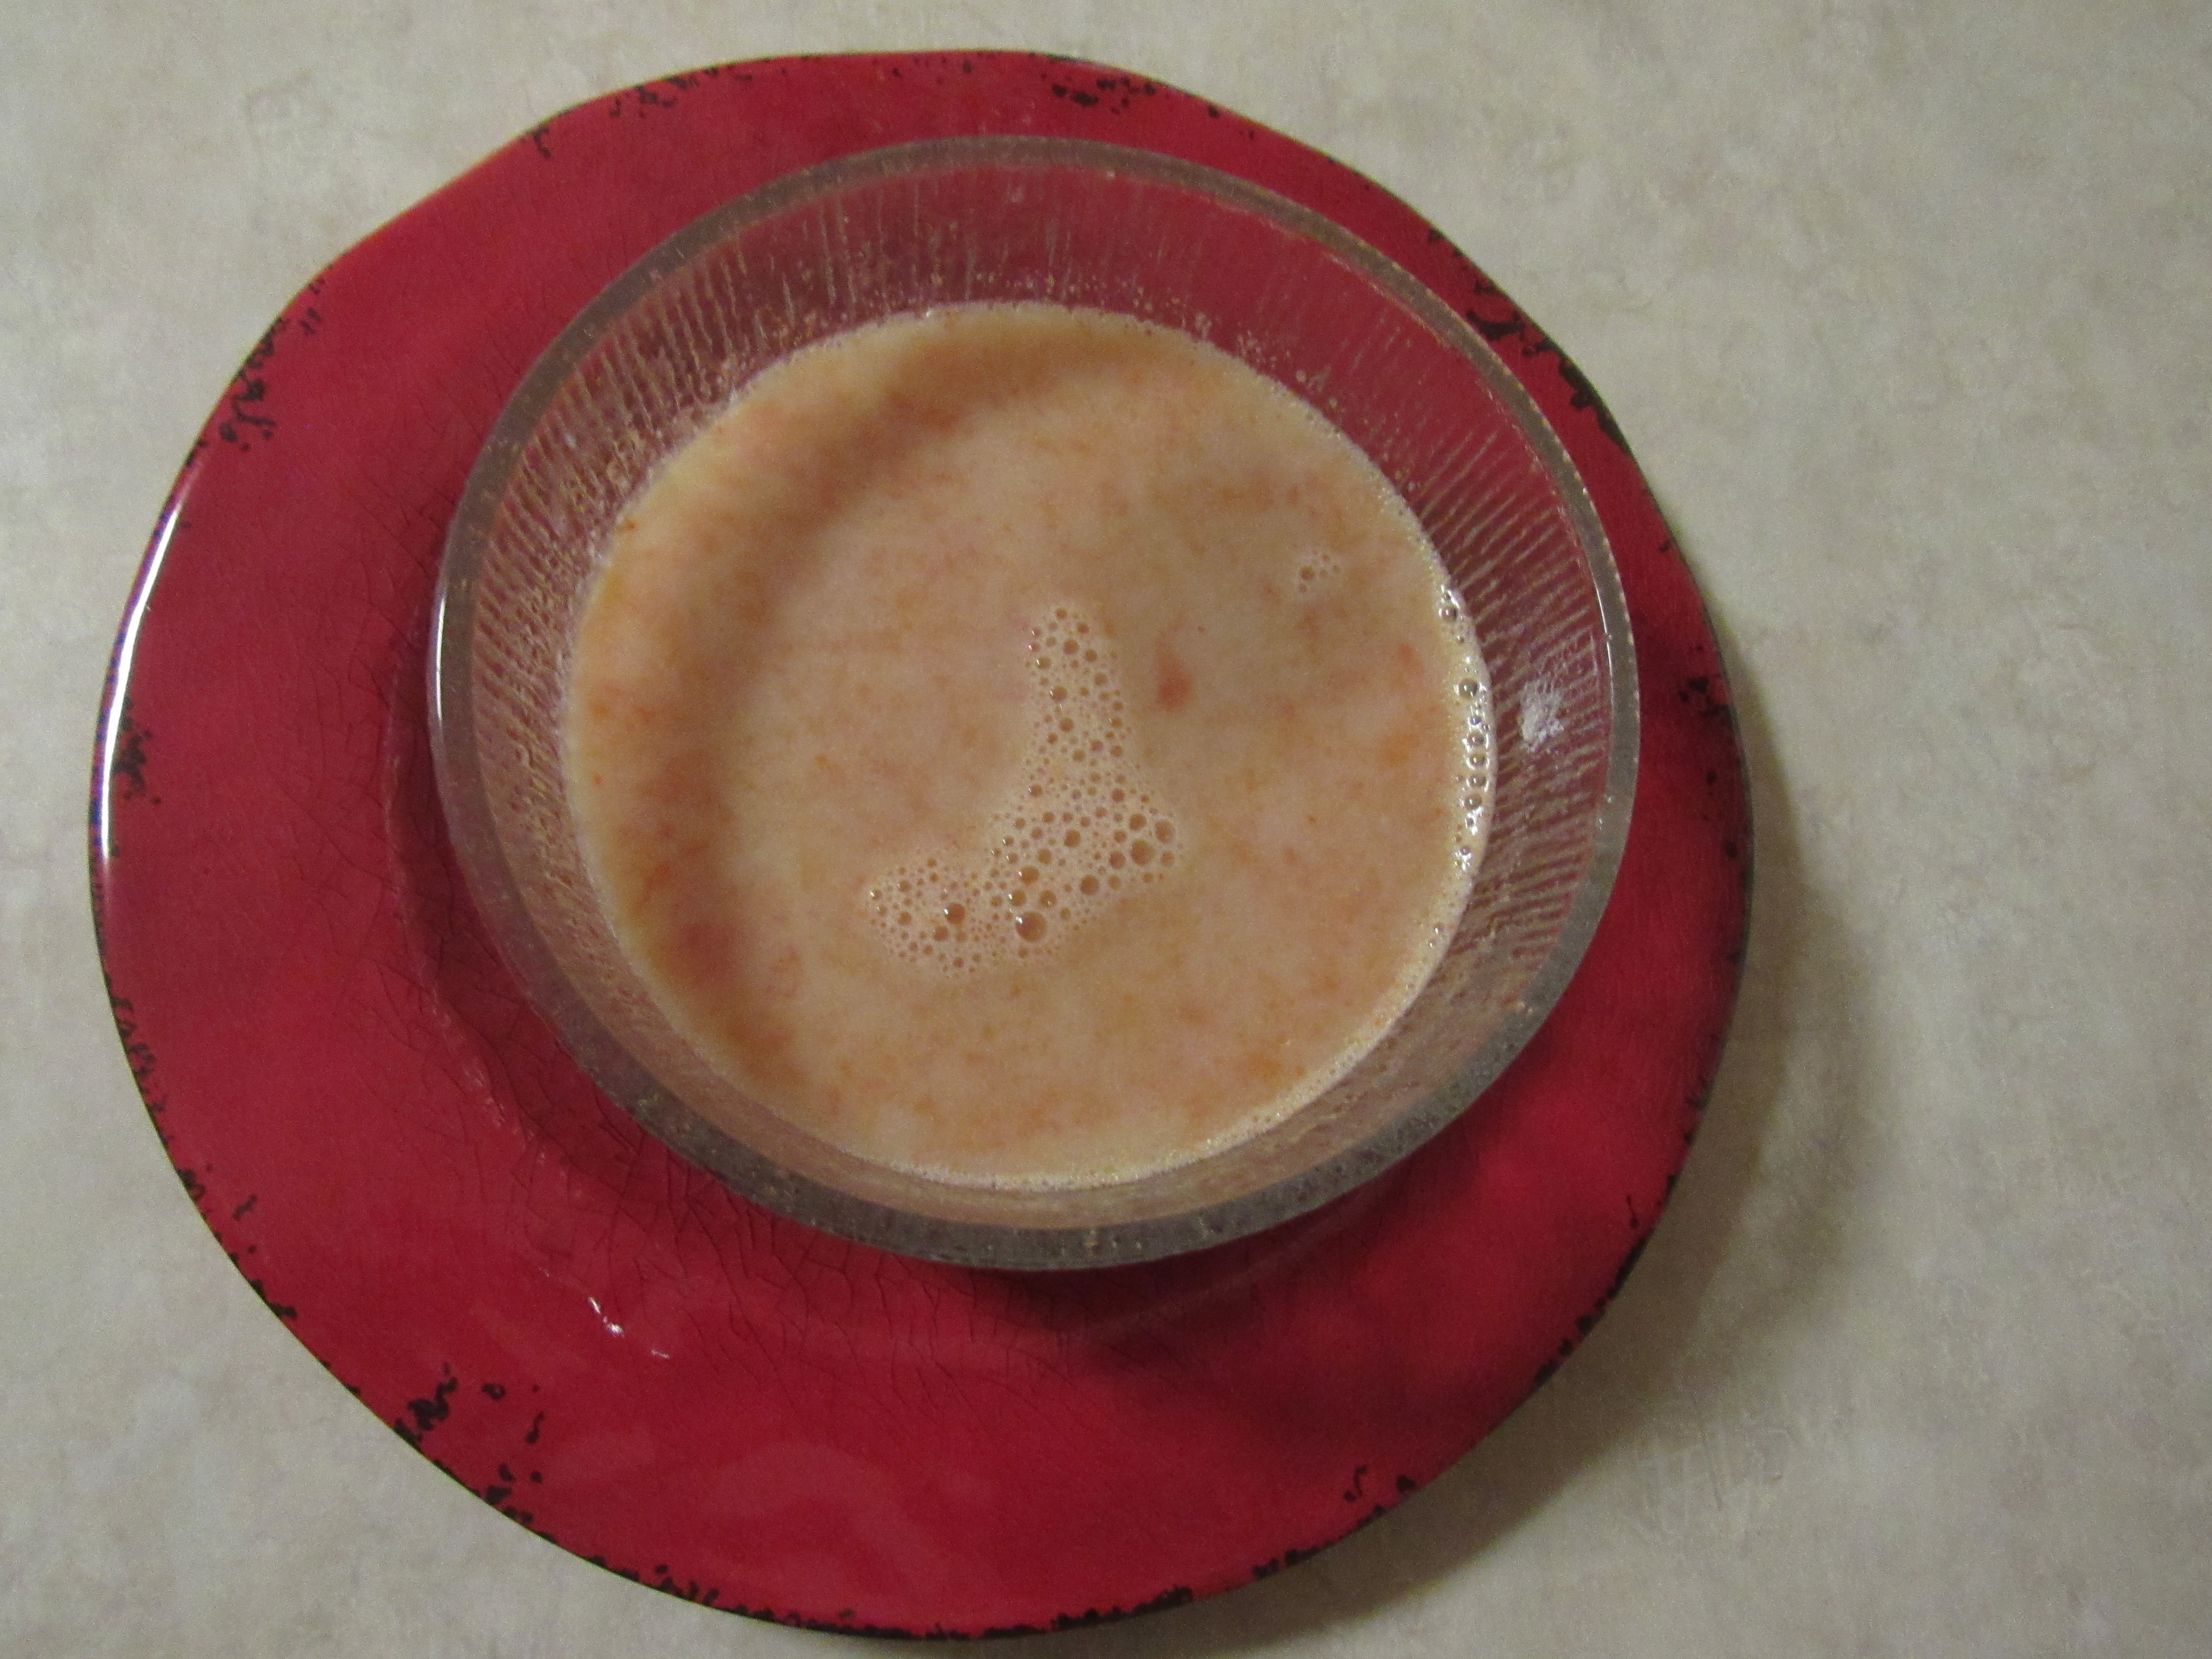
I couldn’t believe the results—the stewed tomatoes were almost completely pureed!
The soup had a slight buttery flavor. In my opinion, there was twice as much milk as needed. For the same proportions, I’d use 1 cup of milk next time. Even with that, I enjoyed the light, refreshing soup.
And I learned a new trick! Who already knew about the baking soda trick?
I’d love to hear from you if you try it.
-Sandra Merville Hart
Sources
Compiled from Original Recipes. Buckeye Cookery and Practical Housekeeping, Applewood Books, 1877.