I ran across two recipes for Election Cakes in an 1877 cookbook. Both boasted that the recipes were over 100 years old. A recipe from the Revolutionary War era–what a fun discovery!
Election Day was a festive occasion as early as 1771. Pioneers celebrated the day with parades, balls, religious ceremonies, and food.
Some traveled far to vote. While folks awaited election results, they socialized. The best bakers loved to demonstrate their skills by participating in banquets. Ladies served huge Election Cakes with coffee and cider.
To get an idea of the quantity provided, one recipe called for thirty quarts of flour and fourteen pounds of sugar! Meant to feed a crowd, these cakes originally were a variation of fruitcake and bread.
My cookbook contained two different recipes for these cakes: Salem Election Cake and Old Hartford Election Cake. Wine, brandy, citron, and raisins were a few of the ingredients in the Hartford cake. The Salem recipe looked deceptively simpler so I tried to make this.
 The original recipe, a simple listing of ingredients without instruction, calls for four pounds of flour—far too much for my needs so I cut that down to two cups.
It also called for a pint of yeast. The Hartford recipe gave measurements for distillery yeast; cooks had to use twice as much of home-brewed yeast. I ended up using far too much for the amount of dough.
My first attempt failed. The second try went better, but the cake failed to rise.
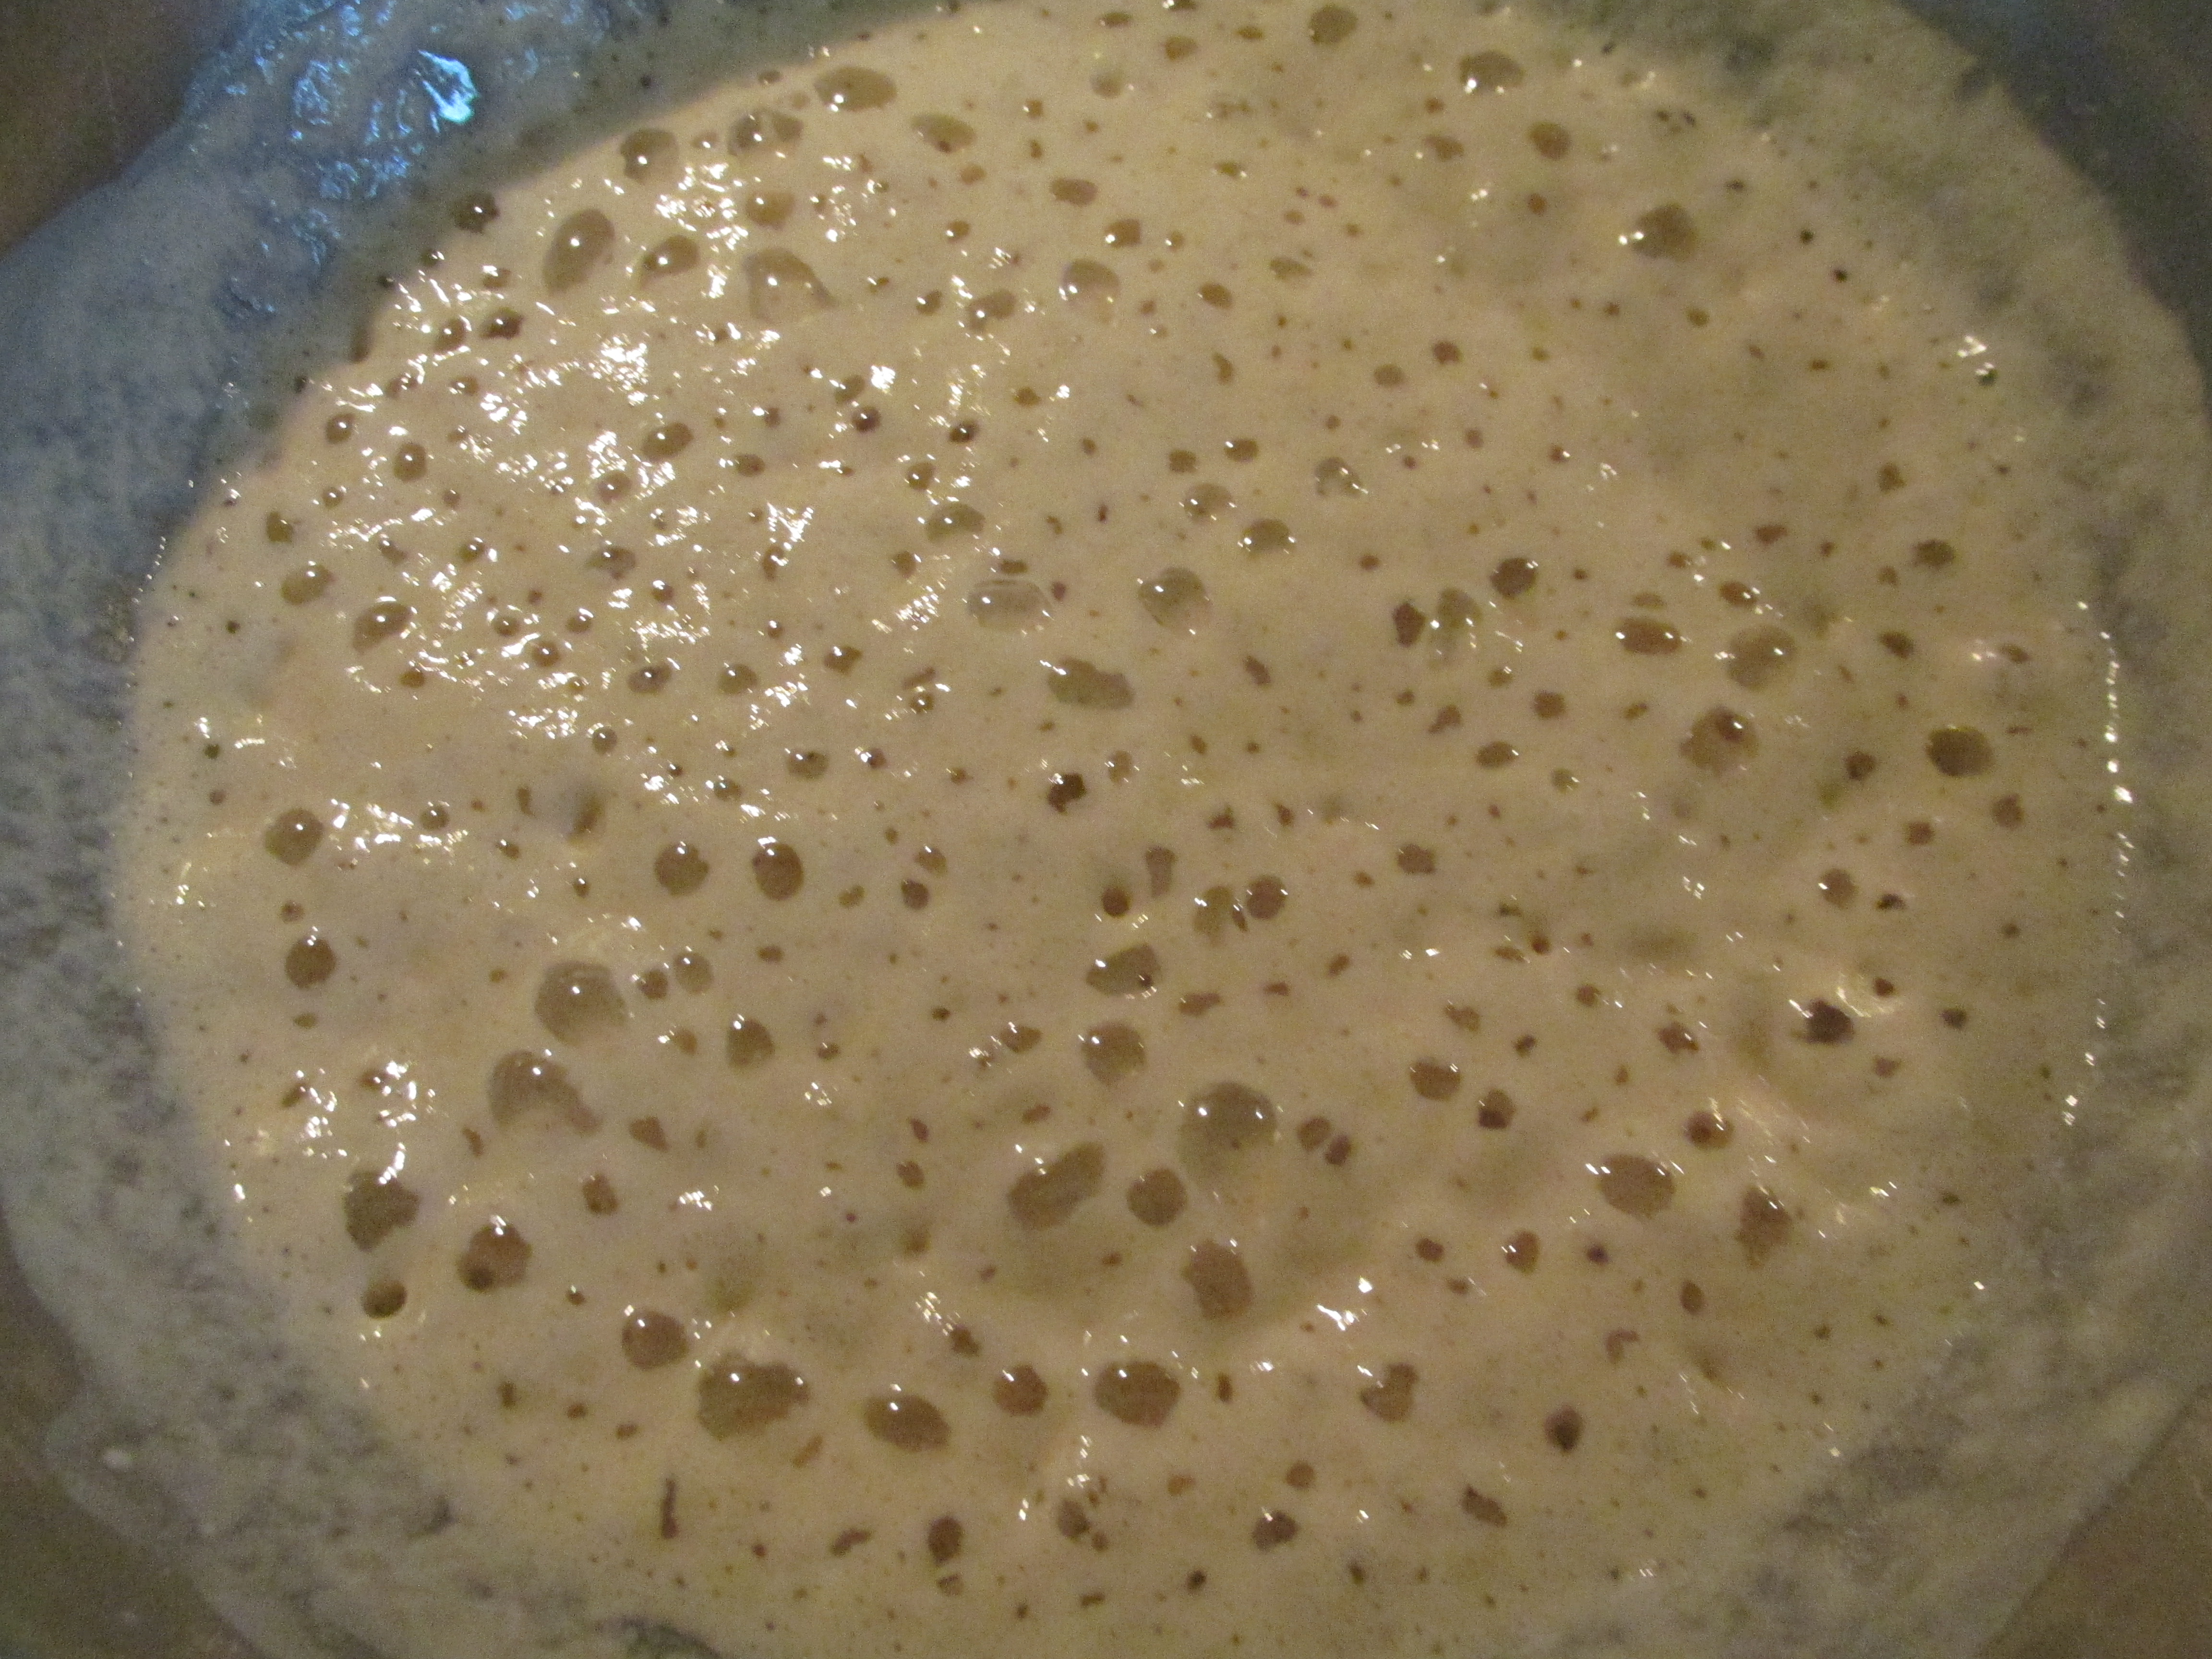
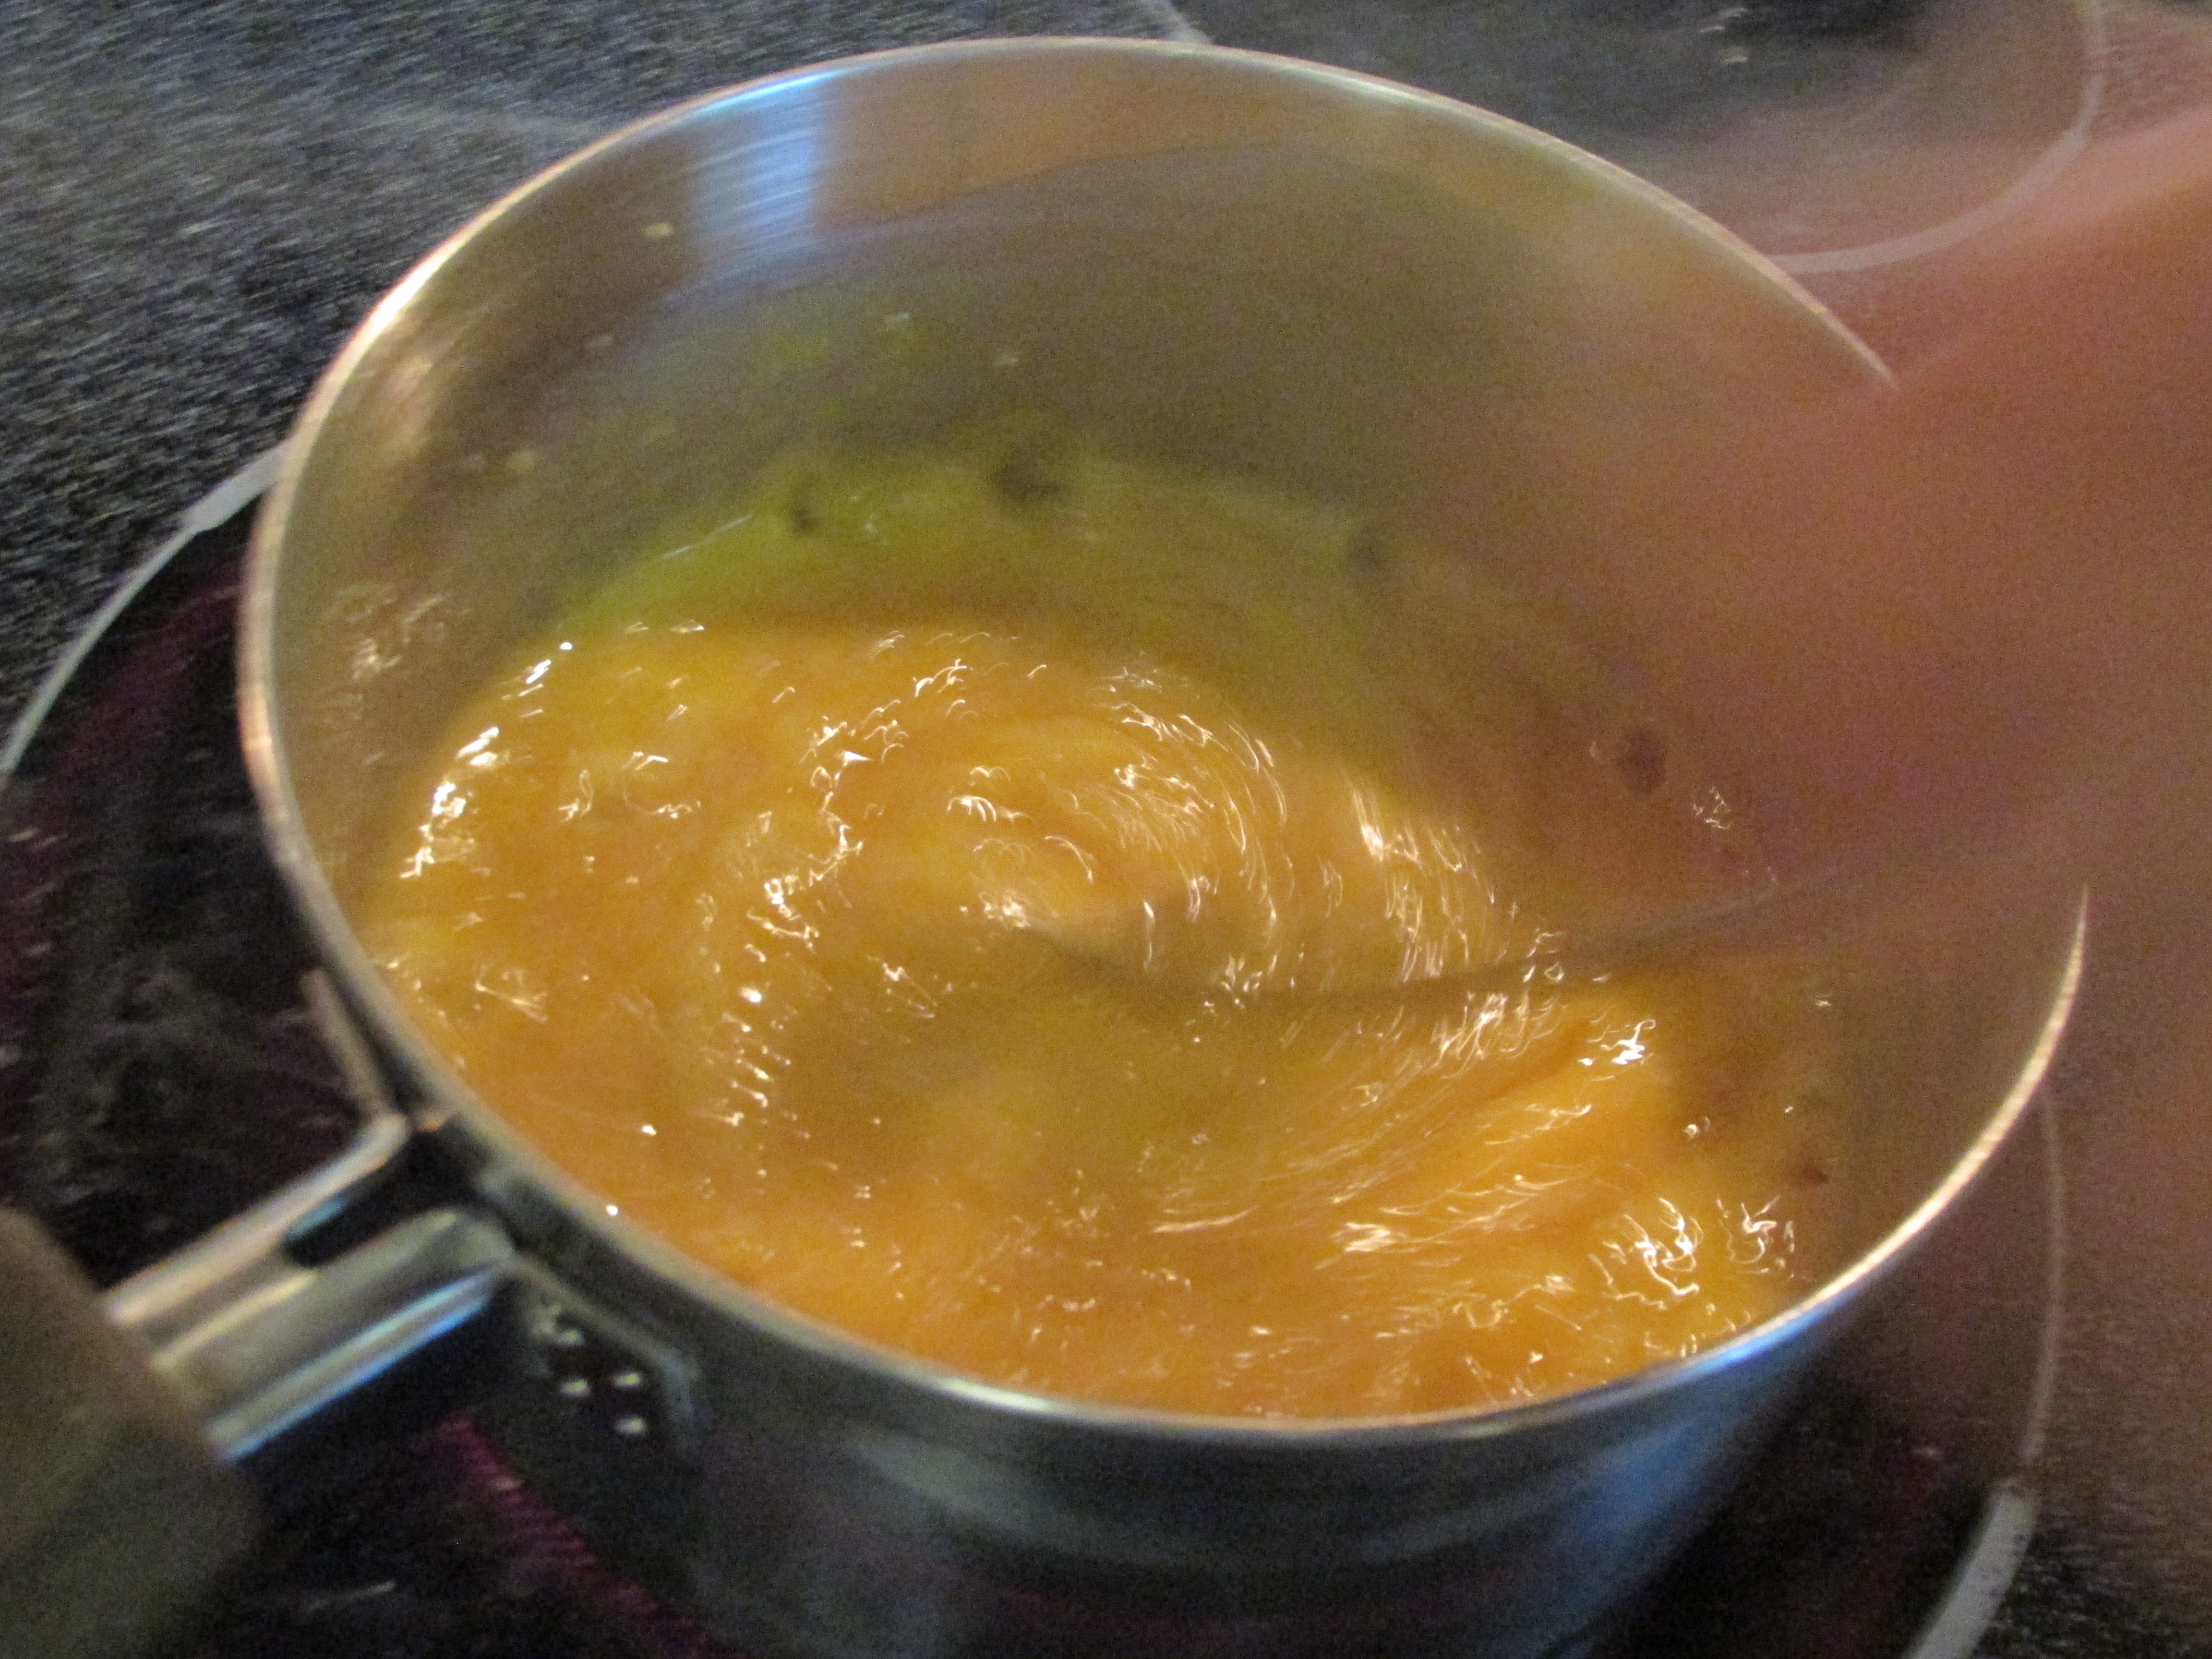
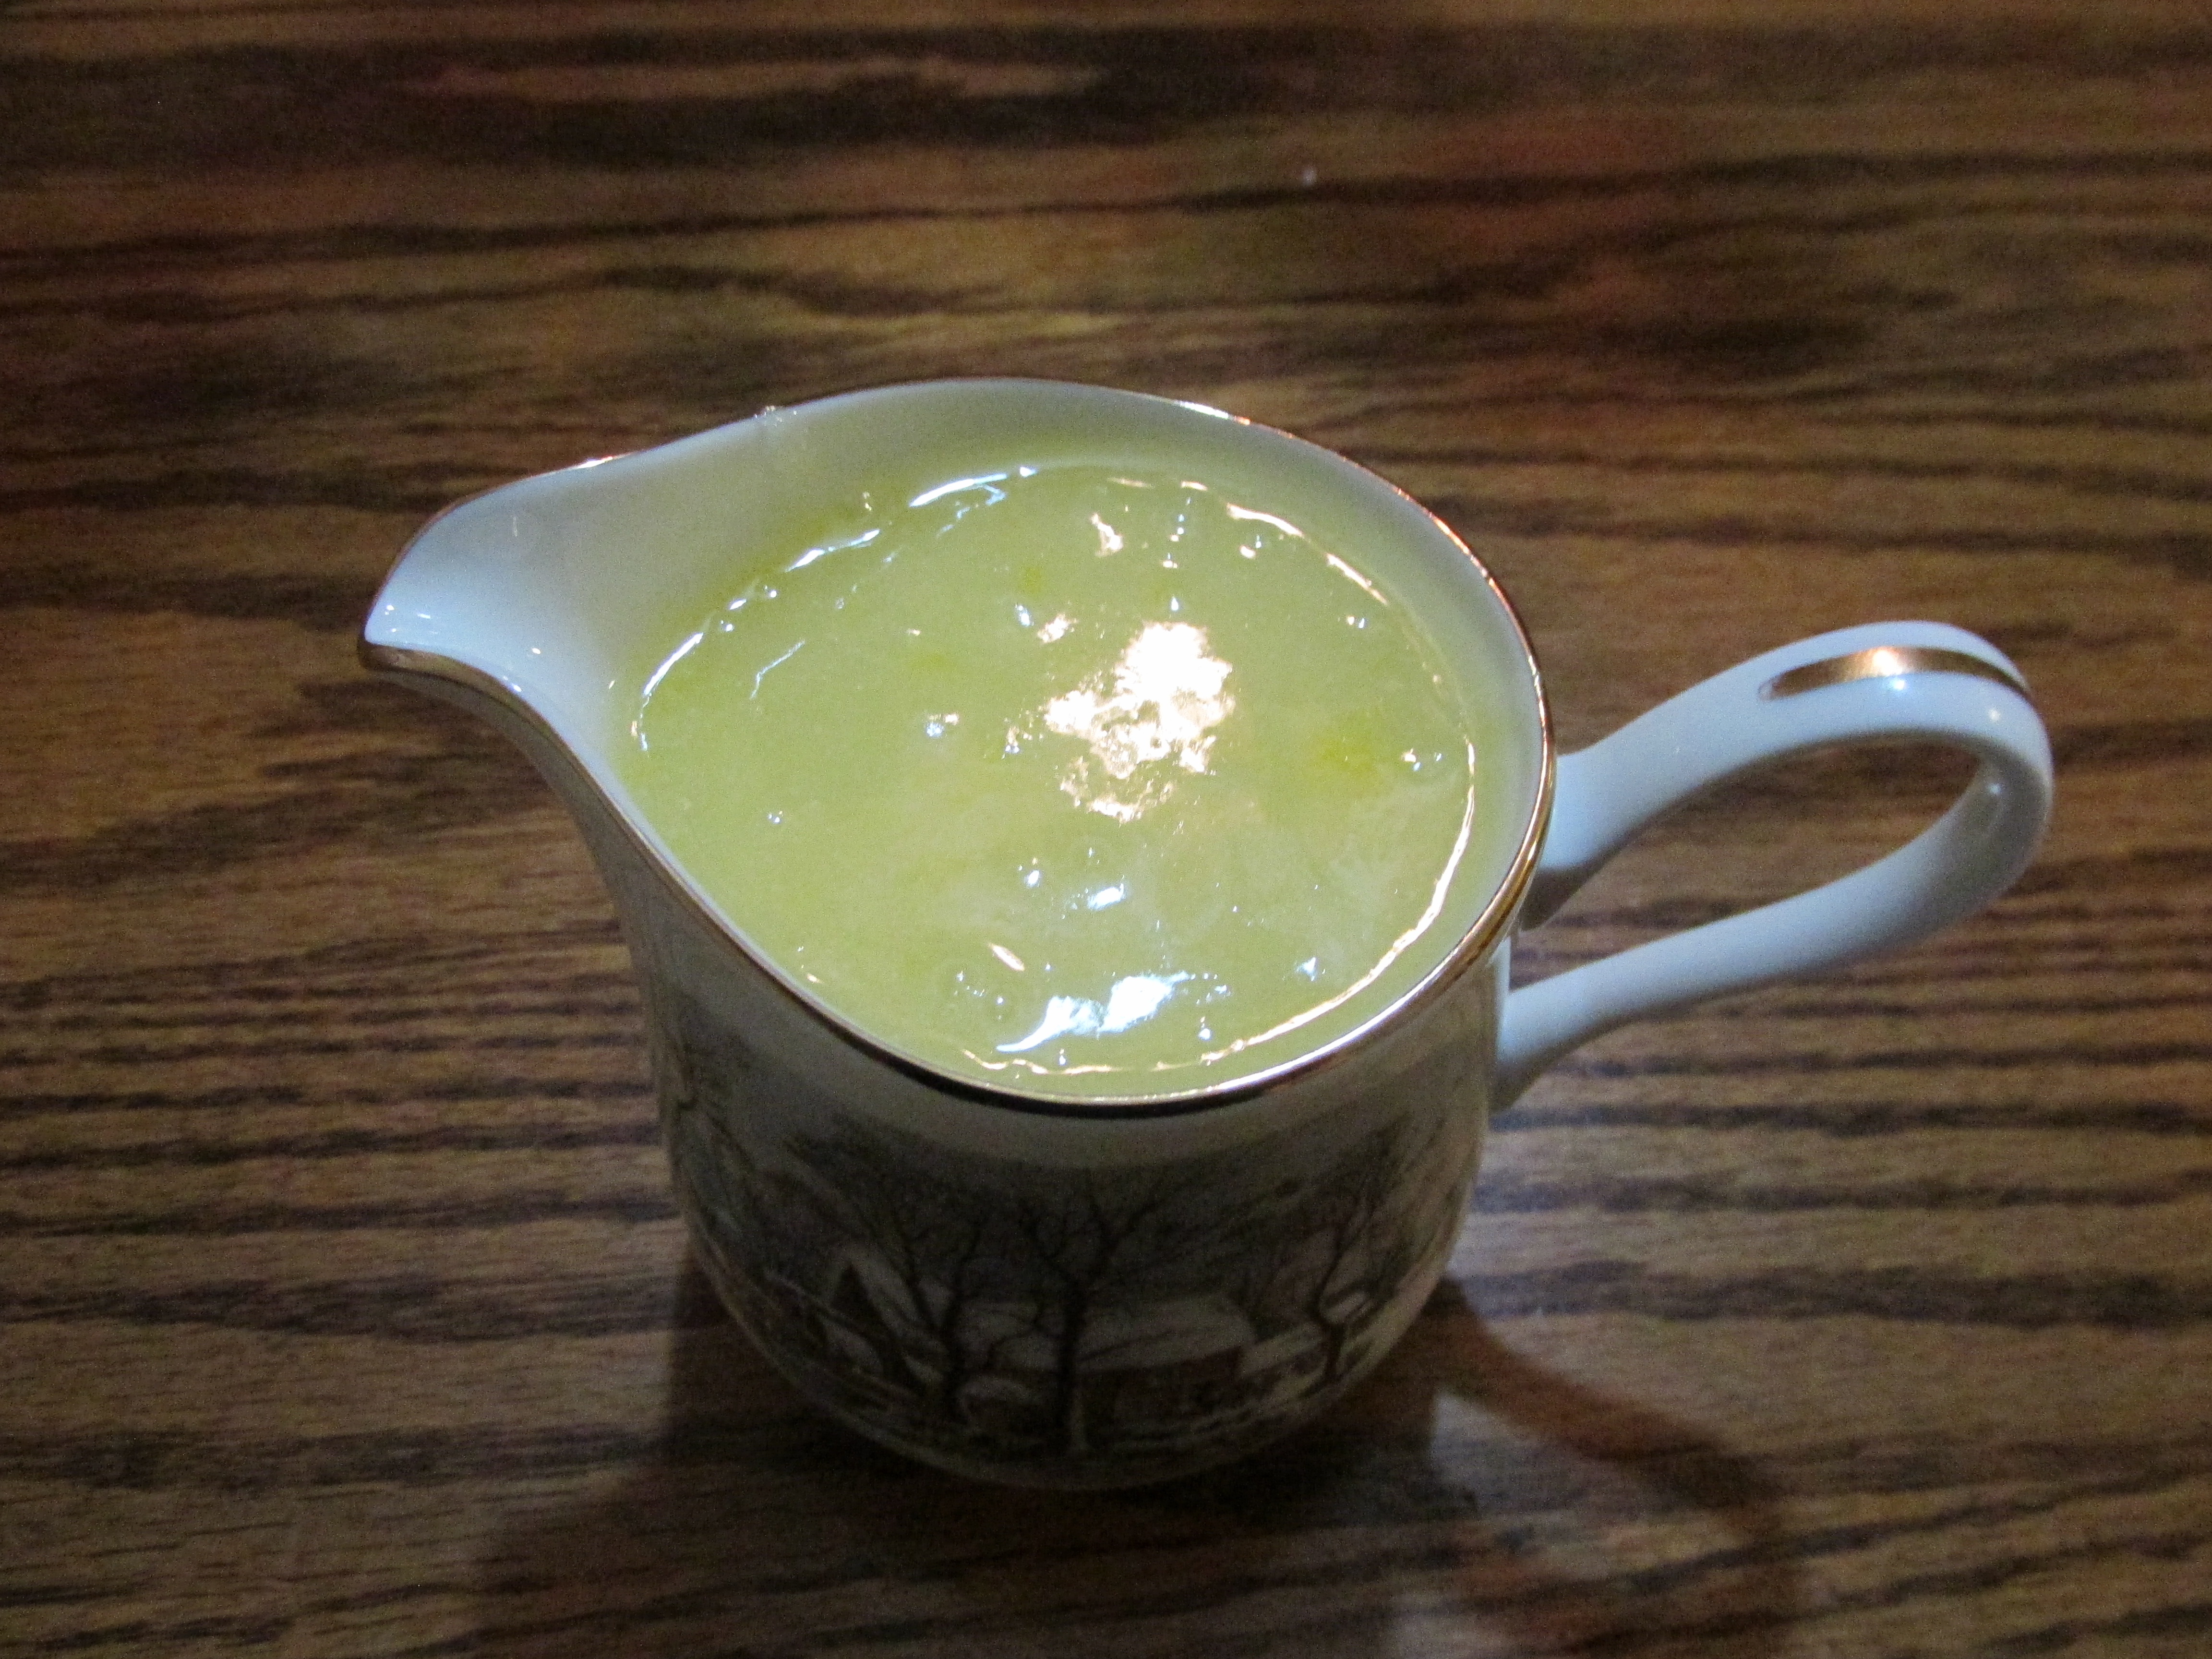
 Then I found a recipe for sponge using our modern yeast on What’s Cooking In America. To ¾ cup warm water, two teaspoons of active dry yeast were added. After stirring, I added ¾ cup all-purpose flour and 1 tablespoon of sugar. This mixture was beaten for 2 minutes. I covered the bowl with plastic wrap and set in a warm place. It was bubbling in about 30 minutes.
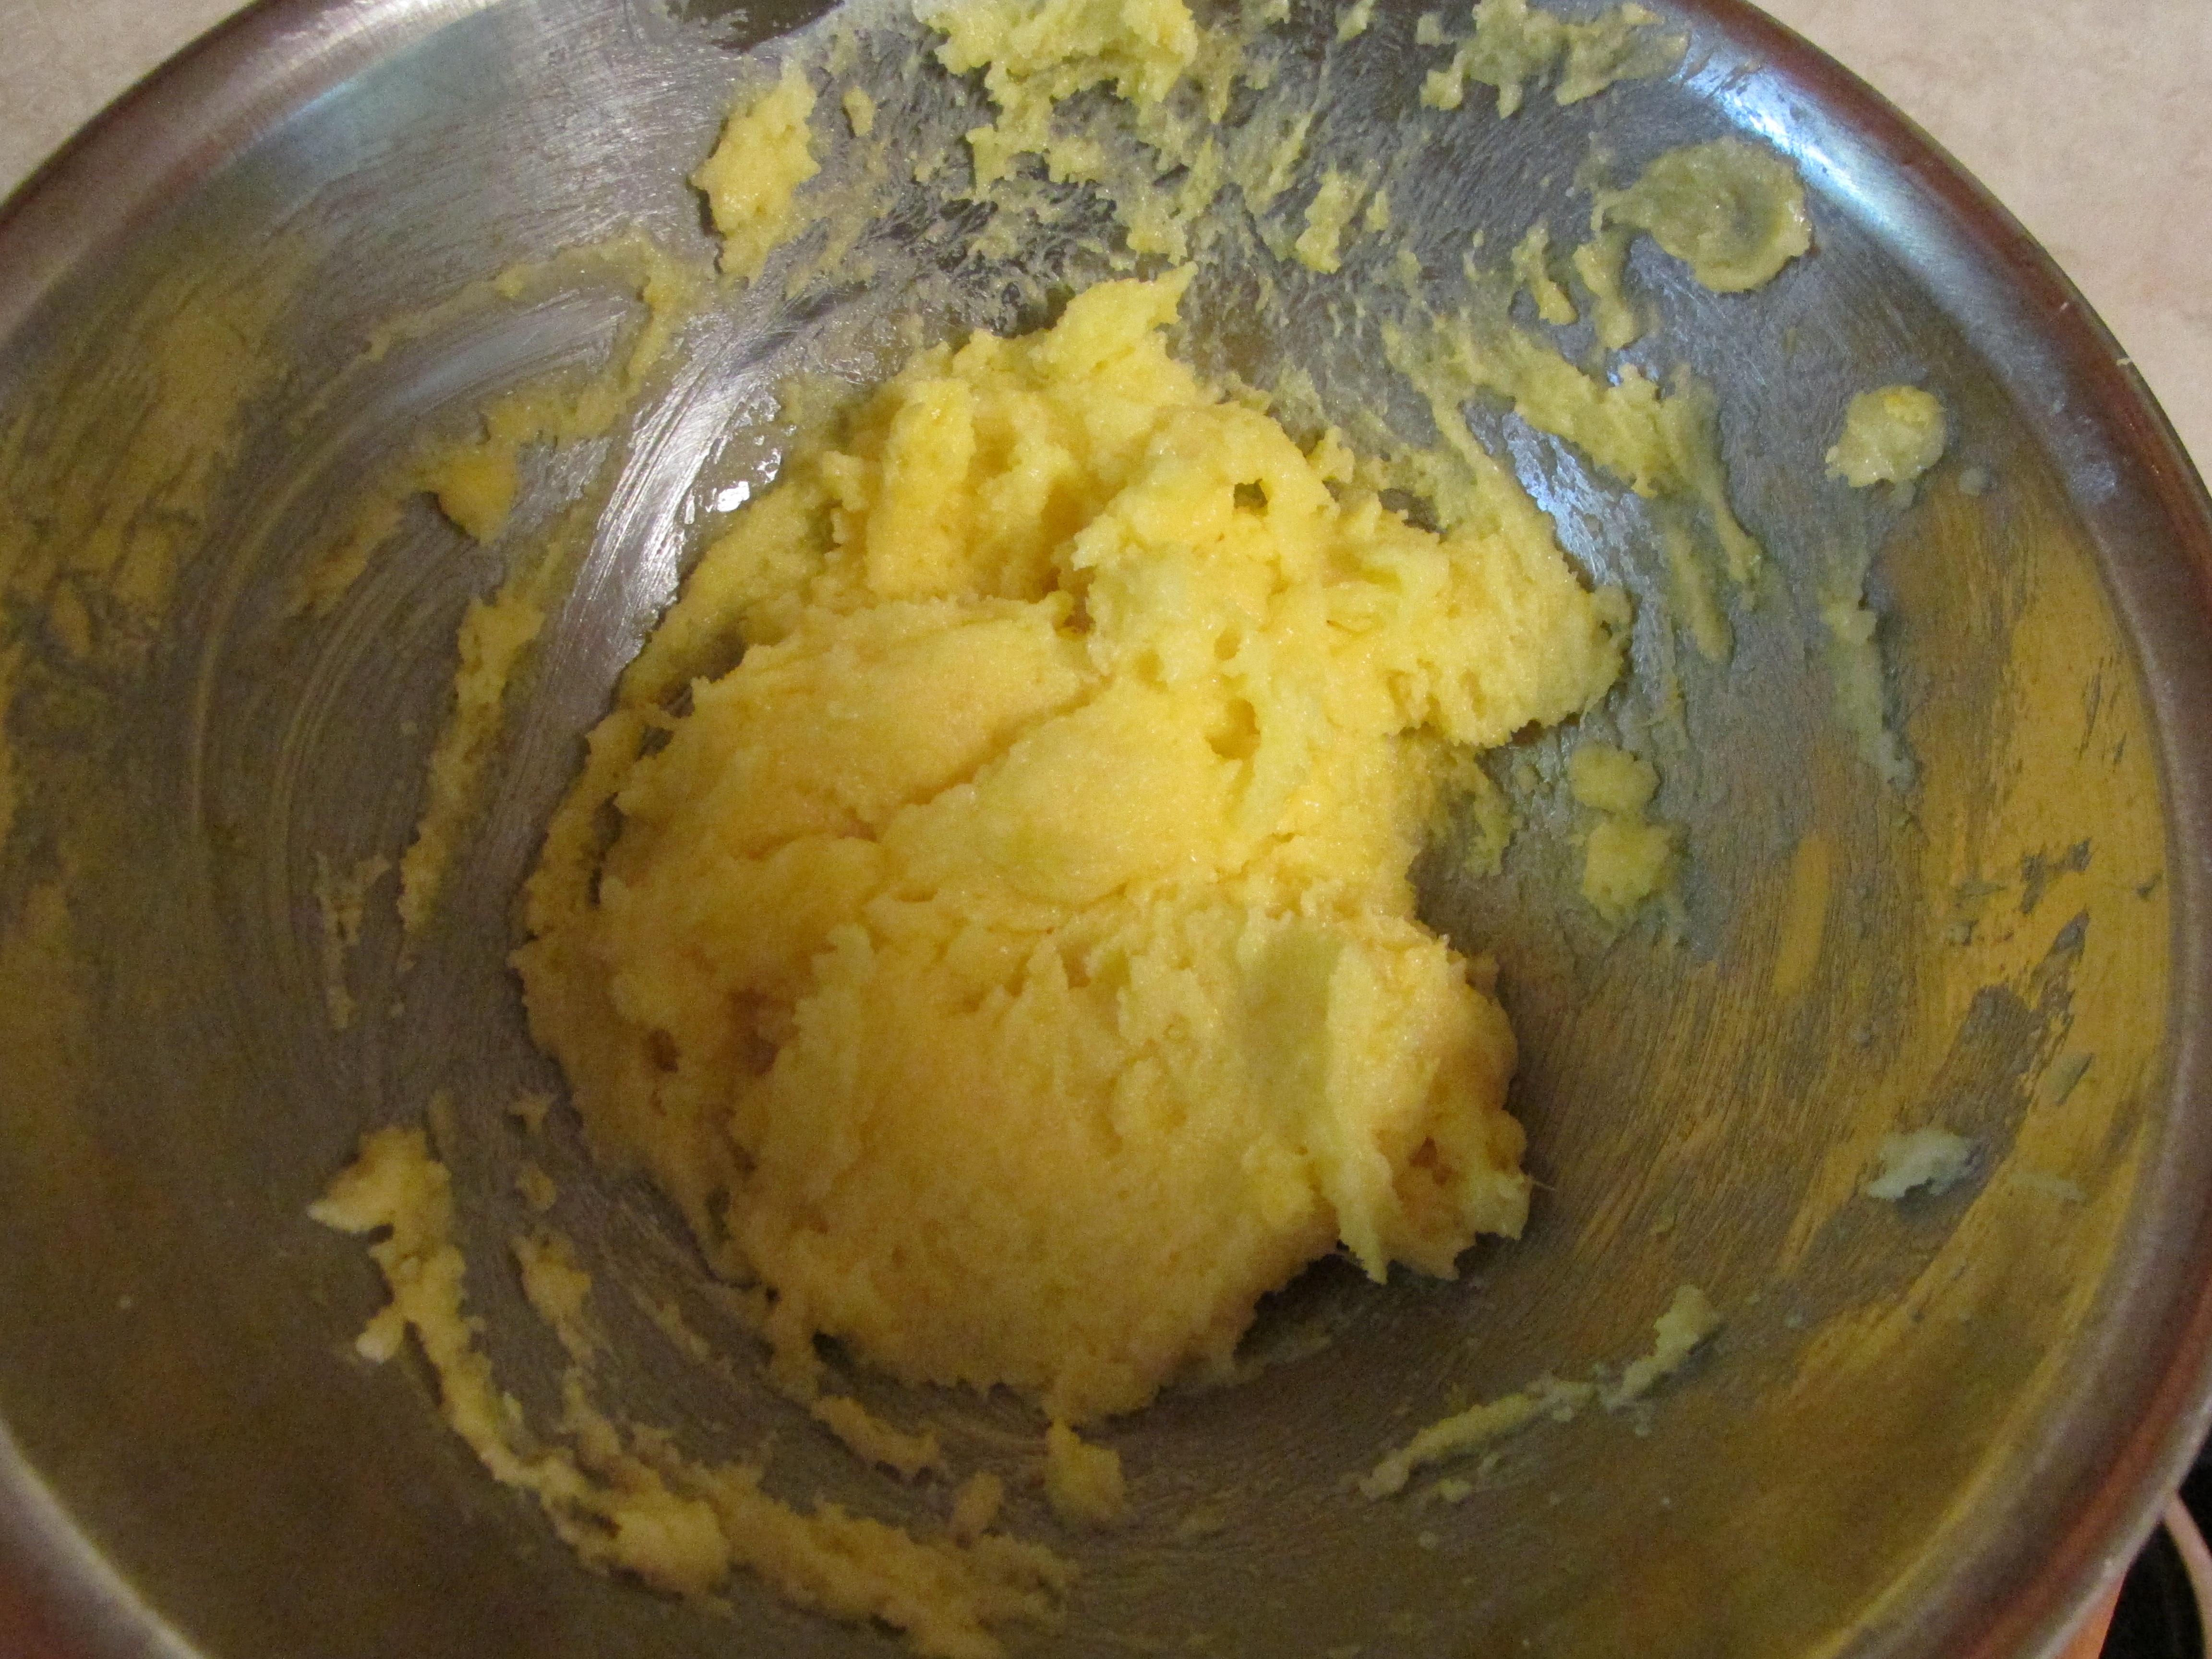
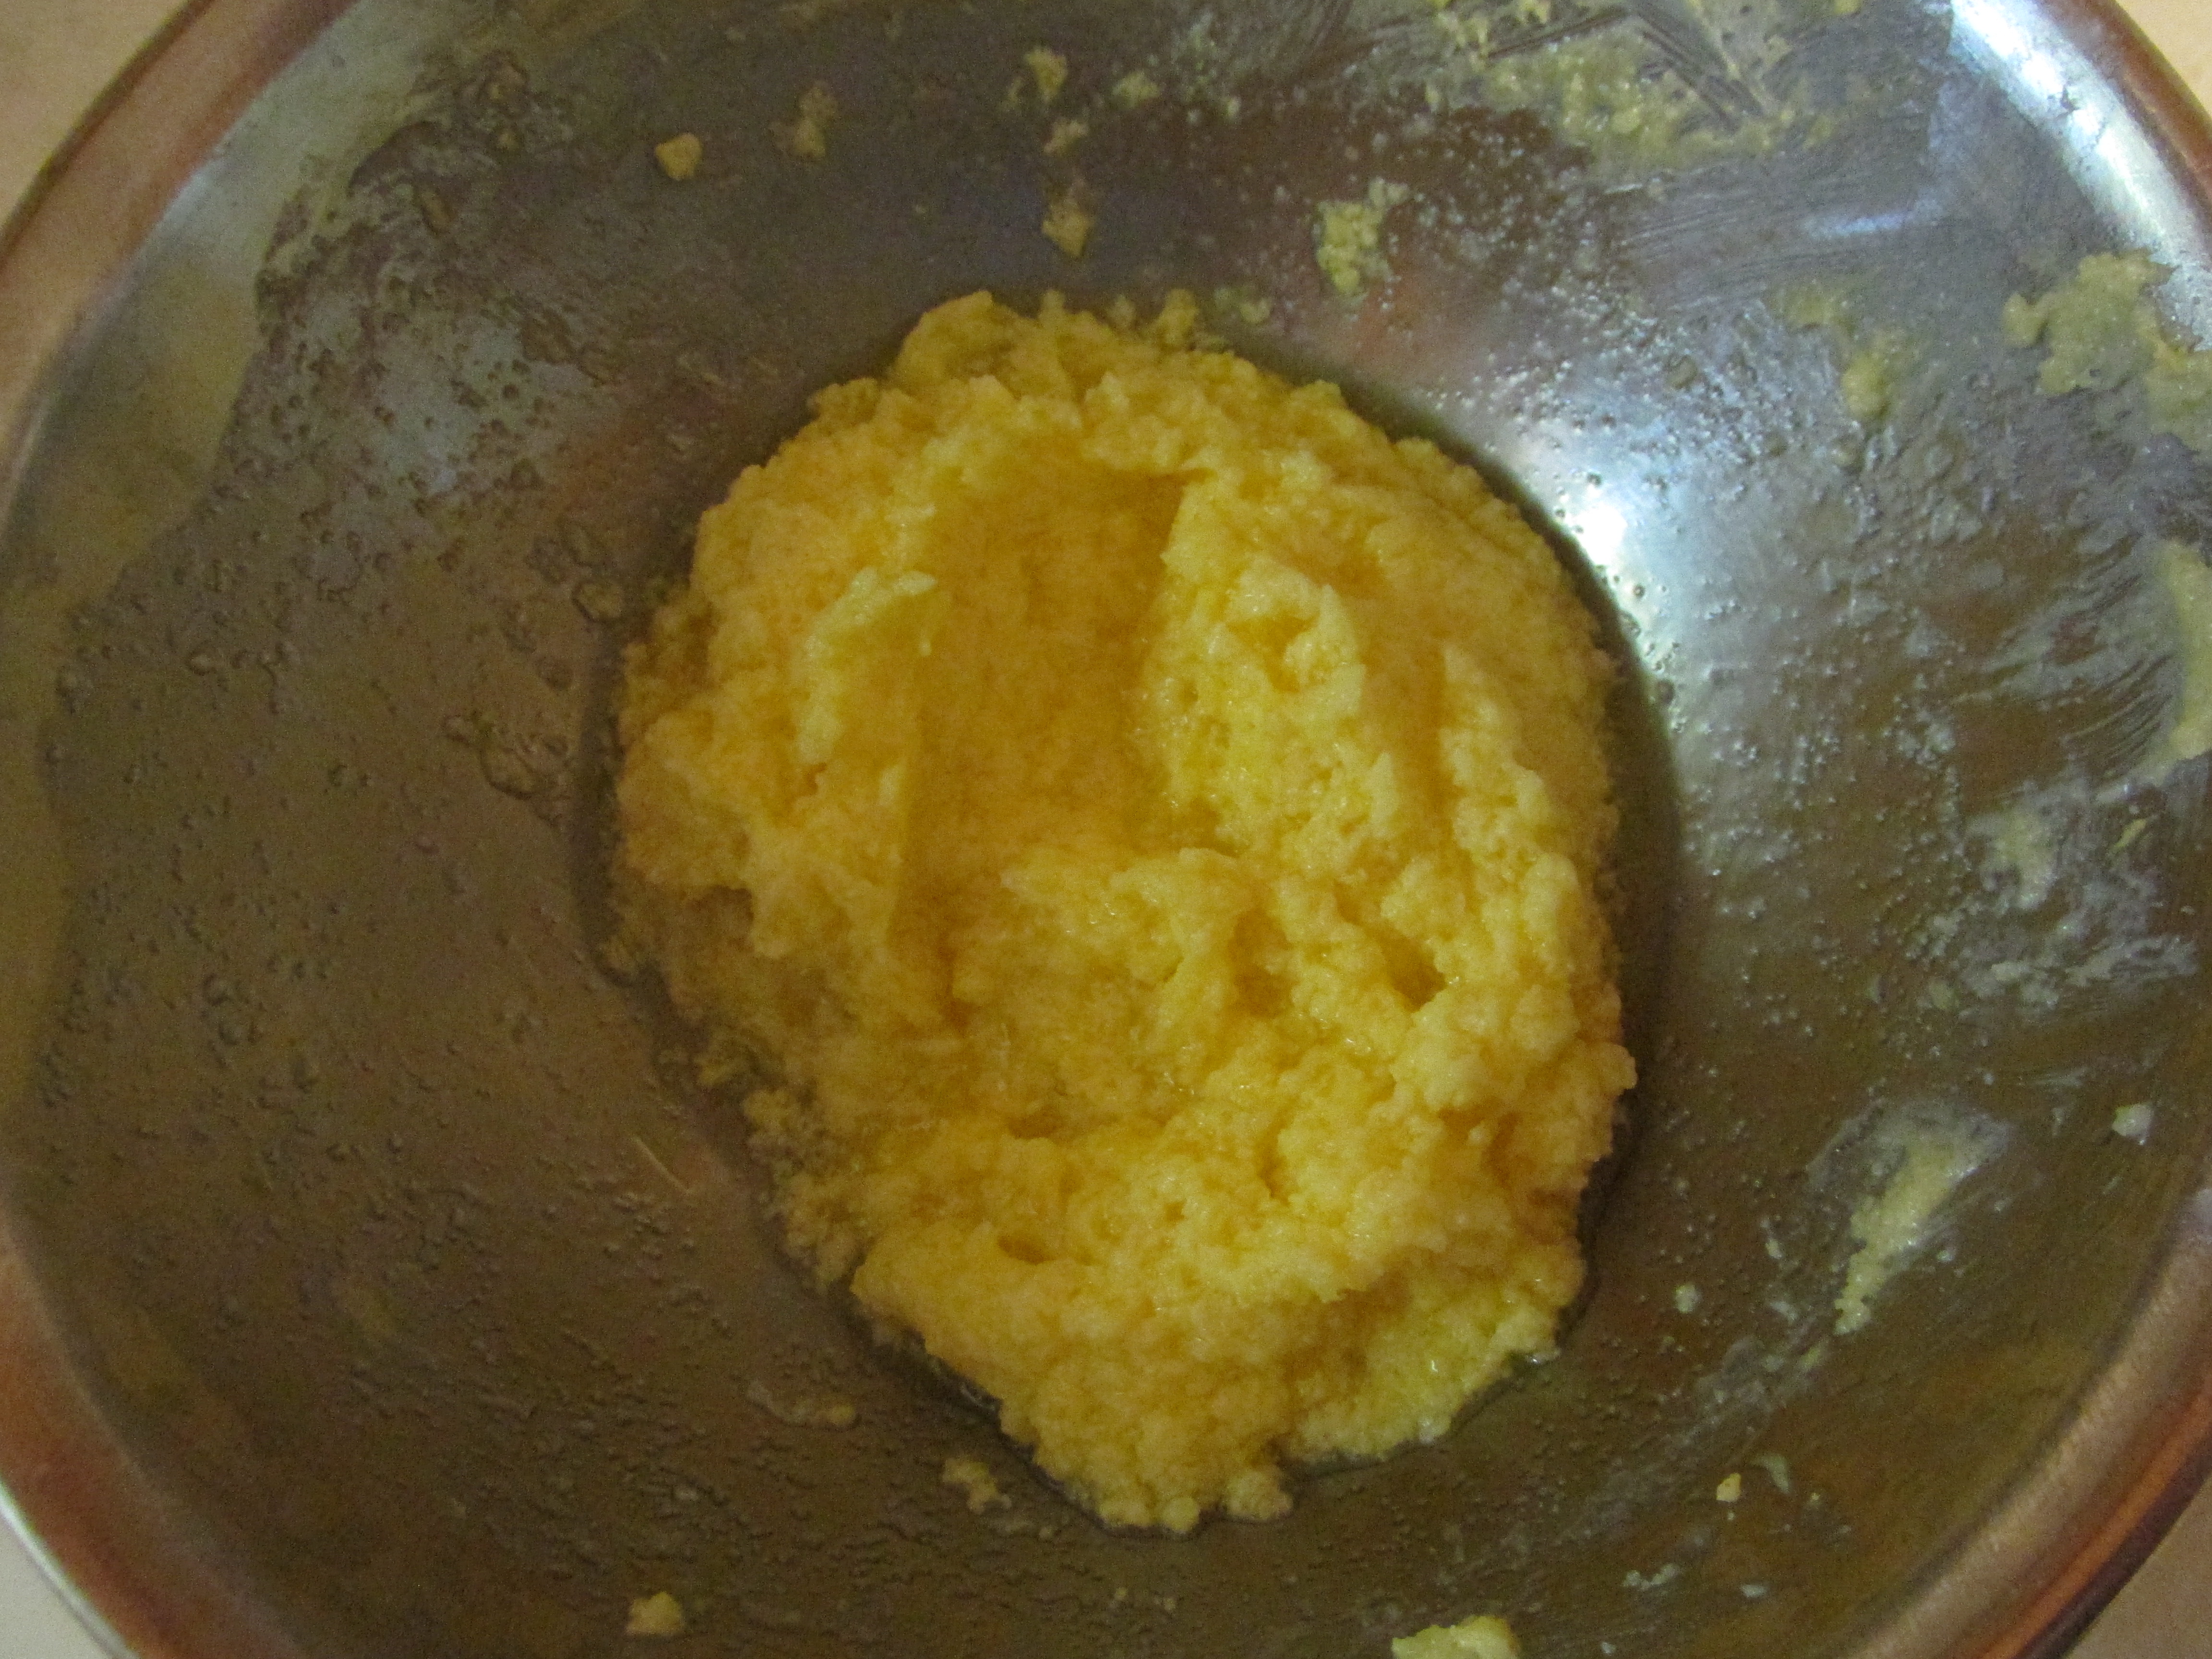
While waiting for the sponge, ¾ cup of sugar was creamed with 4 tablespoons of butter. Two beaten eggs were mixed into the creamed sugar.
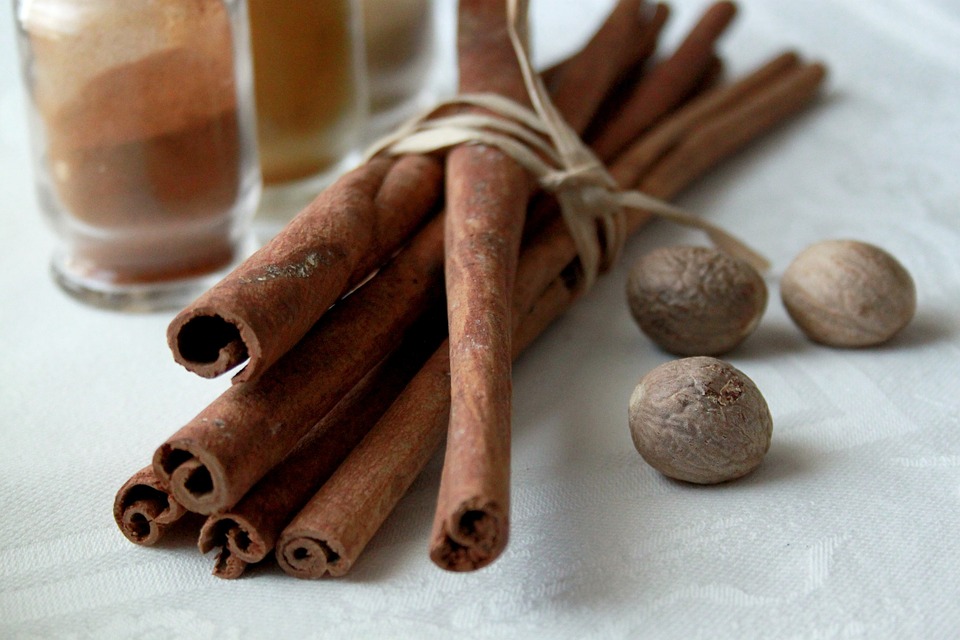
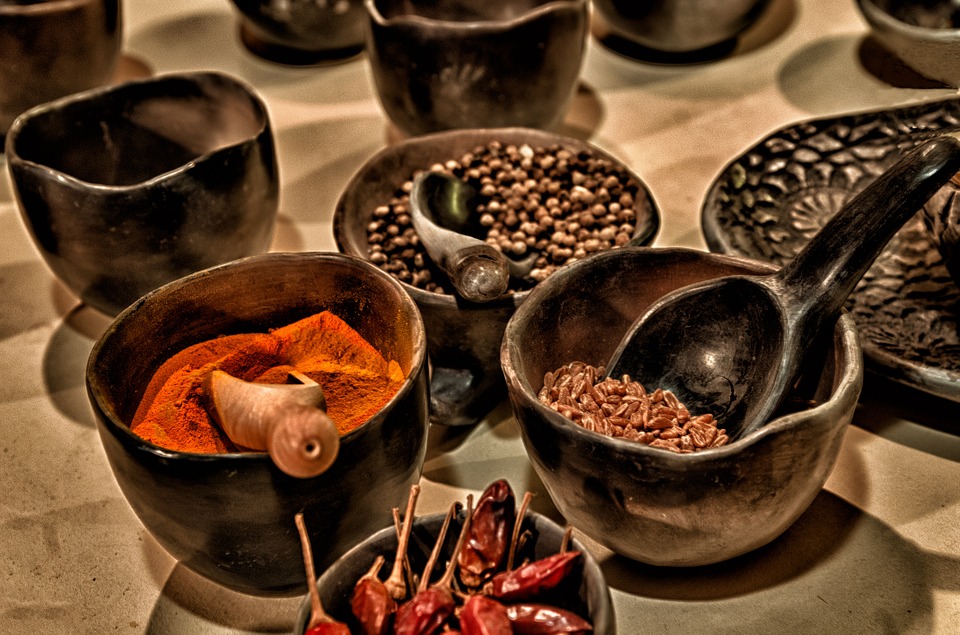
The original recipe simply calls for “spice.” This leaves the spices and measurements to the imagination.
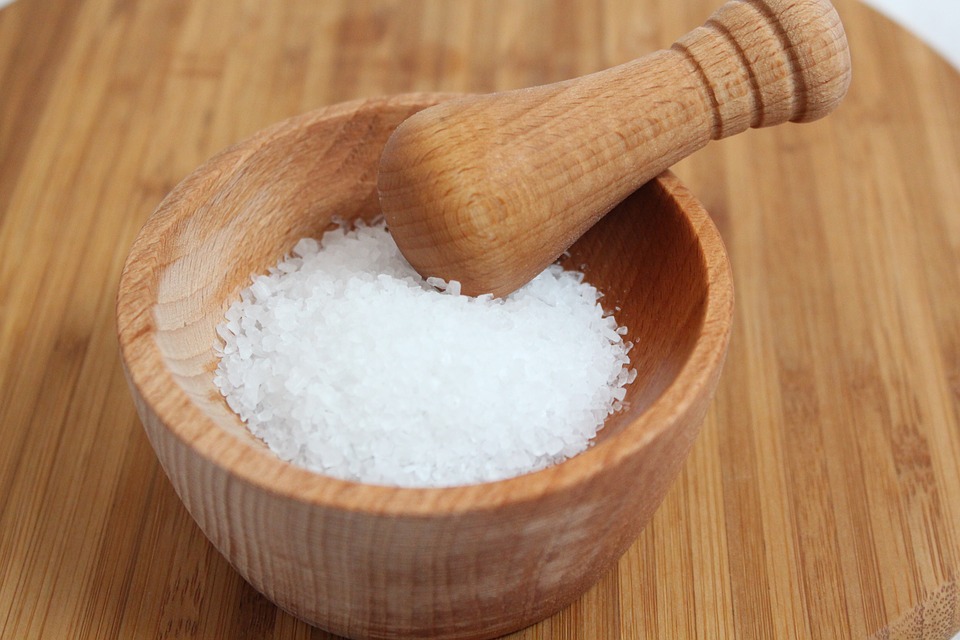
In a separate bowl, I combined 2 cups of flour, 2 teaspoons cinnamon, 1 teaspoon nutmeg, ½ teaspoon ground cloves, ½ teaspoon ginger, and 1 teaspoon salt.
Though the cake is described as a fruitcake, there is no mention of adding fruit.
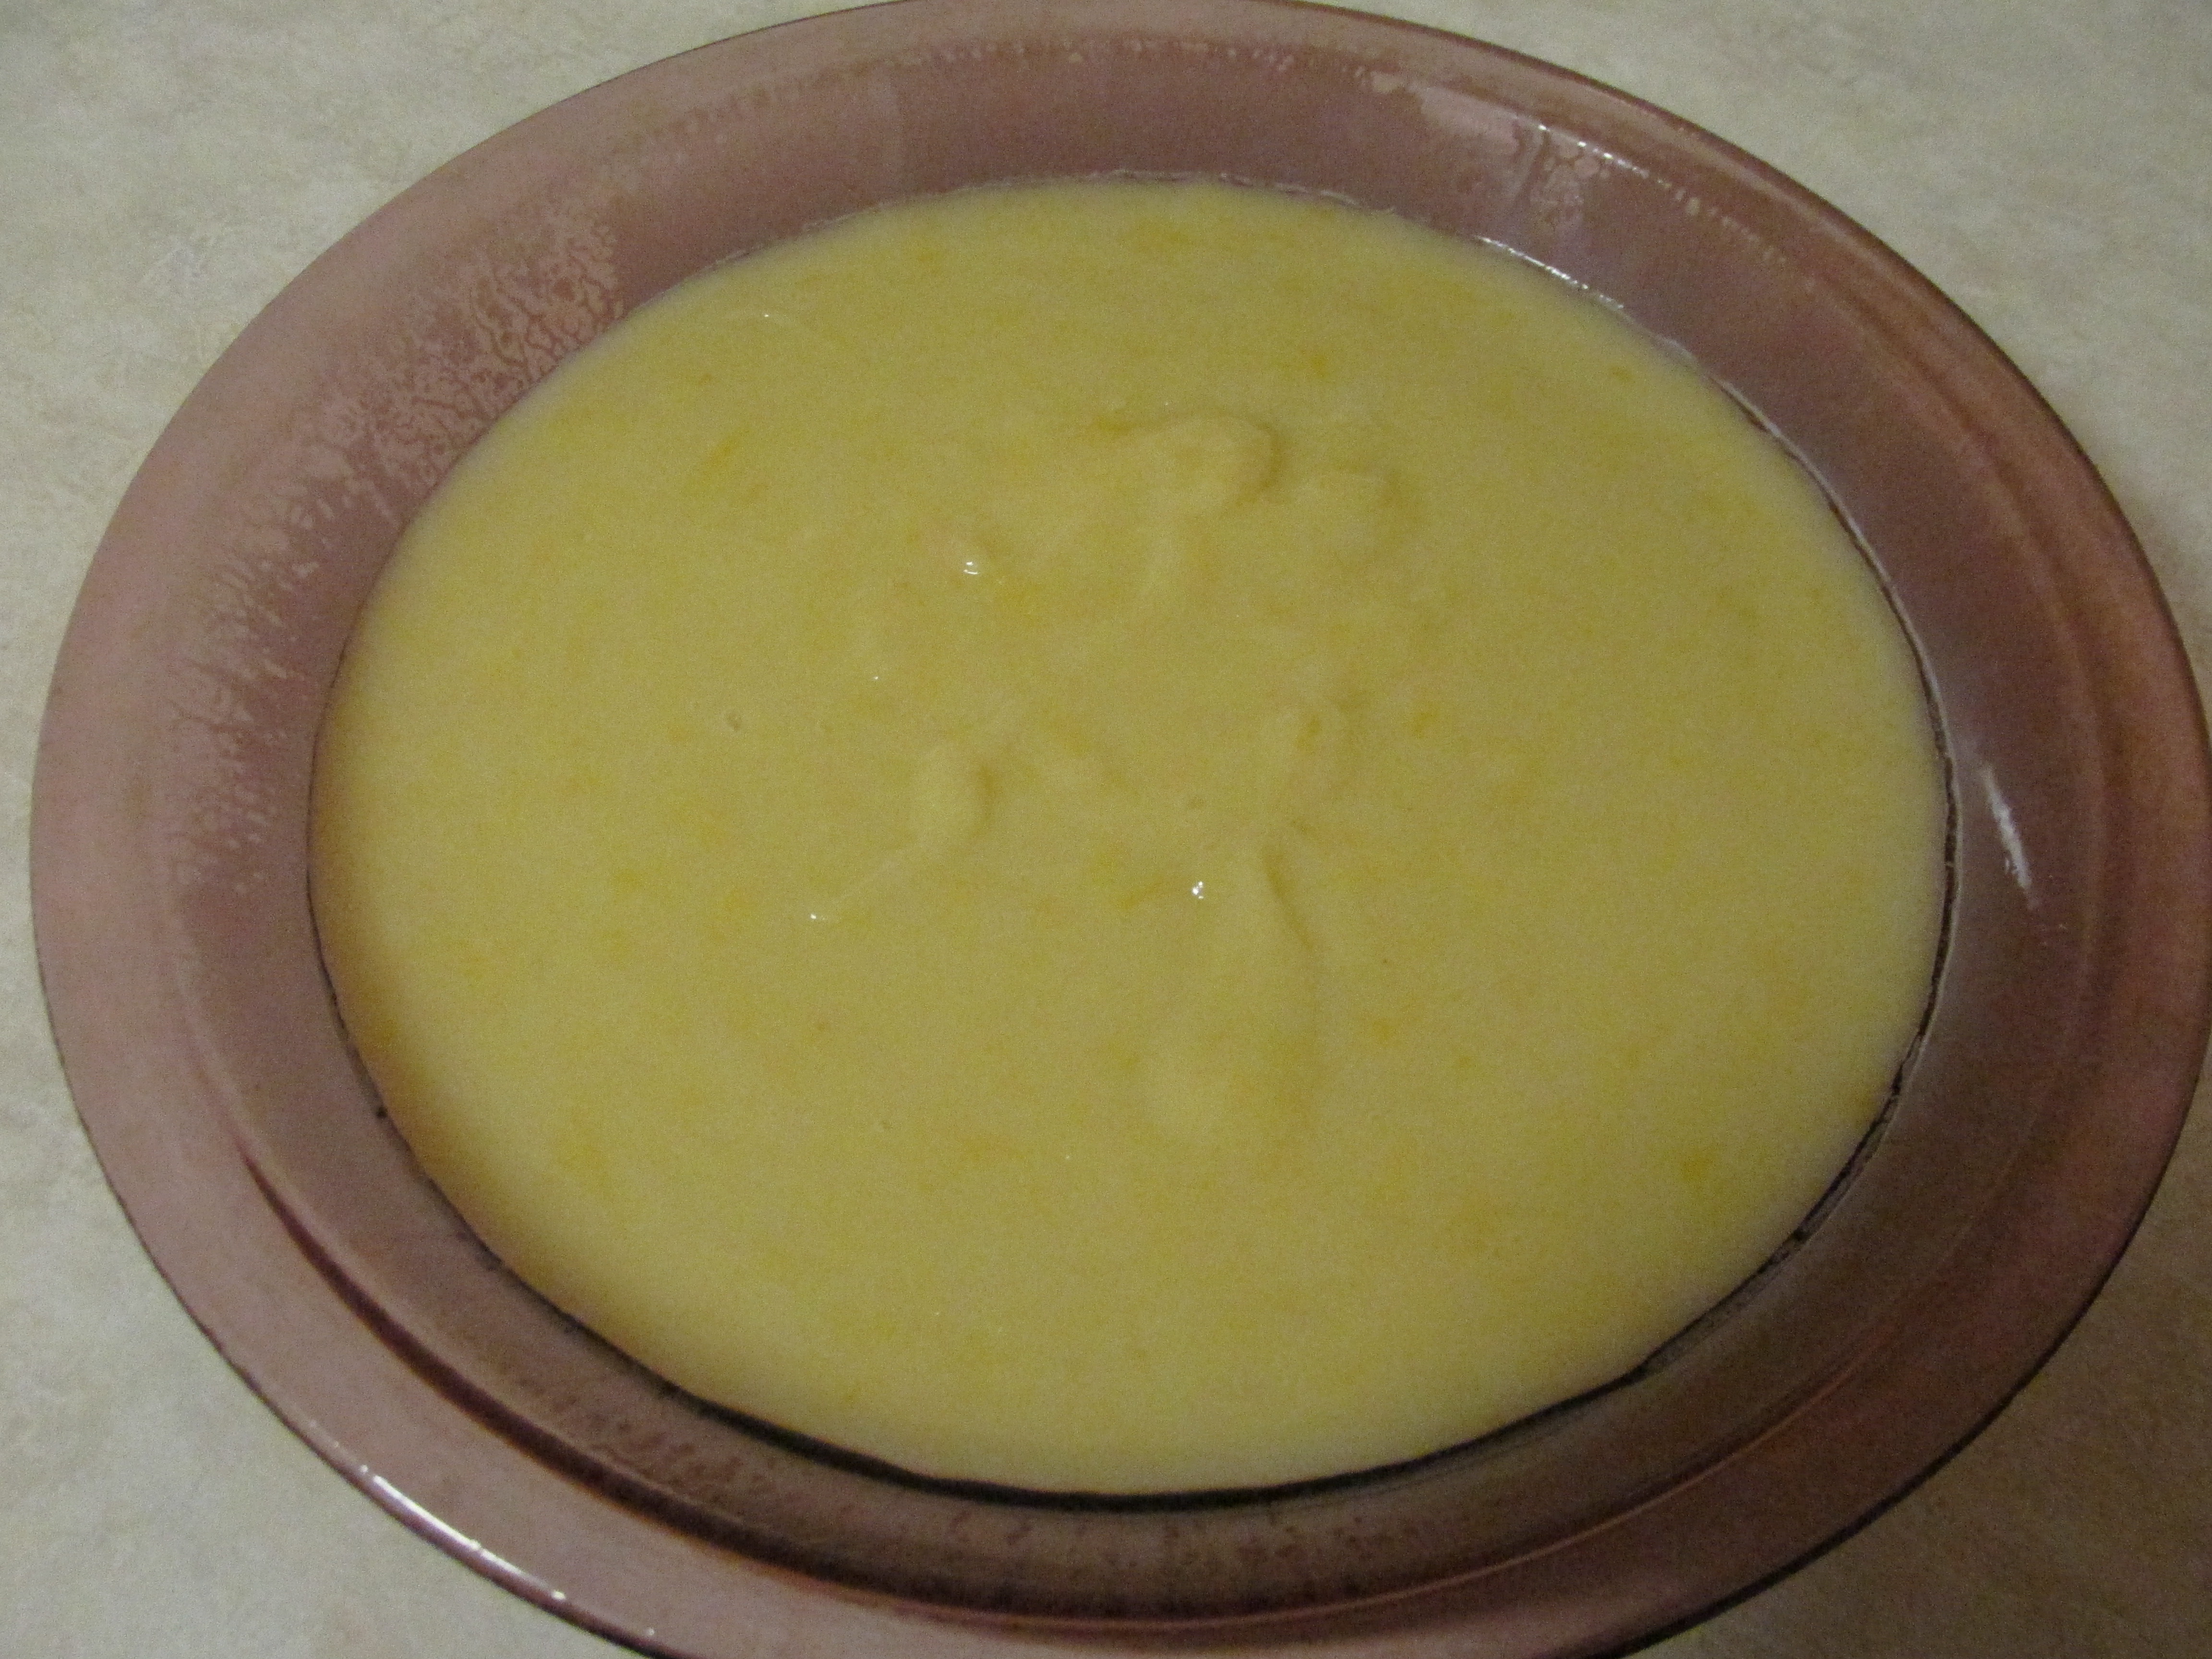
After the sponge reached the bubbling stage, I added it to sugar mixture and stirred it together. Then the dry ingredients were stirred in a little at a time.
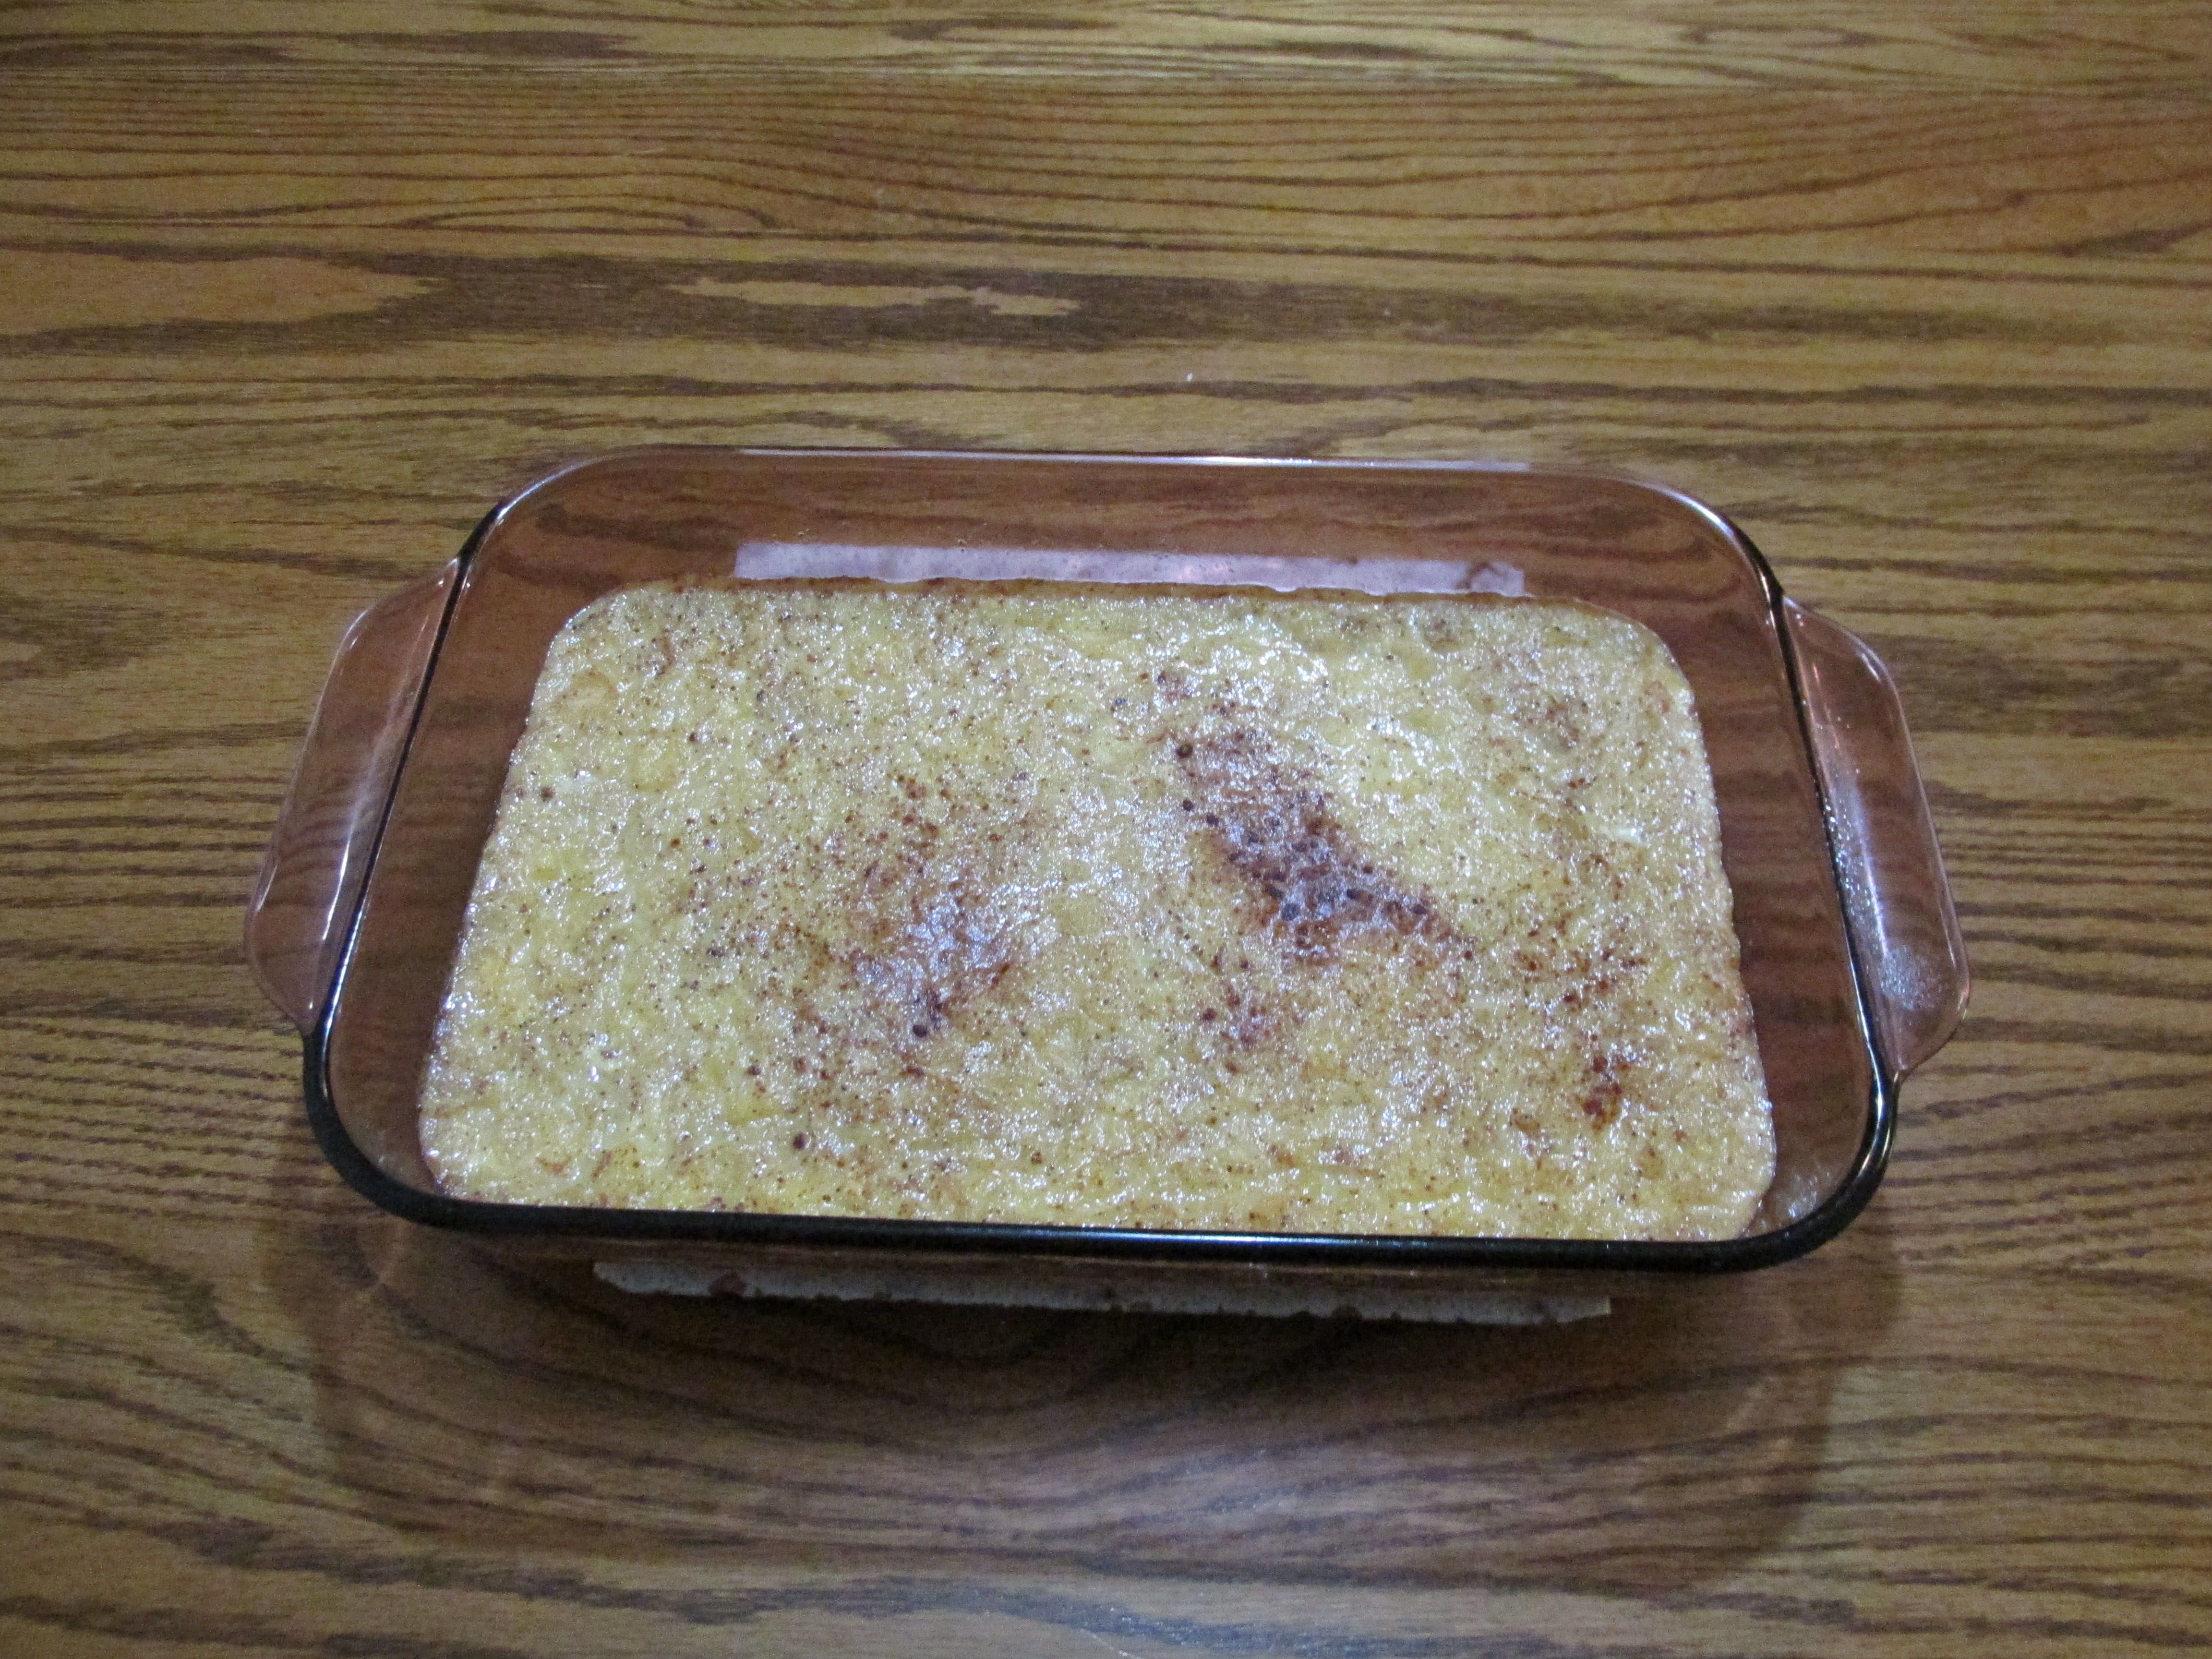
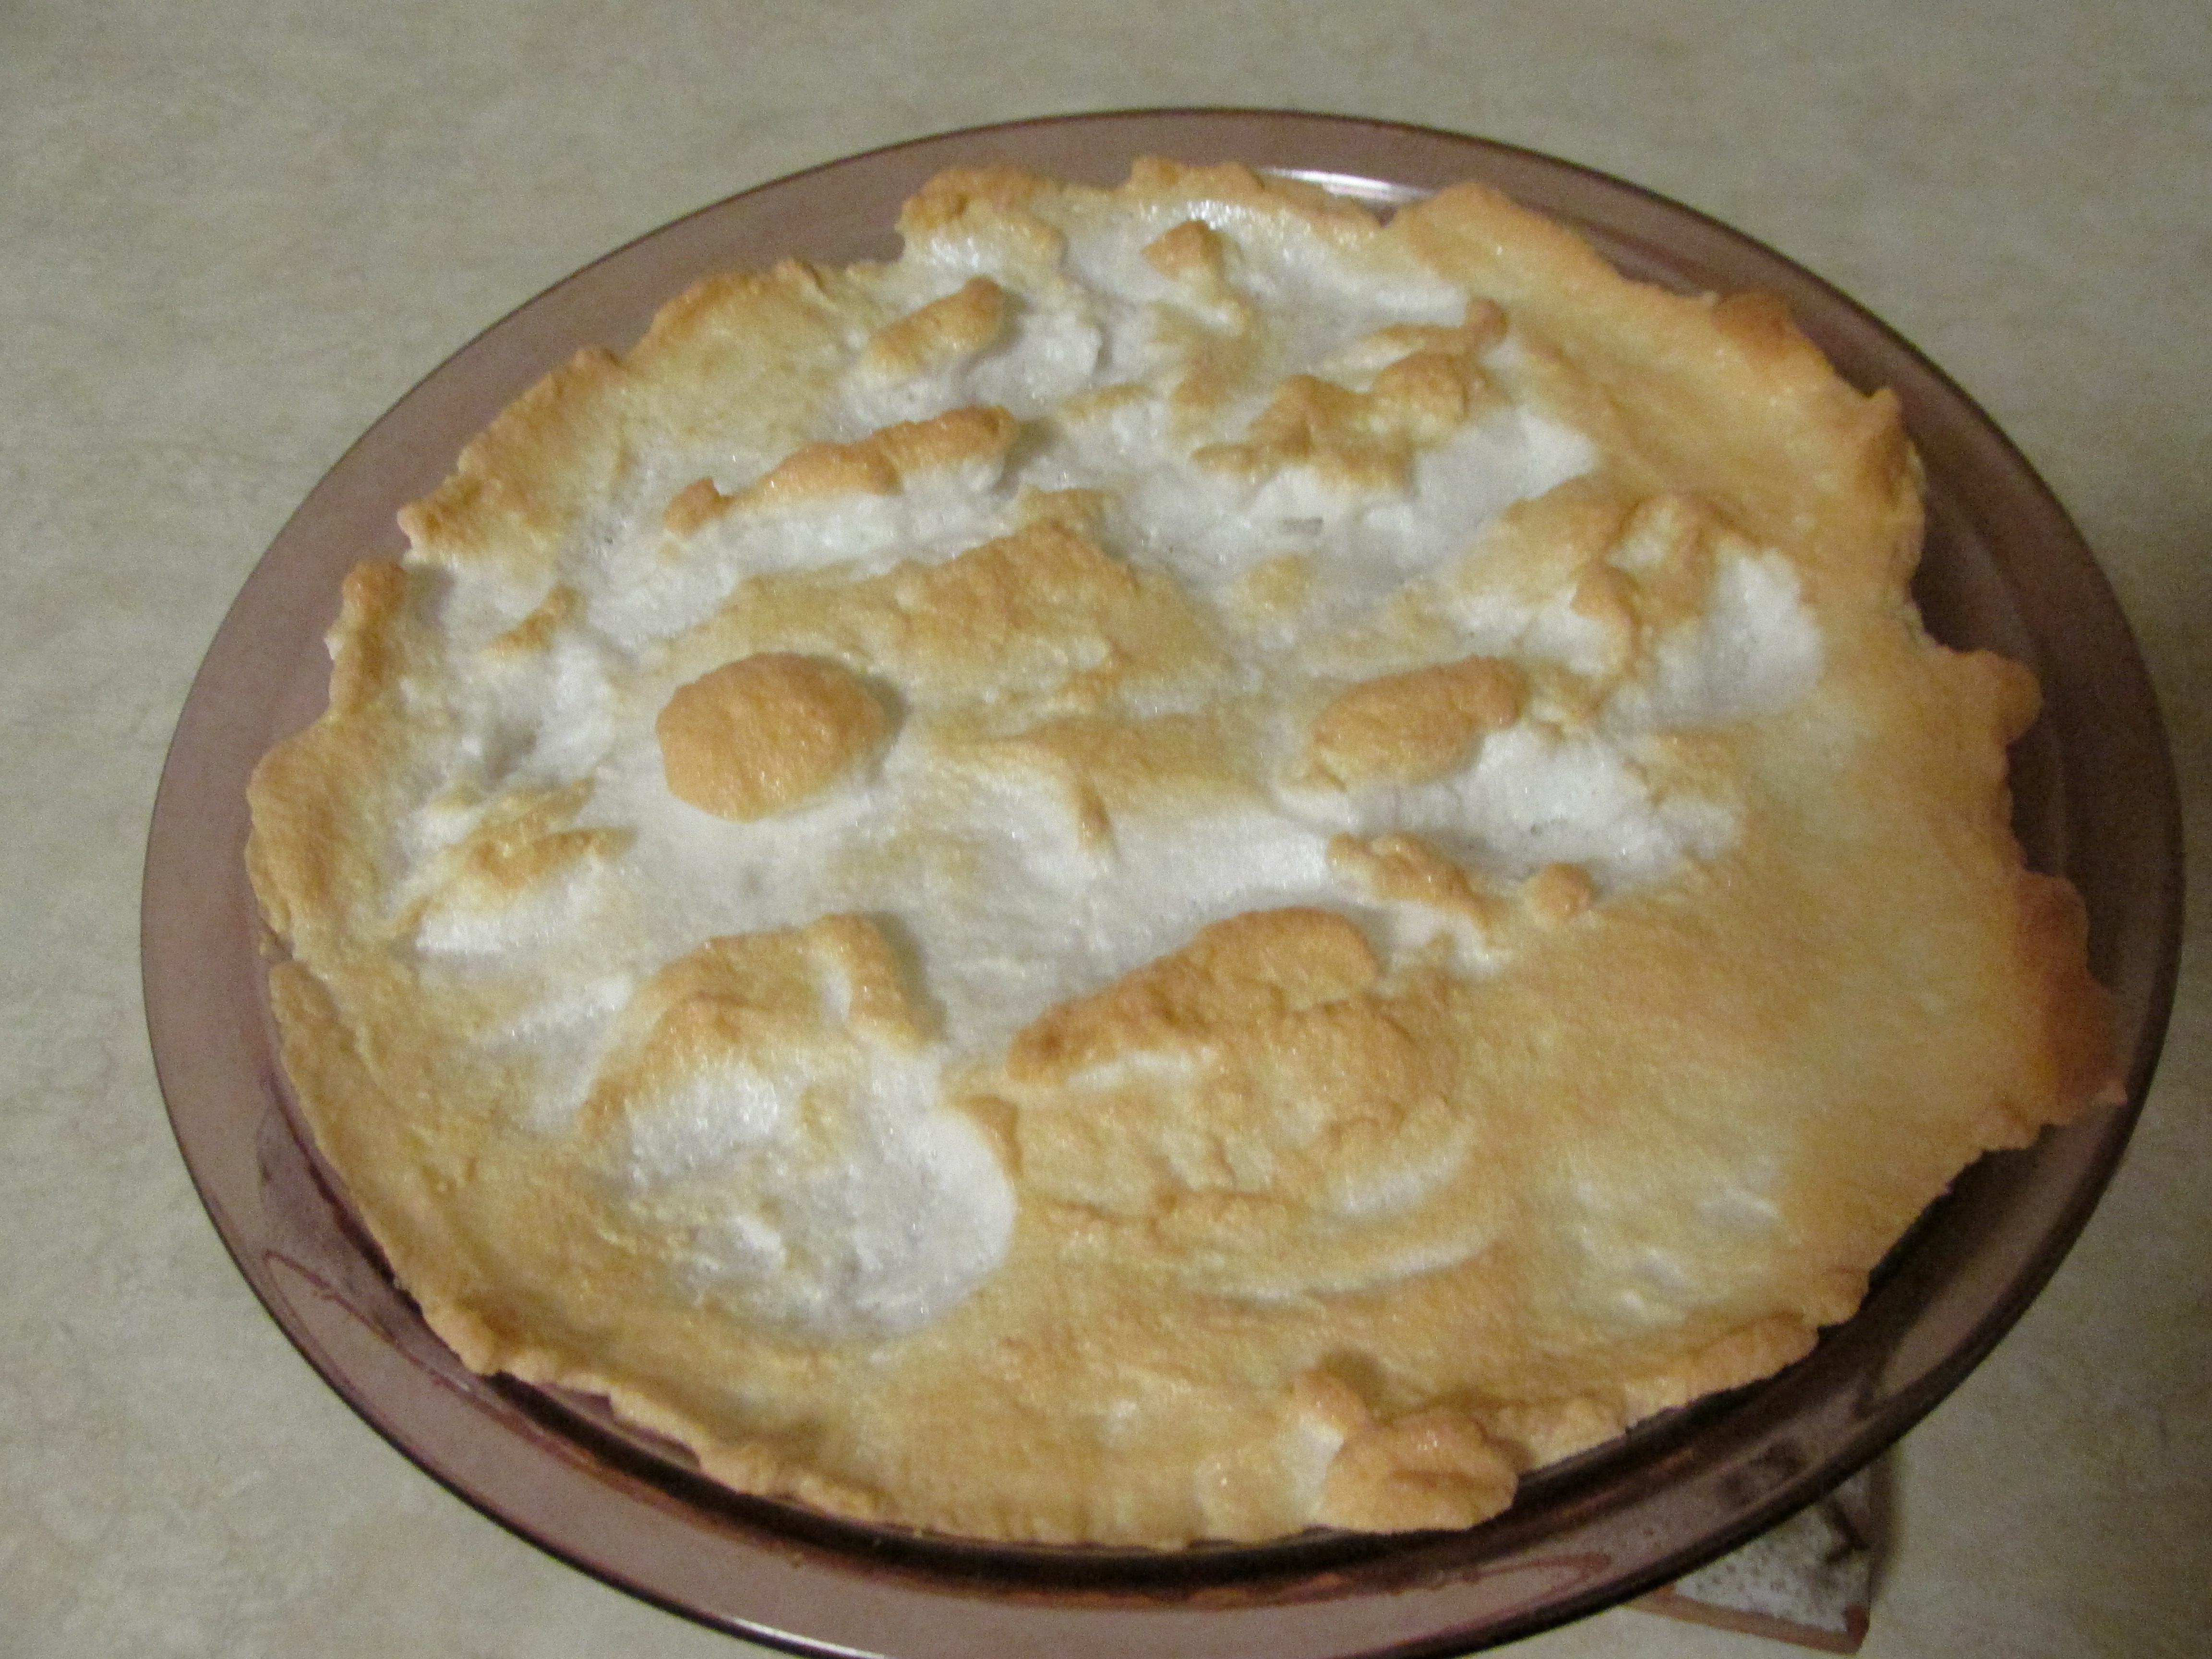
 Place the cake into a pan before the final rise. I used a 13×9 pan. This looked way too large but the cake rises. It was covered with plastic wrap and set on a warm stovetop for three hours. The dough had doubled in size.
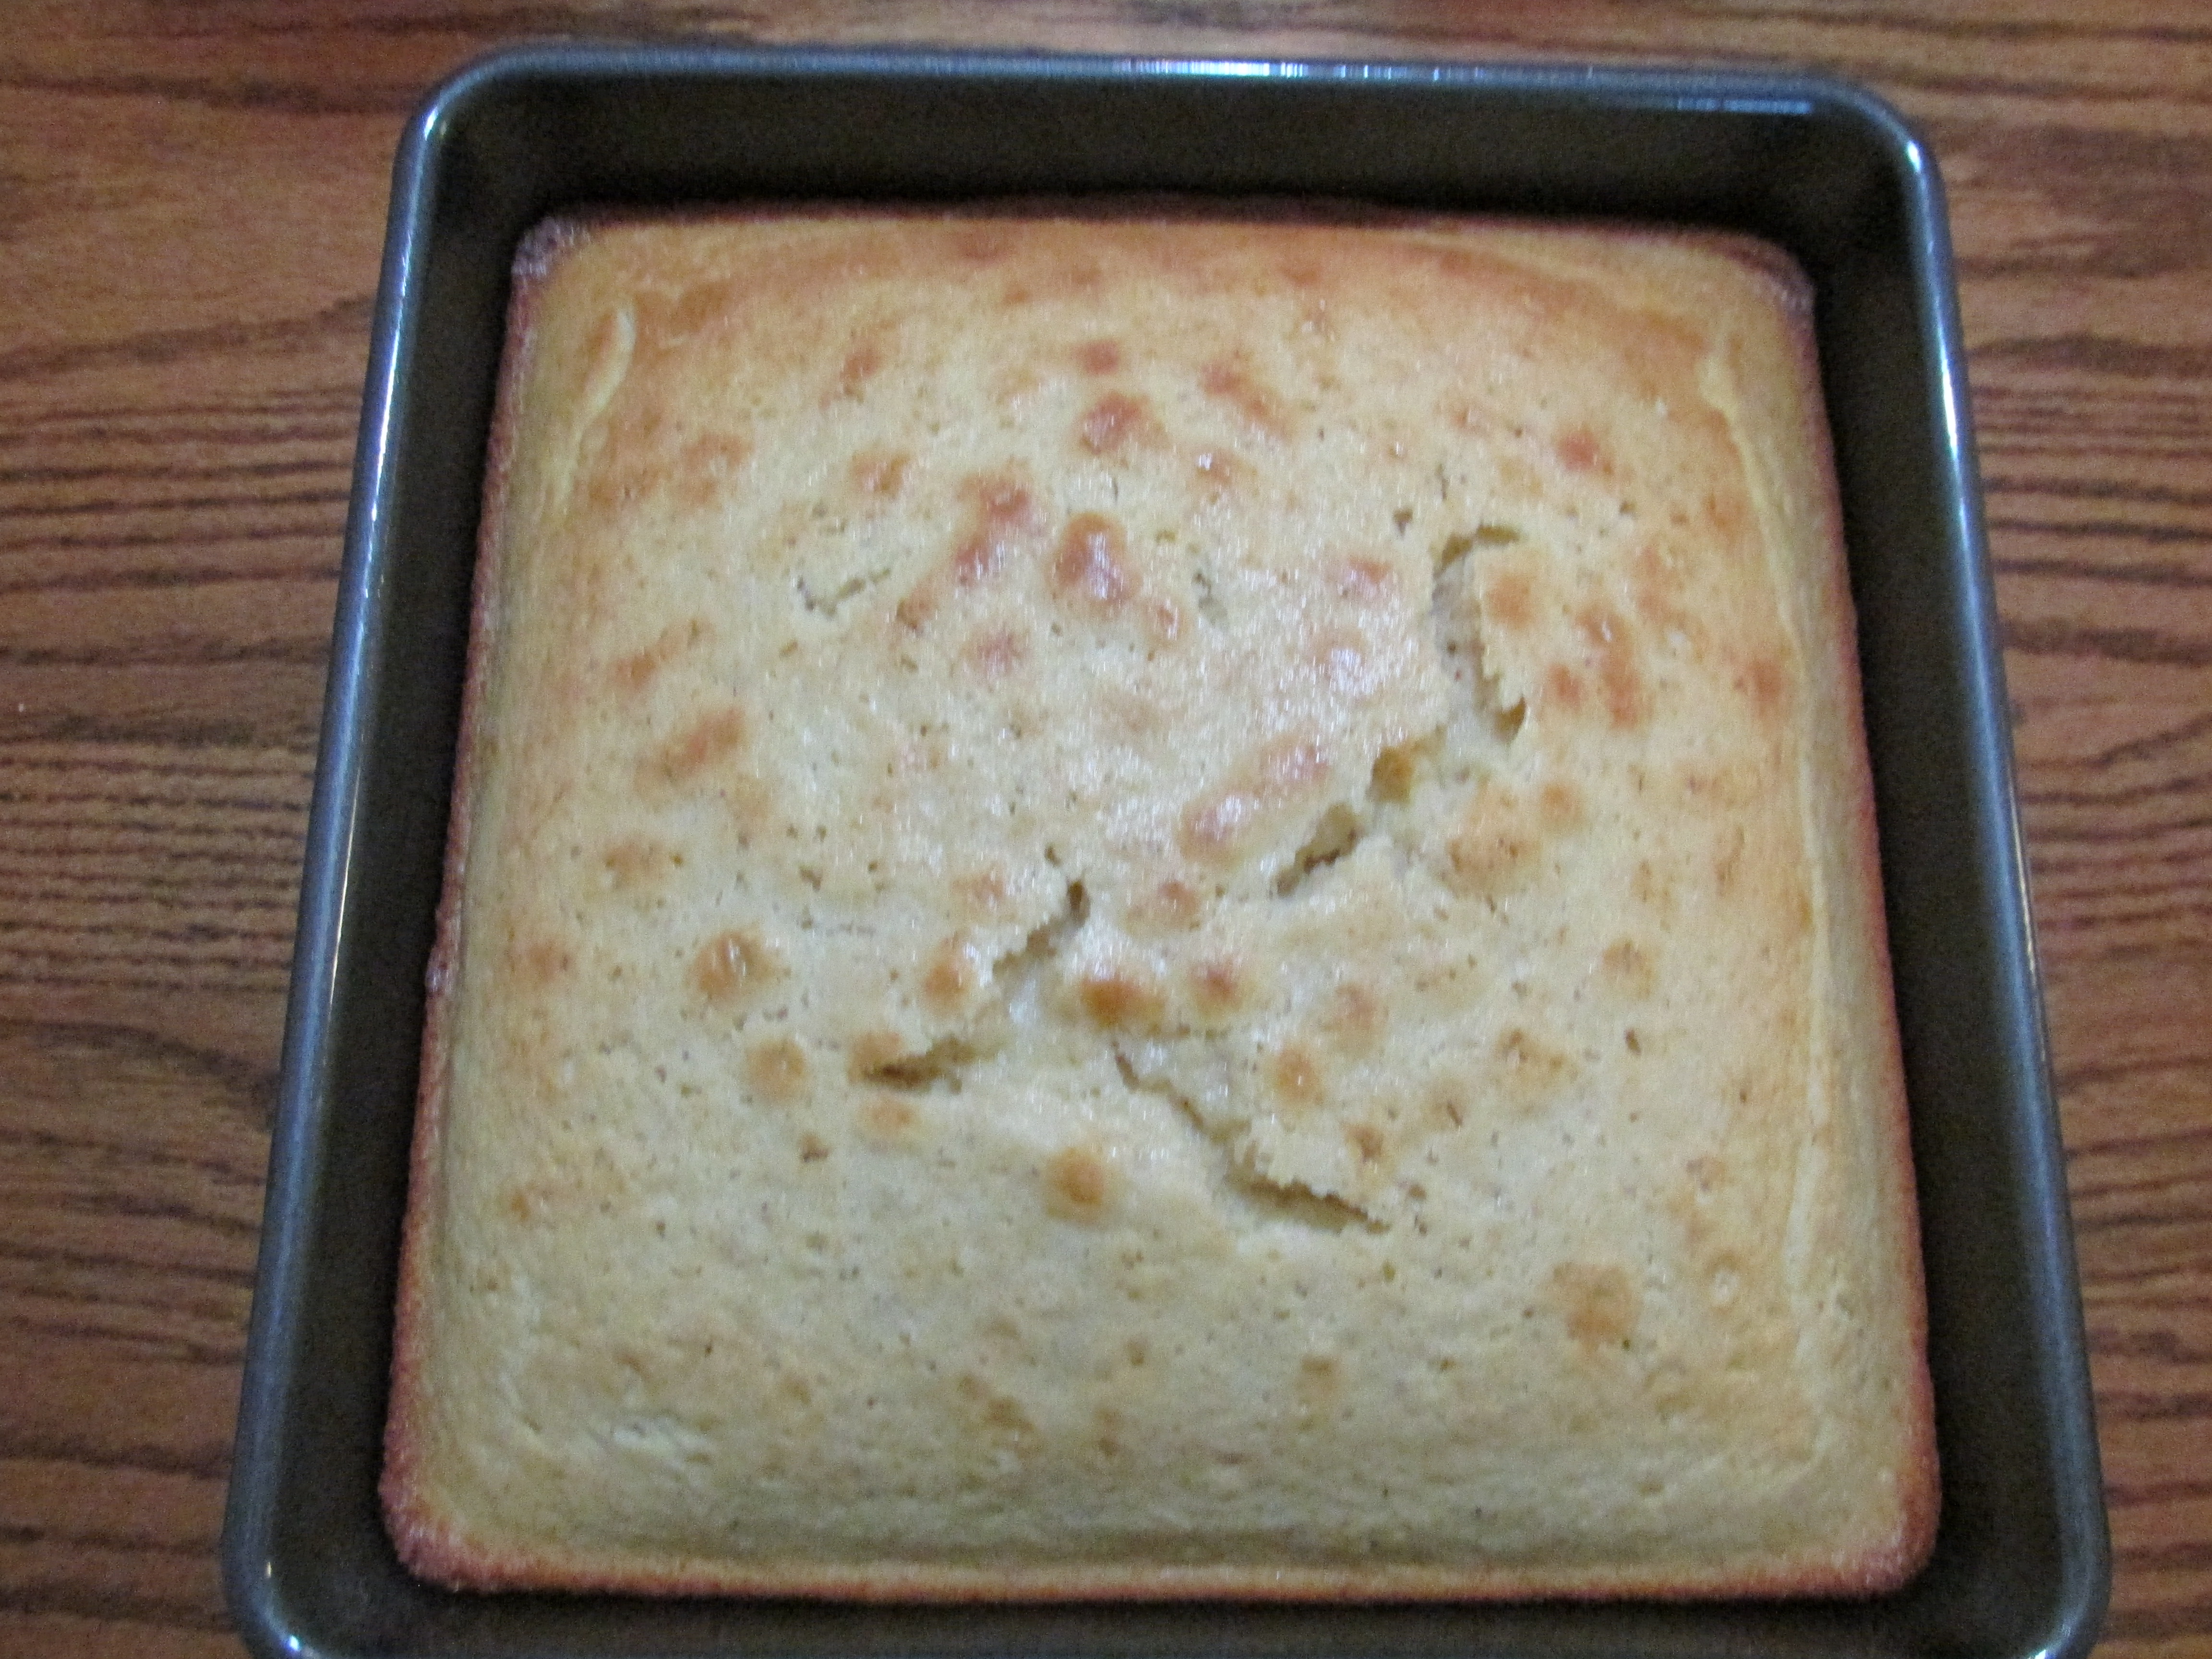
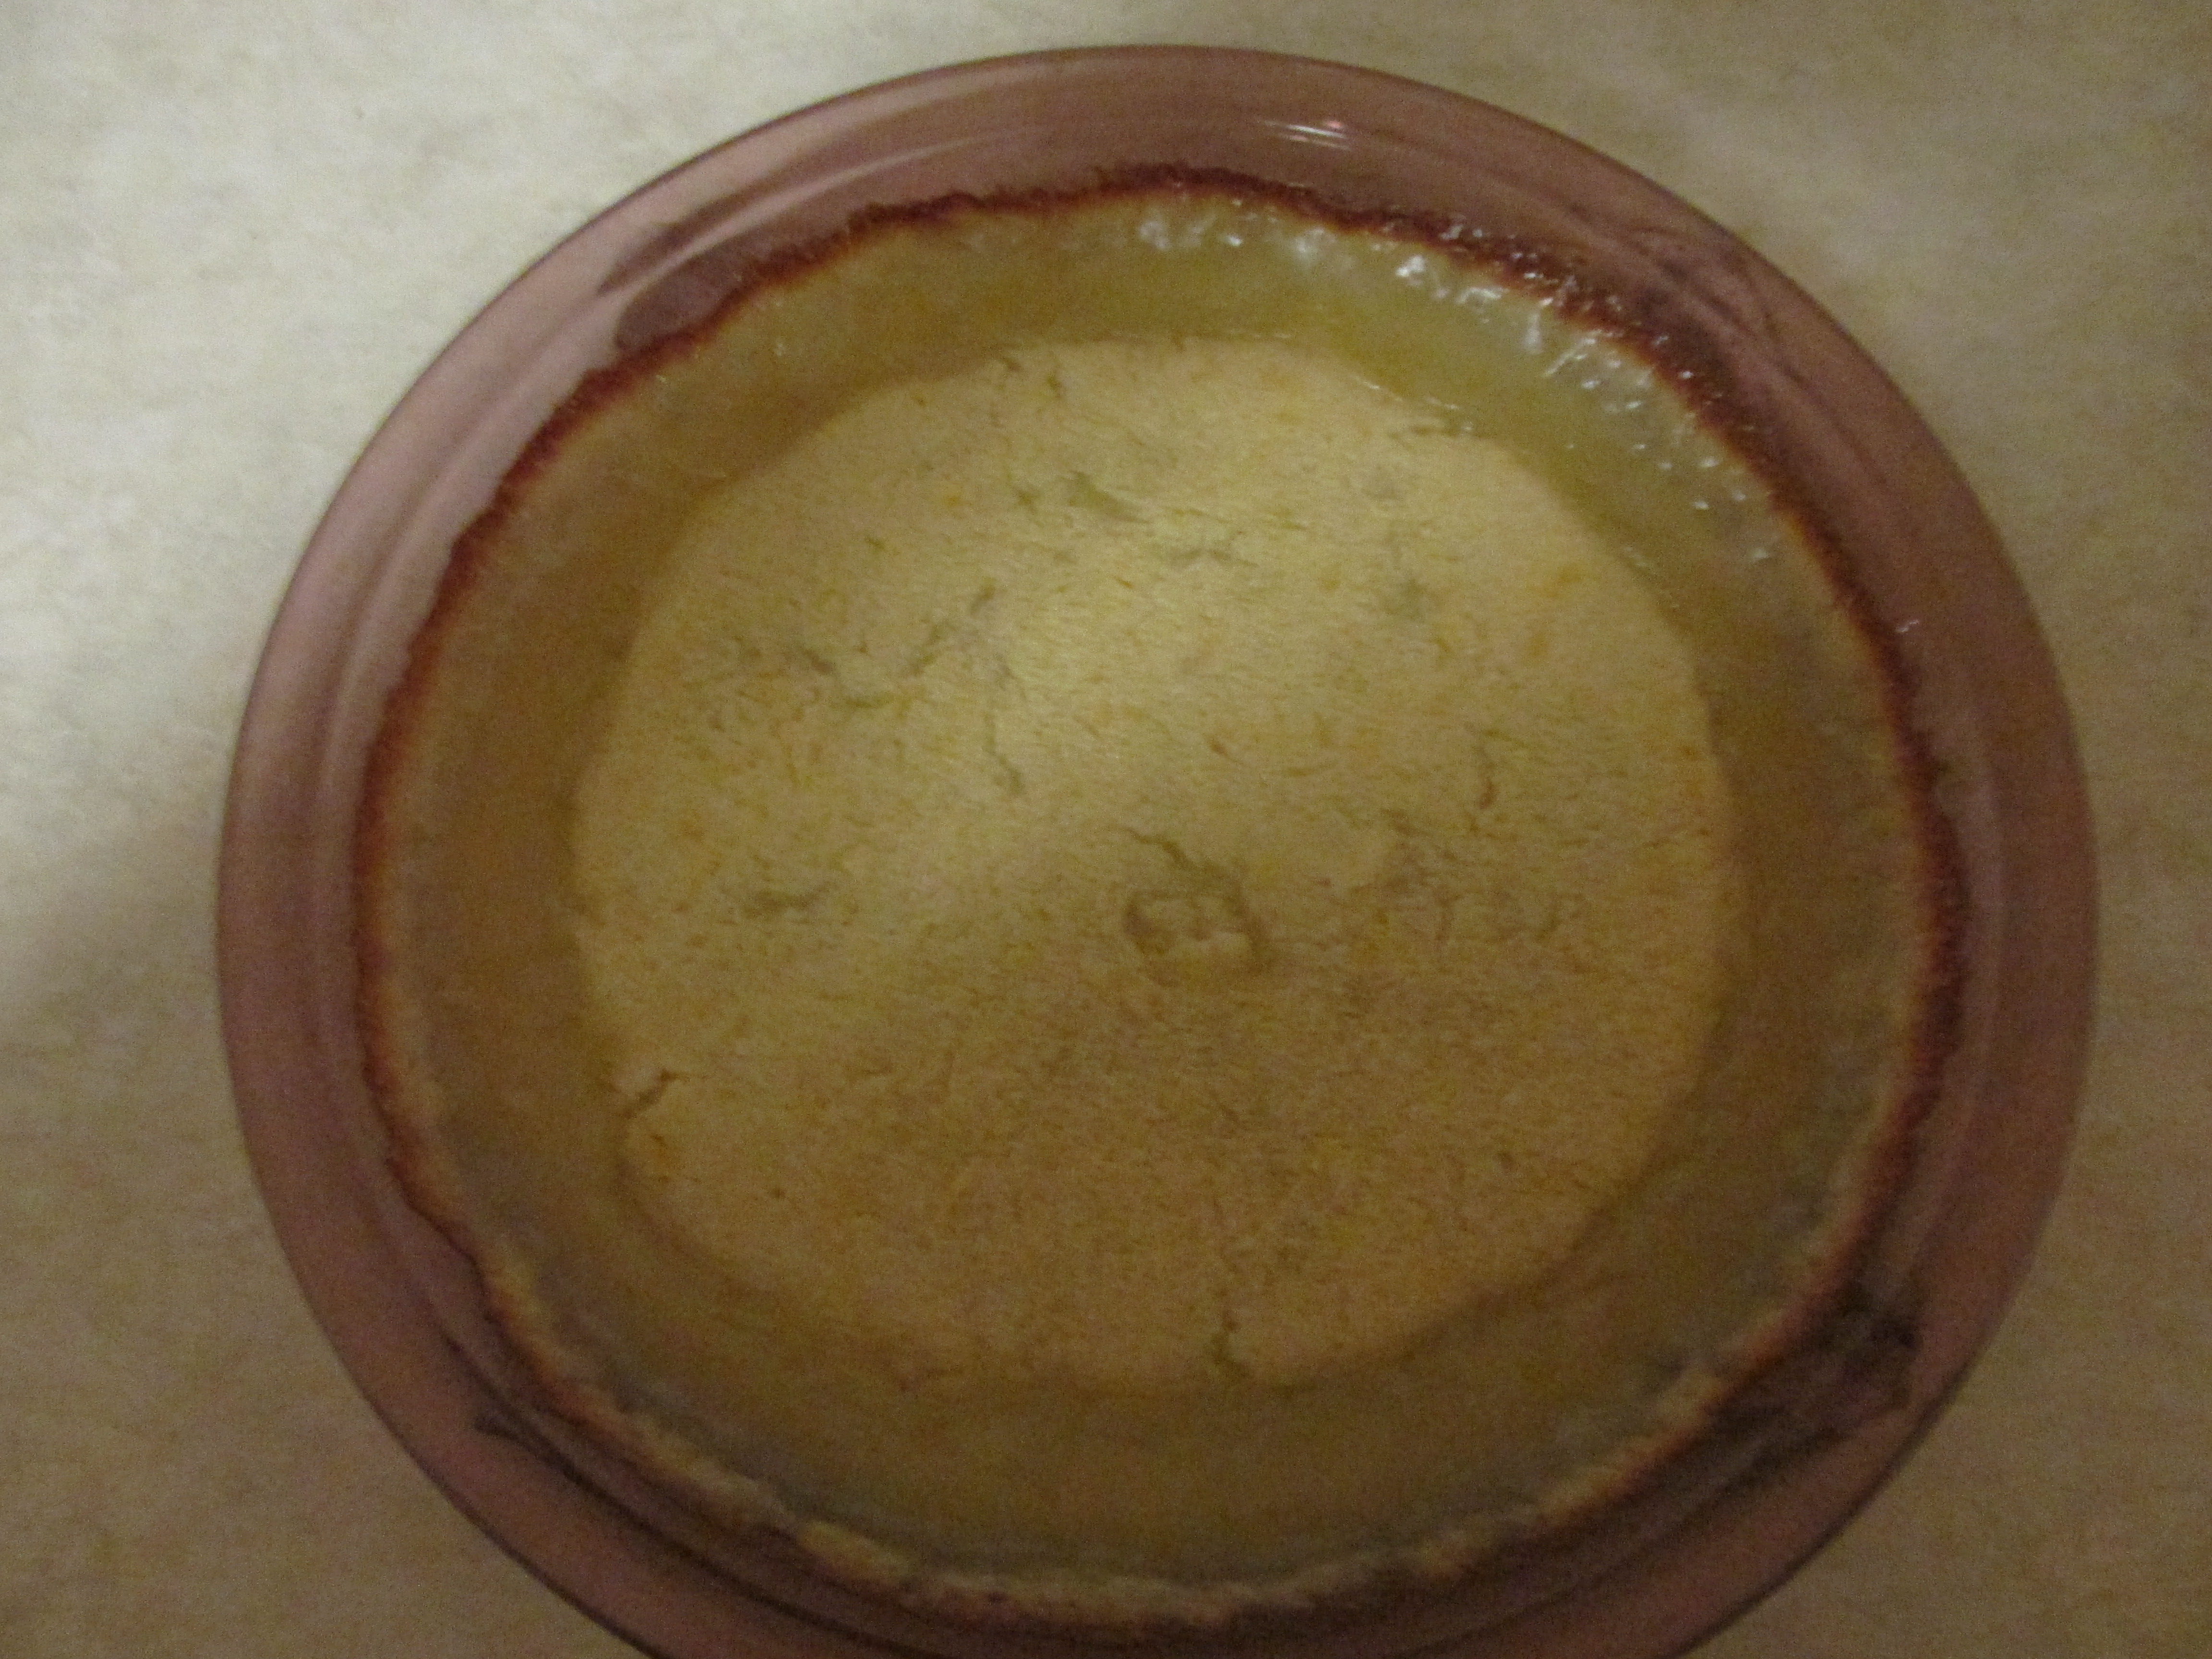
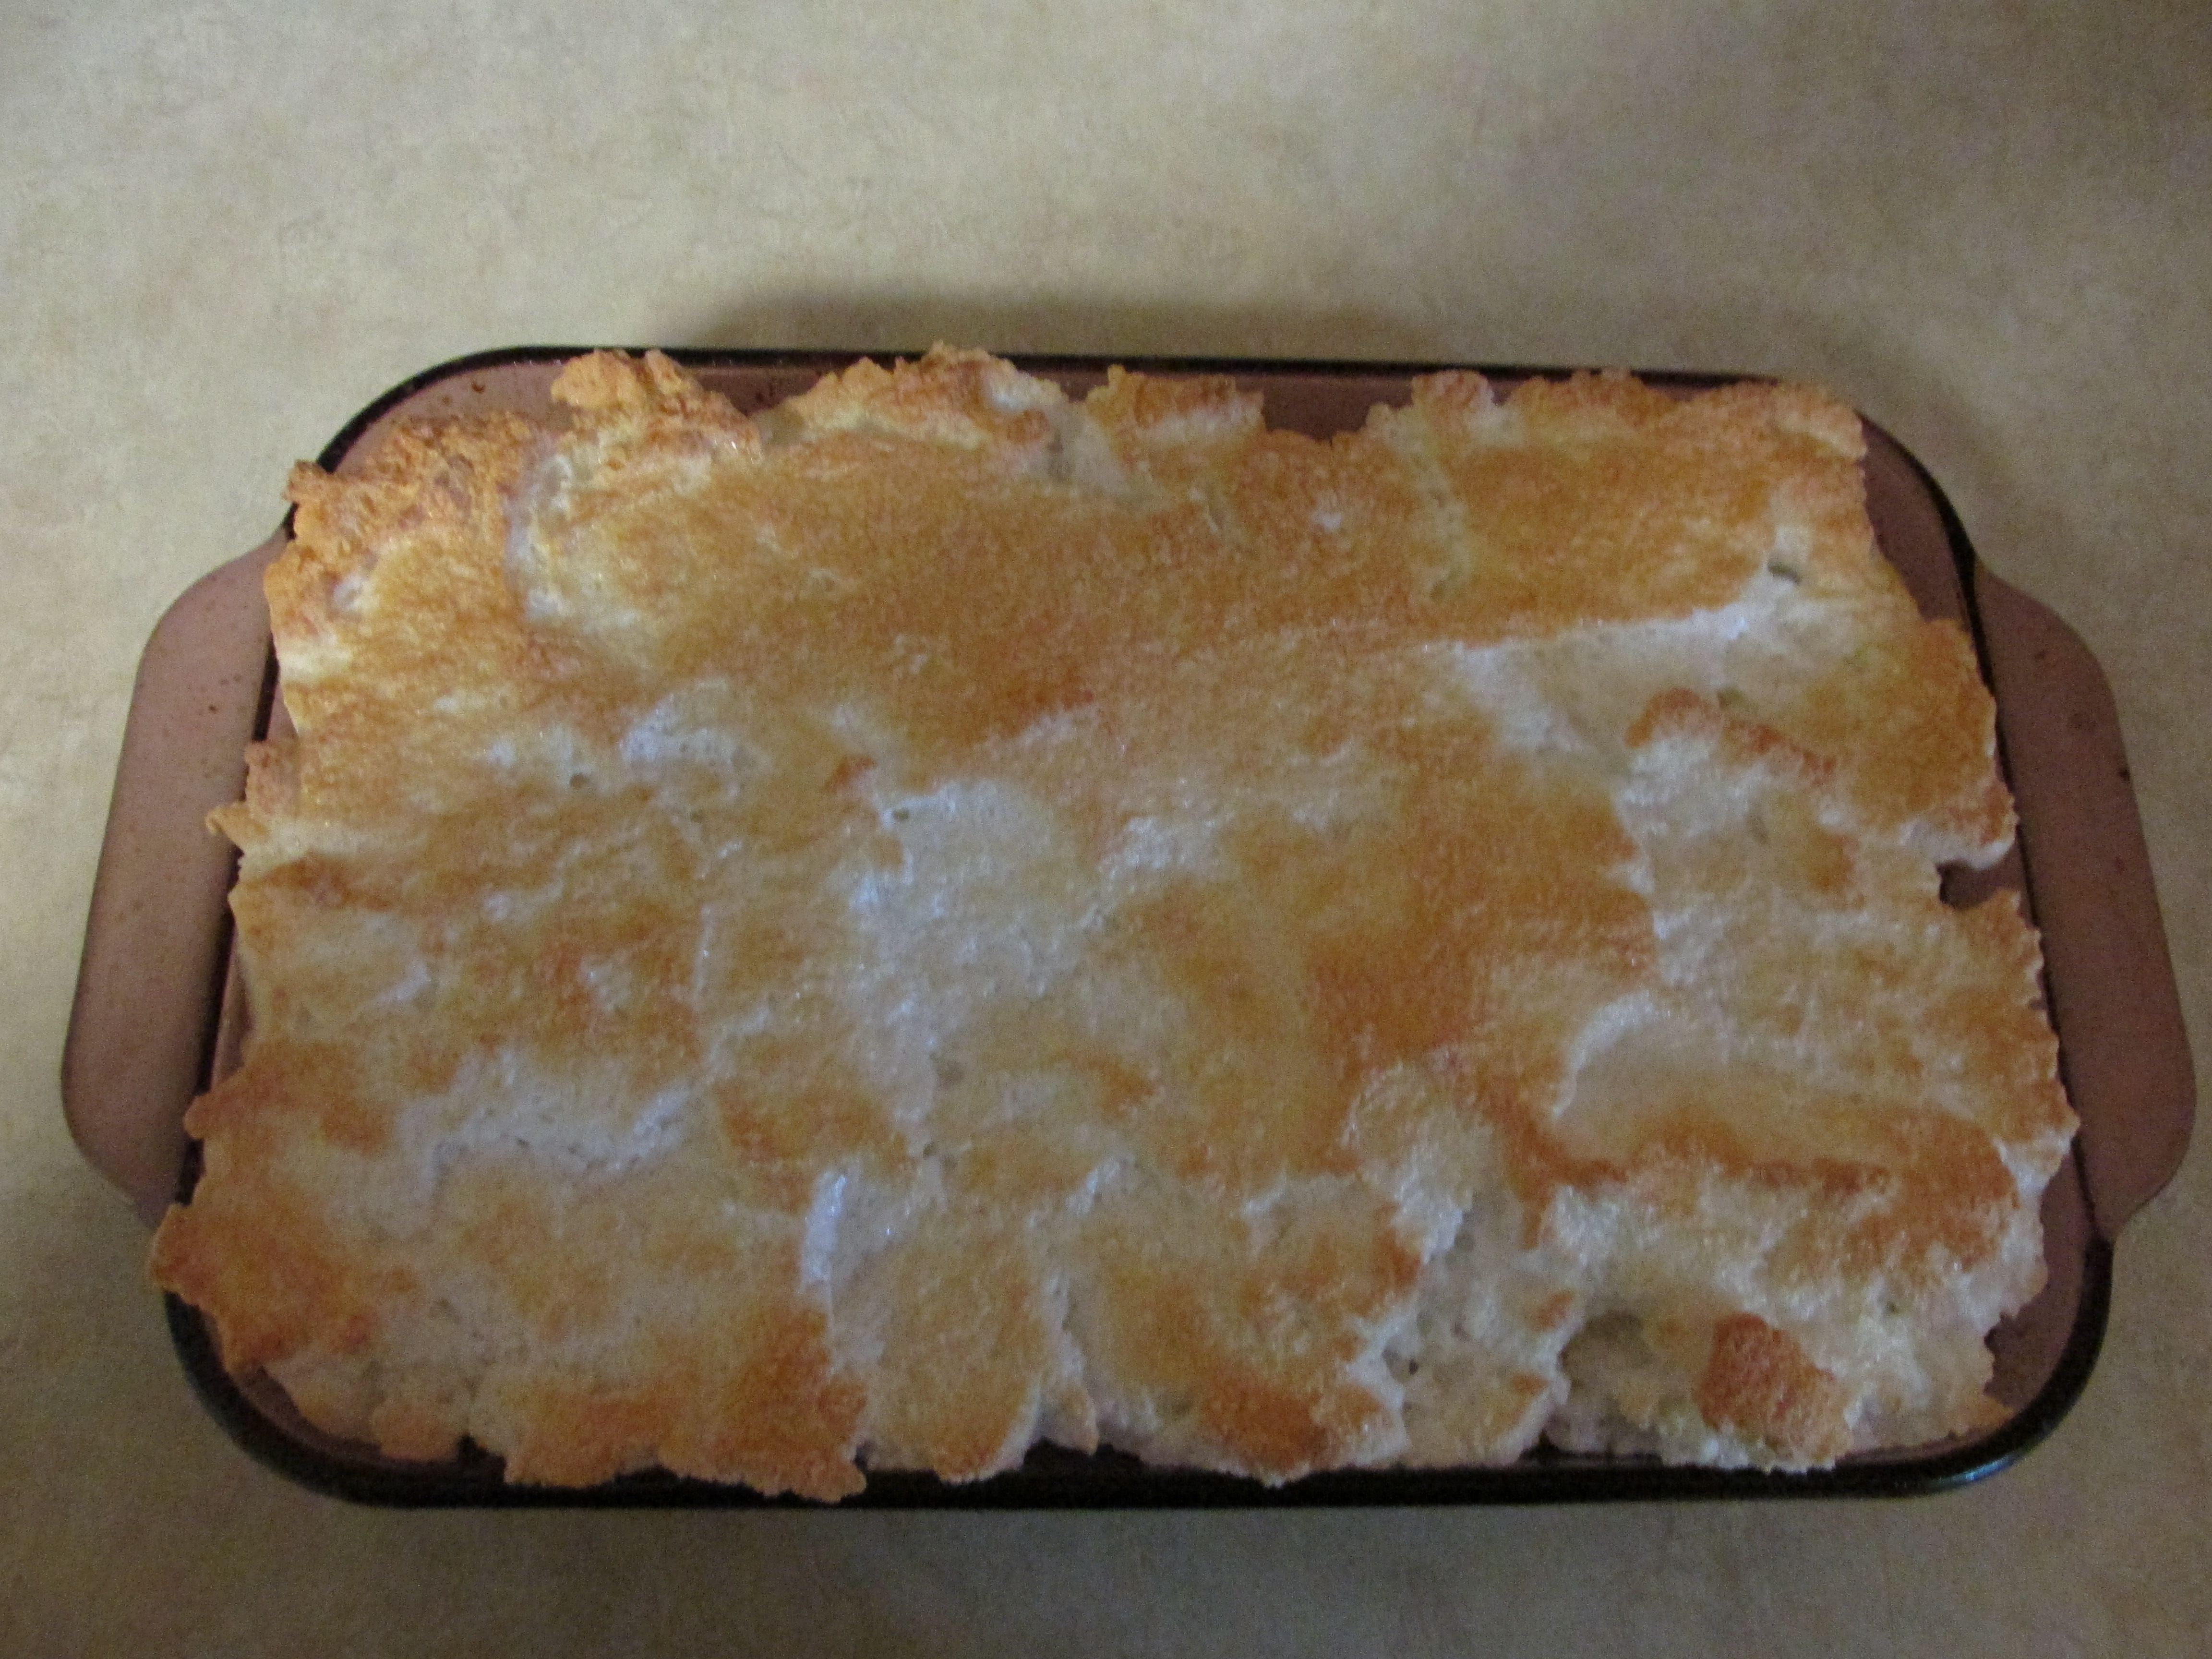
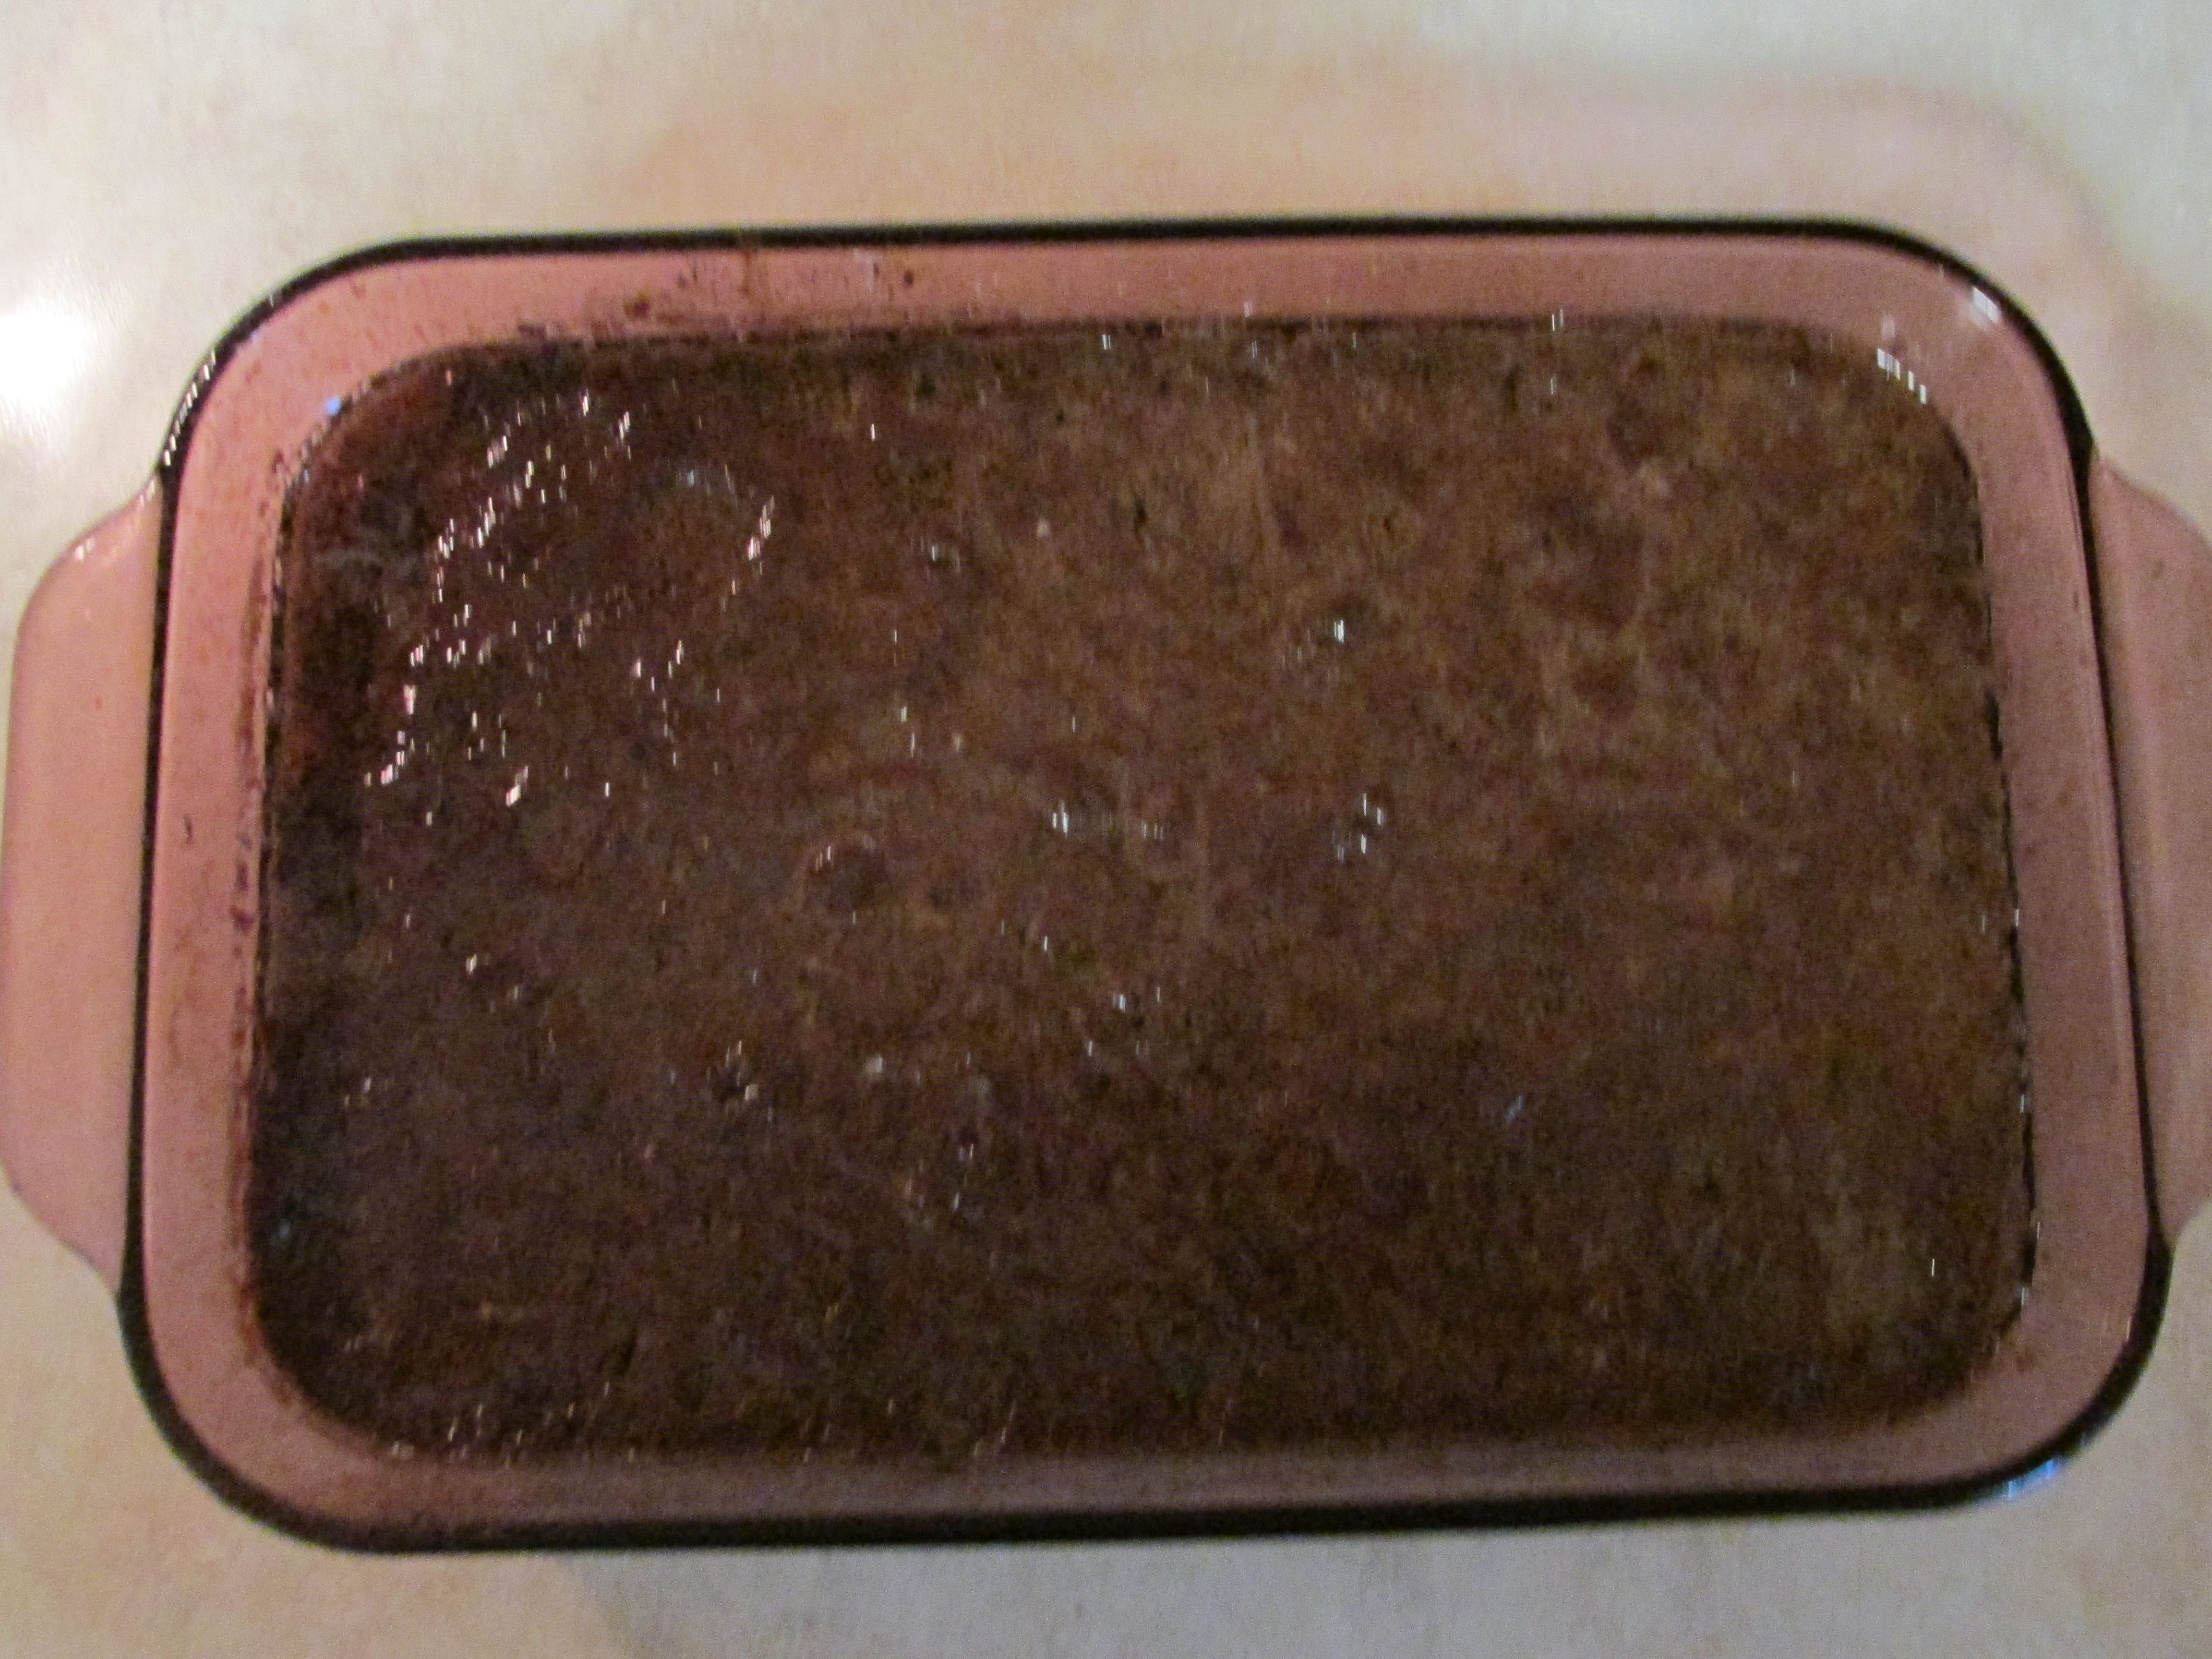
The cake baked in a 350-degree oven for twenty minutes. I liked the texture but it wasn’t spicy enough. Plums, raisins, and currants—well floured—were a few of the fruits in some early recipes. Adding one of these may be enough make a more flavorful cake.
Since this is cake/bread, no frosting was suggested in my cookbook. The addition of fruit might be enough.
Election Cakes seem to have gone the way of Election Day parades and balls. The recipe began disappearing from cookbooks around the 1940s.
Enjoy! I’d love to hear if you try this recipe.
-Sandra Merville Hart
Sources
Compiled from Original Recipes. Buckeye Cookery and Practical Housekeeping, Applewood Books, 1877.
“Election Day Cake and History,” What’s Cooking in America, 2016/10/09 https://whatscookingamerica.net/History/Cakes/ElectionCake.htm.
“Salem Dames, Election Cake, and More!” Salem Food Tours, 2016/10/09 http://www.salemfoodtours.com/2012/11/08/salem-dames-election-cake-and-november-news/#.V_rVVeArKM8.
“When Elections were a Piece of Cake,” Connecticuthistory.org, 2016/10/11 http://connecticuthistory.org/when-elections-in-hartford-were-a-piece-of-cake/.

 Hale suggested making the stuffing using two cups of bread crumbs and one cup of butter. (Minced suet—the hard white fat found on kidneys and loins of sheep or cattle—could be substituted for the butter. Modern cooks will likely choose butter.) Beat three egg yolks well and then add about a teaspoon of finely chopped parsley, a fourth of a grated nutmeg, and one teaspoon of powdered lemon peel. Add teaspoon of allspice and salt. This mixture is then added to the bread and butter until thoroughly combined.
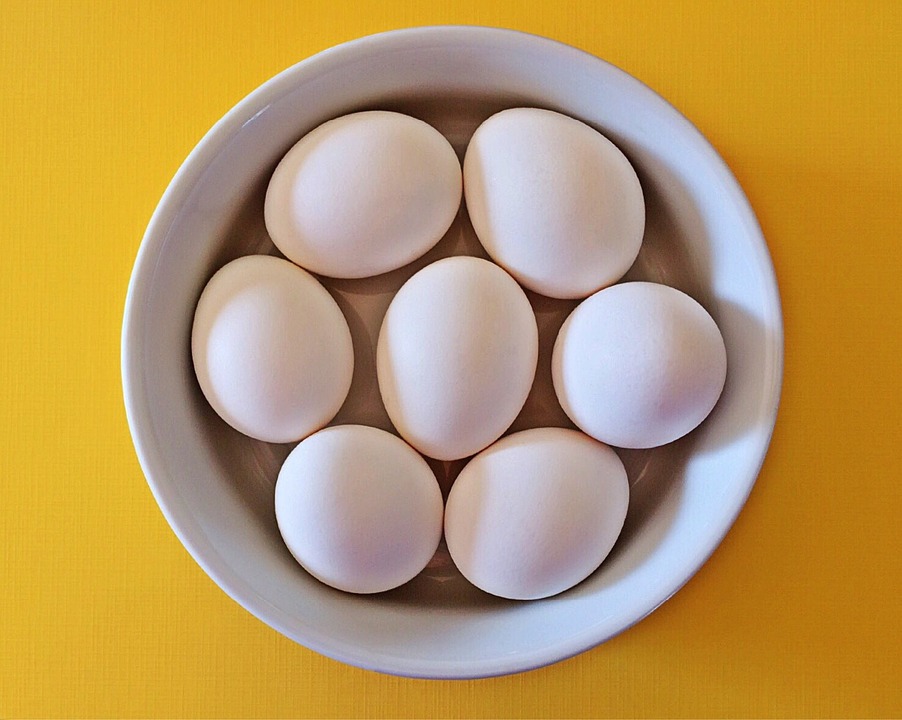 She gave an alternate suggestion for stuffing: beat two egg yolks then combine with cup of sausage and a cup of bread crumbs.
 When the meat is almost done, dredge it with flour once more and then baste it with butter.