Testing the Purity of Flour

flour-791840_960_720

Cooks in the 1840s had to worry about the purity of flour. The addition plaster of Paris, ground stones, bones, and whiting increased flour’s weight and bulk. The practice placed harmful additives in flour (making it adulterated) and deceived buyers.

According to the Free Dictionary, whiting can mean a pure white ground chalk used in putty, paints, and ink. Whiting also refers to food fishes that possess “delicate white flesh.” My guess is that the ground chalk is the whiting used by the deceptive sellers.

accident-1238326_960_720Plaster of Paris is not an innocent ingredient either. The white powder mixes with water to become a hard solid. Sculptures and casts for broken limbs contain plaster of Paris.

Sarah Josepha Hale, the author of an 1841 cookbook, believed these harmful additives were rare in the United States yet suggested testing for these undesirable flour substances.

To test for whiting, dip fingers and thumb in sweet oil (olive oil.) Then pinch a bit of flour between the oily finger and thumb and rub. If the flour is pure, it won’t turn sticky but it will darken to almost black. If whiting is present, a few rubs turn the flour to putty and the color remains white.

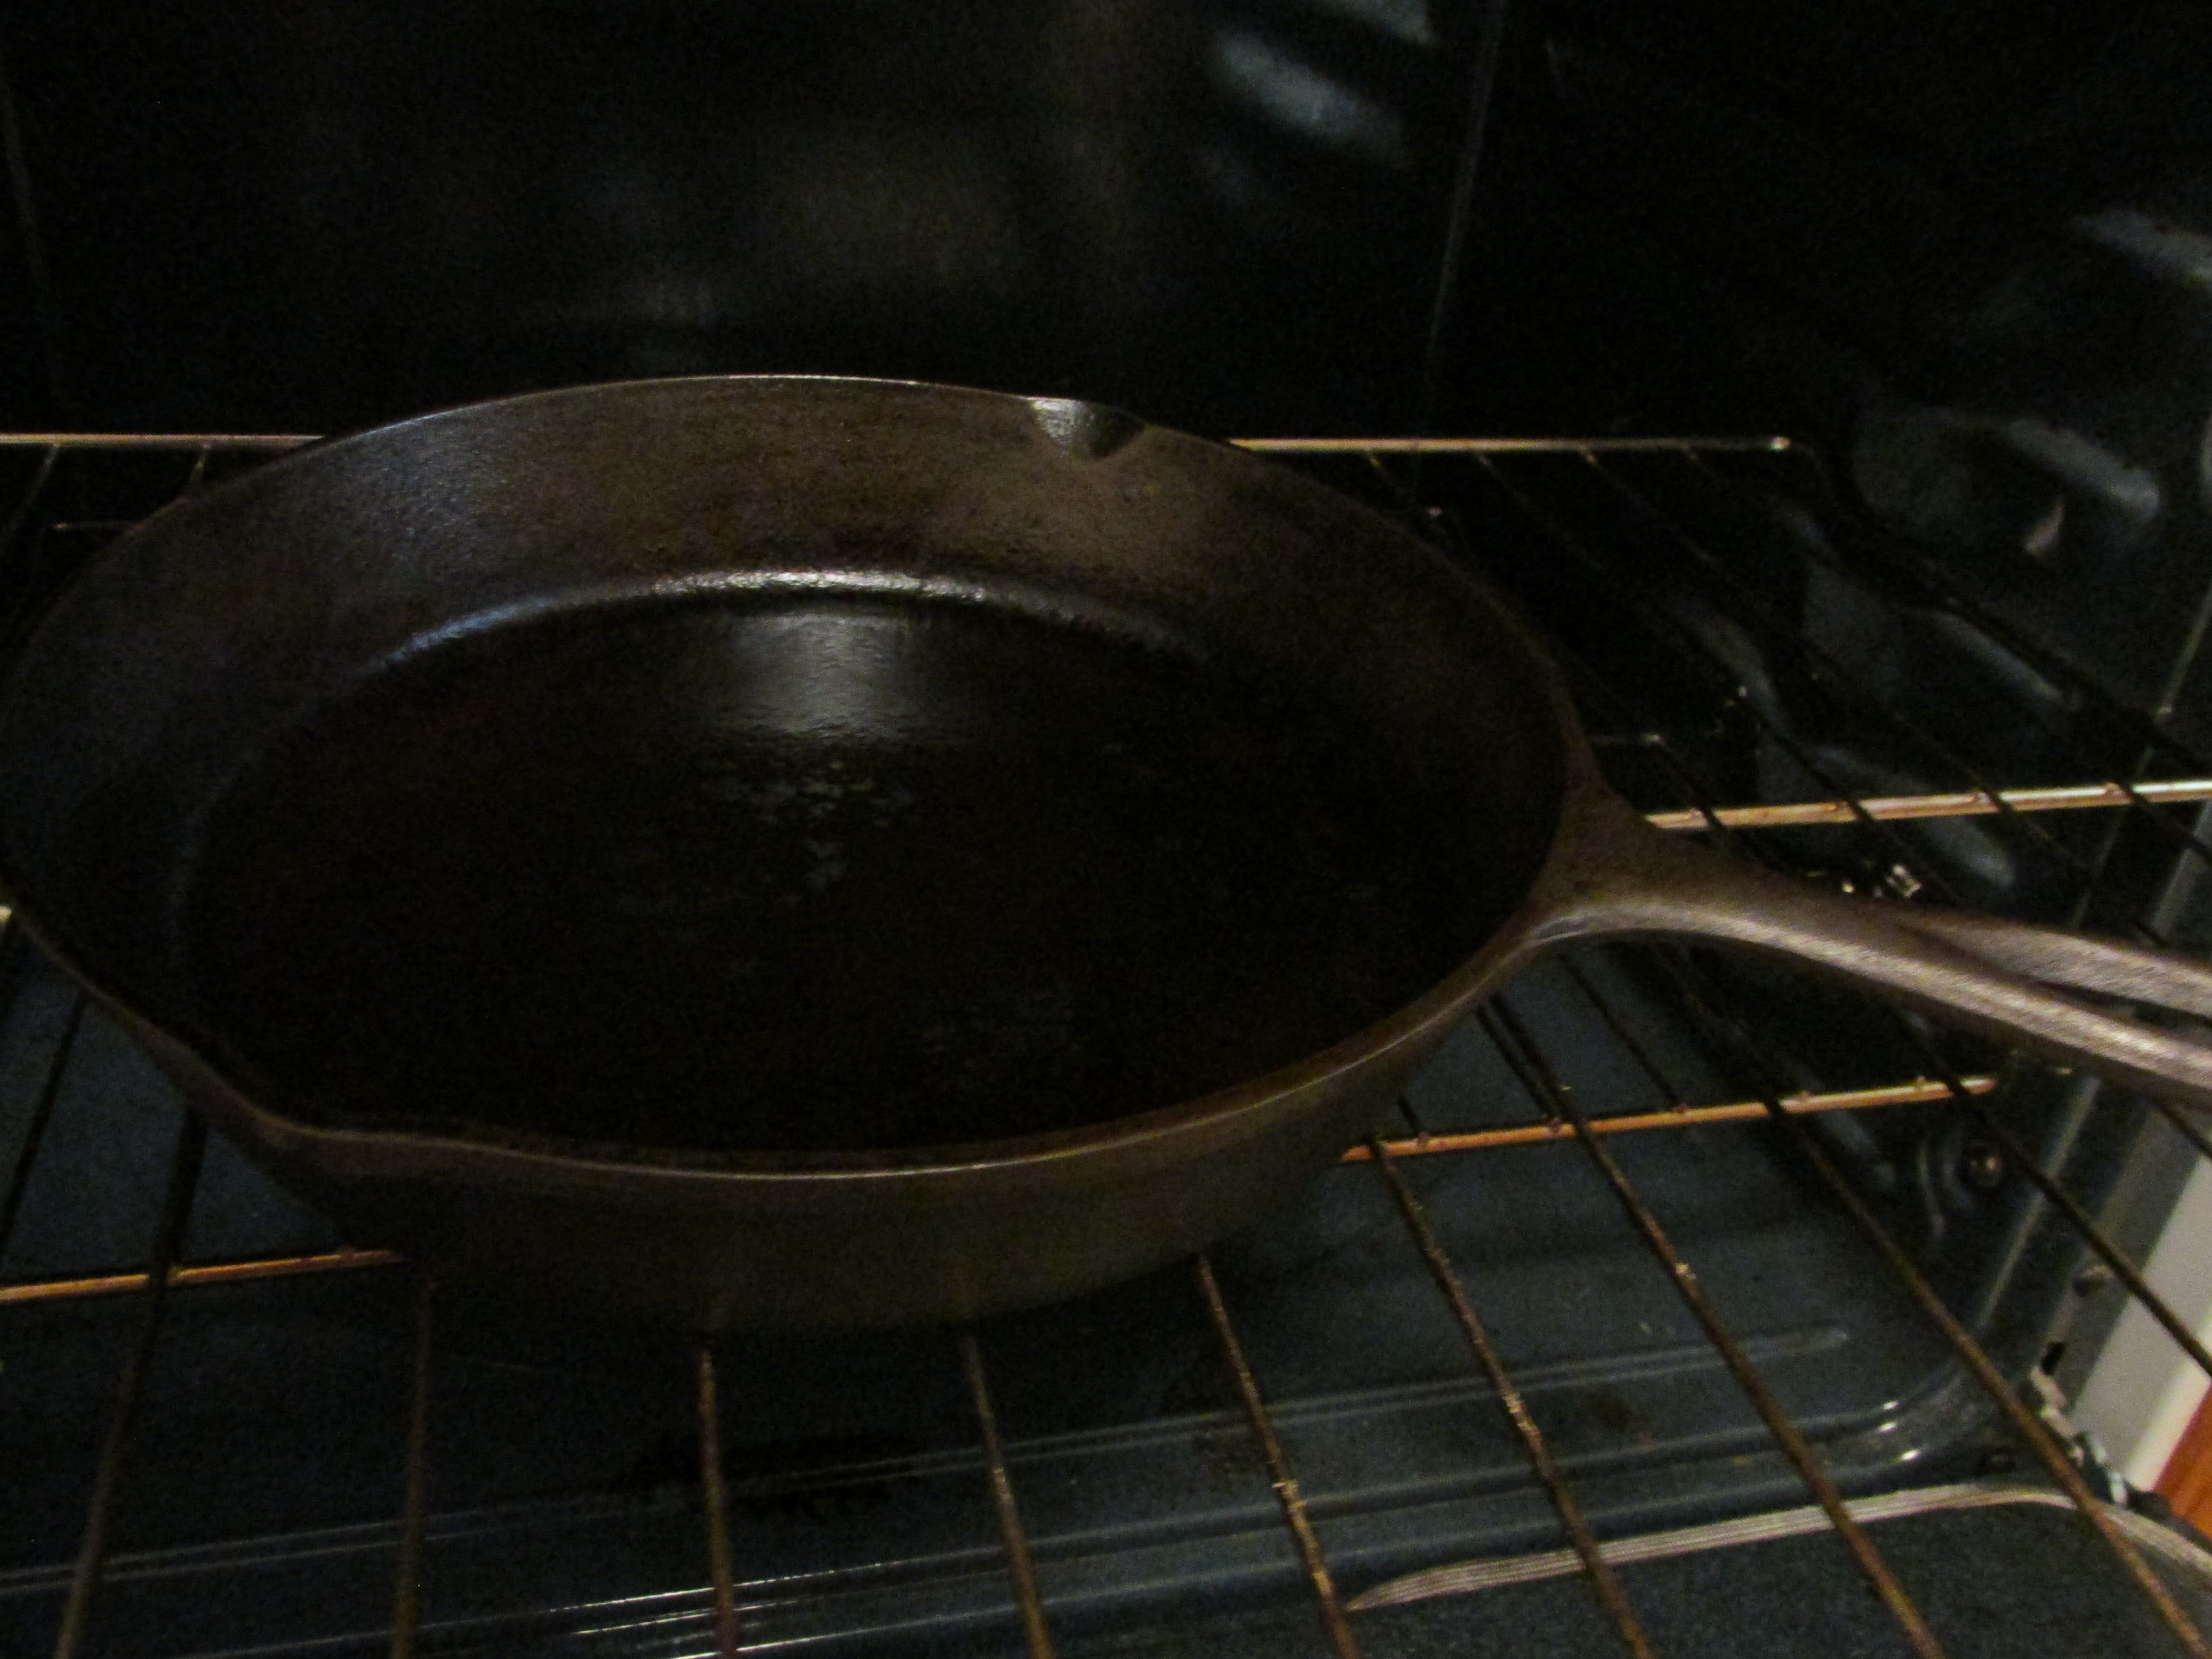
I tested the flour in my canister. It didn’t darken at all and clumped up. It didn’t pass Hale’s test.

Dlemons-1132558_960_720
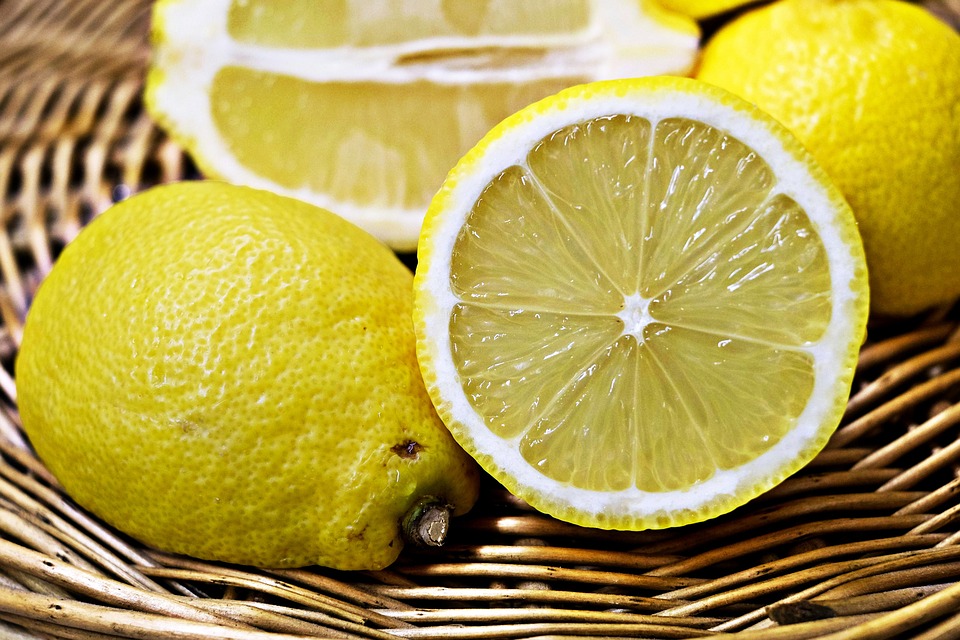
rop lemon juice or sharp vinegar on a teaspoon of flour to test for plaster of Paris or stone dust. An immediate reaction shows the presence of these additives. If there is no reaction, the flour is pure.

Another purity test is to squeeze a handful of flour tightly. If the flour stays in a lump when opening the hand, it’s pure.

Thankfully, my flour passed the tests for plaster of Paris or stone dust. I can’t explain why it didn’t pass the whiting (chalk) test. Perhaps modern manufacturing practices?

If flour has turned sour or musty, bakers will easily notice it by the smell.

Though regulations and laws protect consumers today, it’s fun to know a few of the old tips used by our ancestors to protect their families.

-Sandra Merville Hart

Sources

American Heritage® Dictionary of the English Language, Fifth Edition. Copyright © 2011 by Houghton Mifflin Harcourt Publishing Company. Published by Houghton Mifflin Harcourt Publishing Company. All rights reserved.

Collins English Dictionary – Complete and Unabridged, 12th Edition 2014 © HarperCollins Publishers 1991, 1994, 1998, 2000, 2003, 2006, 2007, 2009, 2011, 2014.

Hale, Sarah Josepha. Early American Cookery: “The Good Housekeeper.” 1841, Dover Publications , Inc., 1996.


Advice on Eating the Right Quantity of Food from an 1840s Cookbook Author

pizza-1150031_960_720

The author of an 1841 cookbook, Sarah Josepha Hale, advised her readers about the proper quantity of food. She observed that the availability of food often leads to overeating.

Hale blamed diet mismanagement on almost half of diseases/deaths in toddlers two and under. That’s a scary, guilt-ridden statistic for moms of that era.

Though it’s easier said than done, stop eating after satisfying your appetite.

Hale saw indigestion and other stomach complaints as wise reminders not to overeat. A body’s digestive power is limited to the amount of gastric juices; outdoor exercise aids their secretion.

trail-running-1487718_960_720Tailor portion sizes to the amount of exercise. Outdoor activities require more energy so there is less likelihood of overeating. Those who exercise little get indigestion or headaches from eating too much.

Feed active, healthy young people well. If they don’t like plain meals, don’t tempt them with sweets or snacks.

Enjoying a variety of meals benefits our bodies unless it tempts excessive eating.

Hale believed that if something disagreed with the stomach, too much had been eaten.

Though written in 1841, her opinions on food are surprisingly similar to what is taught today.

-Sandra Merville Hart

Source

Hale, Sarah Josepha. Early American Cookery: “The Good Housekeeper.” 1841, Dover Publications, Inc., 1996.


The Right Time to Eat

food-826744_960_720

The author of an 1841 cookbook, Sarah Josepha Hale, advised her readers about eating hours. Those on a regular schedule should eat at a set time; those living on irregular schedules should eat when they get hungry.

Laborers need larger meals more often than idle or inactive people.
analog-clock-1295631_960_720Eat meals about five hours apart; active people require food more often.

Young people experiencing growth spurts eat often.

Feed children under seven every three hours. Hale recommended a slice of bread as a healthy lunch.

baby-472922_960_720Don’t set an eating schedule for infants for the first few months because their constitutions vary. Feed the baby when hungry.

Don’t exercise before breakfast if you tend to become sick easily (delicate constitution.)

Never enter the sick room of someone ill with fever before eating breakfast or at least drinking coffee.

Planning an early morning departure? Make sure to eat a light breakfast as protection against weariness and cold.

Don’t eat a big supper right before going to bed.

It’s harmful to eat when overheated or exhausted. Rest about fifteen minutes before dining.

Much of this “1841” advice still rings true today.

-Sandra Merville Hart

Source

Hale, Sarah Josepha. Early American Cookery: “The Good Housekeeper.” 1841, Dover Publications , Inc., 1996.


Old-Fashioned Muffin Recipe Made with Bread Sponge

IMG_1723

An 1877 cookbook compiled from original recipes teaches that the first step in making delicious bread is the sponge. My earlier article, “My Second Try at Making Bread Sponge,” showed my attempt at sponge.

I also used the second batch of sponge to make muffins. The recipe was based on one submitted by Mrs. Gib Hillock of New Castle, Indiana, for the 1877 book, Buckeye Cookery and Practical Housekeeping.

Two cups of sponge were combined with one teaspoon of baking powder. I interpreted “a little salt” as a ½ teaspoon of salt.

I separated two eggs. The egg yolks were beaten with a half cup of milk, my interpretation of “one tea-cup of sweet milk or cream.” Butter “half the size of an egg” became two tablespoons of melted butter added to the egg yolk mixture.

The sponge was added to the egg yolk mixture. Egg whites were stirred briskly with a whisk, added to the dough, and then well-beaten.

Mrs. Hillock used gem-pans, which are similar to muffin pans. A simple instruction to bake in a “hot oven” didn’t quite give me a suggested temperature so I baked them at 400 degrees for about 20 minutes.

The muffins tasted good and incredibly moist. These muffins tasted best warm from the oven.

I noticed the same texture difference as in the pumpkin bread. Next time I will use half sponge/half dry flour ingredients to see how it affects the texture.

I look forward to our next cooking adventure from the past. Happy cooking!

-Sandra Merville Hart


Sources

Compiled from Original Recipes. Buckeye Cookery and Practical Housekeeping, Applewood Books, 2011.


My Second Try at Making Bread Sponge

IMG_1716

An 1877 cookbook compiled from original recipes teaches that the first step in making delicious bread is the sponge. My earlier article, “Sponge is the First Step in Making Good Bread,” gave the recipe and suggested that sponge worked nicely for breakfast-cakes and muffins.

While completely guessing at quantity sizes, I made something that probably resembled sponge as outlined in my article, “My First Try at Making Bread Sponge.”

I made the dough “rather thick” as suggested by original writer of the recipe. “Rather thick” is an example of the type of descriptions found in early recipes that made perfect sense to cooks of the period but isn’t descriptive enough for current bakers.

So my thick dough ended up being too stiff. This became clear when I tried to mix it into a pumpkin bread batter.

IMG_1713Starting over, I made the sponge again. I used 4 cups of flour and 2 ¼ cups of scalded milk that cooled to lukewarm.

This time a tablespoon of yeast was dissolved in ¼ cup hot water before adding it to the dough. These small changes made a world of difference in the elasticity of the sponge – both before and after rising. The appearance and feel vastly improved over the first batch.

The dough rose for two hours.

To maintain control over experimenting with the sponge, I again made the same pumpkin bread recipe. I added two cups of sponge. The first batch had to be combined using my hands; a wooden spoon and pastry blender easily blended the second batch.

Much encouraged by the differences, I baked the bread at 350 degrees for sixty minutes. When it was not done, I increased the temperature to 375 and baked another 25 minutes. Perhaps the oven should have been at 375 for an hour, so this is a difference encountered.

It didn’t rise at all during baking because I forgot to add baking powder and salt. Along with a flat top, the texture was twice as moist as bread made with dry flour. It tasted delicious. I also noticed one slice satisfied my hunger.

Making bread this way took about three hours longer than my normal recipe. The moist pumpkin dessert required an extra 25 minutes in the oven. The sponge affects the texture of the finished product.

The second attempt at making old-fashioned sponge and using it in a pumpkin bread recipe was far more successful than the first.

I’d love to hear from you, especially if you try this sponge in one of your recipes. Good luck!

-Sandra Merville Hart


Sources

Compiled from Original Recipes. Buckeye Cookery and Practical Housekeeping, Applewood Books, 2011.

My First Try at Making Bread Sponge

IMG_1706

An 1877 cookbook compiled from original recipes teaches that the first step in making delicious bread is the sponge. My earlier article, “Sponge is the First Step in Making Good Bread,” gave the recipe and suggested that sponge worked nicely for breakfast-cakes and muffins.

The jury is still out on that claim, but I’m getting ahead of myself.

Since measurements weren’t supplied, I began by scalding four cups of milk. After that, it took about an hour before it cooled to lukewarm temperature.

Then I measured four cups of all-purpose flour into a mixing bowl and added a little milk at a time to figure out how much was required. The author stated that the sponge should be “rather thick” when using for breakfast cakes.

IMG_1700Since I had decided to make pumpkin bread, I made stiff, thick dough with 1 ¾ cups of milk.

The recipe called for a “small teacup of yeast” for three pints of “wetting.” Three pints is six cups; that seemed like a lot of dough for my experiment. I compromised with 1 tablespoon of yeast, which I mixed directly into the dough.

The stiff dough was covered tightly with a plate. I followed the original cook’s suggestion to place a blanket over the covered bowl.

An hour later the dough had barely risen. There were no guides given on how long to allow the dough to rise so I recovered it and waited another half hour before starting the pumpkin bread.

My plan for replacing flour, baking powder, and baking soda with the sponge didn’t work as well as I hoped.

It started out well.

Once the sugar and butter were creamed, the eggs, pumpkin, and cinnamon added, I measured two cups of the sponge – the amount of flour required by the recipe.

That may have been too much sponge.

The dough had risen almost twice the original size and smelled like pizza. It also didn’t mix well with the pumpkin mixture. I finally resorted to using my fingers to combine the ingredients.

The texture was completely different from my original bread recipe when combined. It baked fifty minutes. When cooled, my husband and I ate a slice.

The pumpkin bread tasted good but had a strange consistency so I did something wrong.

Then I remembered a friendship cake that made the rounds a few years ago. Friends passed around “starter” dough for a friendship cake. Each person used part of the dough for a cake, added to the original dough, and passed it on to the next person.

That “starter” dough was wetter and thinner than mine. Maybe the sponge should be somewhere in between the two.

We’ll see what happens with the next batch when using more milk and yeast in the sponge.

Stay tuned!

-Sandra Merville Hart


Sources

Compiled from Original Recipes. Buckeye Cookery and Practical Housekeeping, Applewood Books, 2011.

Sponge is the First Step in Making Good Bread

IMG_1700

Making homemade bread from scratch is a lost art for most of us. I make a variety of fruit breads like banana, pumpkin, cranberry orange, but rely on my bread machine for homemade white bread and rolls.

I’ve always wanted to learn how to make bread from scratch like colonial women did. Writing historical novels increases my desire to place myself in my heroine’s shoes and cook with the same challenges and knowledge she does.

A cookbook from 1877 teaches that the first step in making delicious bread is the sponge.

Sponge was made with flour, yeast, and warm milk or water. Some bakers added mashed potatoes. The cookbook author cautioned these early cooks to consider both the weather and the time of time when preparing the sponge.

In the summer, the sponge shouldn’t be set before eight or nine at night. Thick batter was made with lukewarm liquids. Scalding the milk and allowing it to cool first prevented it from souring.

In the winter, liquids were added at “blood warmth.” The temperature was determined by the baker’s finger and made as warm as the cook could stand. Adding the flour cooled the liquid enough for the yeast. The sponge was stored, covered,  in a warm area to rise.

The author suggested placing a clean, folded blanket over the cover.

A small tea-cup of yeast and three pints of “wetting” made four ordinary loaves. (My guess is that the “wetting” referred to is the flour and milk mixture since yeast was always added last.)

Bakers used this sponge in their bread, but it also worked well on the griddle for breakfast cakes or in muffins.

I’ll have to guess at the measurements, but plan to try this sponge in muffins, pancakes, or fruit breads. I’ll let you how it turns out. If you try the recipe, I’d love to hear about it.

-Sandra Merville Hart


Sources

Compiled from Original Recipes. Buckeye Cookery and Practical Housekeeping, Applewood Books, 2011.

“Lukewarm,” Thesaurus.com, 2015/06/09  http://www.thesaurus.com/browse/lukewarm.


Curing Cast Iron Skillets


IMG_1778


My mom had a cast iron skillet that I loved. It cooked evenly. Pancakes, bacon, and burgers turned out great. I purchased two skillets in the past few years, but neither came close to the quality of my mom’s. One rusted quickly.

My sister told me that I had to “season” the skillet. I found a product to spray oil over cast iron to season it, but somehow didn’t think that was the way my mother and grandmother accomplished the task.

Since I also wanted to purchase a Dutch oven for cooking over an open fire, I searched for a method for curing cast iron.

First, wash the Dutch oven (or skillet) with hot soapy water to remove waxy coating.

Heat your regular oven to 200 degrees with the cast iron pot inside. Keep the lid on your Dutch oven.

Once heated to 200 degrees, pour small amount of oil inside the pan. (Shortening or lard work well, too.) Wearing oven mitts, wipe the whole surface of the Dutch oven or skillet with a clean cotton cloth. Make certain to rub oil into the outside.

Turn up your regular oven to 350 degrees and heat the skillet for an hour. Expect to see smoke. When the hour is up, allow the skillet to cool slowly to avoid cracking or warping.

The Dutch oven or skillet is ready for use.

To clean the skillet, wipe away food with a paper towel before washing it in hot soapy water. Dry it completely. Then apply a light coating of oil inside and outside.

Skillets turn dark brown or black after repeated uses.

This easy method revived my rusted skillet.

Good luck!

-Sandra Merville Hart


Sources

Beattie, Roger L. “Seven secrets of Dutch oven cooking,” Backwoods Home Magazine, Inc., 2016/05/26  http://www.backwoodshome.com/seven-secrets-of-dutch-oven-cooking/.

Collester, J.S. Old-Fashioned Woostove Recipes, Bear Wallow Books, 1988.

Dutch Oven Cooking

pot-619785_960_720

There is a secret to cooking with Dutch ovens over an open fire: properly placed coals control the interior temperature of the oven.

Begin by choosing a Dutch oven with legs for open fire cooking.

Avoid burned or raw sections or dried out foods by using charcoal briquettes or fire coals of that size. Charcoal has the advantage of even burning for longer periods.

Almost all baked goods bake successfully at 350 degrees. Coals must be carefully placed to achieve this temperature.

Consider the diameter of your Dutch oven to find the best number and allow two coals per inch for cooking. You will need the diameter plus two for the lid and two less than the diameter underneath.

For example, fourteen-inch ovens will have 16 coals on the lid (14 + 2) and 12 coals under the oven (14 – 2.)

The placement of the coals is vital to successful cooking. Arrange them in a circle under the oven on the outer rim. Putting them in the middle burns the meal.

It’s also important to arrange the coals evenly around the outer rim of the lid with four coals in the center. Two go on either side of the handle.

This provides and maintains 350 degrees for about two hours.

Adding one coal to the lid and underneath the oven increases the heat to 400.

The size of the oven you buy determines the kind of meal typically cooked inside it. For instance, 8” or 10” Dutch ovens are great for vegetables, desserts, and side dishes. Cook larger roasts, stews, breads, and chicken in 14” ovens.

Happy cooking!

-Sandra Merville Hart

Sources

Beattie, Roger L. “Seven secrets of Dutch oven cooking,” Backwoods Home Magazine, Inc., 2016/05/26  http://www.backwoodshome.com/seven-secrets-of-dutch-oven-cooking/.

“Choosing a Dutch Oven,” Dutchovendude.com, 2016/05/27 http://www.dutchovendude.com/cooking-select-dutch-oven.php.

Advantages of Cooking on an Old-Fashioned Wood Stove

old-744300_960_720

On a visit to a pioneer village, one of the cooks dressed in period costume boasted that she could cook any recipe on her wood stove except foods packaged for the microwave.

That intrigued me.

The author of Old-Fashioned Woodstove Recipes makes the same claim and lists some advantages of using this type of stove.

The first advantage: wood stoves are more economical than electric stoves, especially for slow-cooking stews, soups, and pot roasts.

Cooking over wood enhances the flavor. I definitely agree with this second advantage. When my husband adds mesquite wood chips to our charcoal grill, burgers taste much more appetizing.

The aroma of food cooked on wood burning stoves also increases the anticipation of a meal.

This type of stove adds warmth to the home in cold winter months. Hang damp clothes nearby to dry them.

Heat water in the stove’s water reservoir to supply hot water. It may supply enough to turn off electric water heaters for a few hours and save money on electricity. The reservoir also adds moisture to the air, acting as a humidifier.

Enhancing the taste of meals is the biggest advantage for me. I don’t own a woodstove, but I’d love to learn to cook on one.

How about you?

-Sandra Merville Hart

Sources

Collester, J.S. Old-Fashioned Woostove Recipes, Bear Wallow Books, 1988.